Why is the paint on my cabinets chipping?
Cabinet paint chips when it never bonded to the old finish: the surface was greasy, glossy and not sanded, or the wrong primer was used. It also chips when the paint was put back into service before it hardened. Check the chips, clean and scuff the area, prime, and repaint. In a pre-1978 house, test for lead first.
Free to ask. Local shops send quotes, and you pay only when you book one.
By Kasra Taheri, Founder, LoclisPublished
Researched and drafted with AI, then checked claim by claim against the sources listed below before it was published. Prices and rules change; the dates beside each source say when it was last checked.
Step by step
Read when to stop and call a pro, further down this page, before you start.
Step 1: Test for lead if the house is old
If the house was built before 1978, have the paint tested before you sand or scrape, because it may have lead-based paint.[3]
Step 2: Read the chips
Look at what the chip exposes: bare wood or a shiny old finish under the new paint points to poor bonding, while chips only on edges and corners point to wear.
Step 3: Take off loose paint
Gently scrape back only the paint that lifts easily, until the remaining edge is firmly attached.
Step 4: Degrease the area
Wipe the door or frame with a gentle grease remover and a damp sponge, then let it dry fully.[1]
Step 5: Scuff and feather the edges
Sand the bare patches and the edges of the sound paint with medium-grit paper, then wipe off the dust with a slightly damp cloth.[1]
Step 7: Smooth the primer
When the primer is dry, sand it lightly with 220-grit paper without removing it, and wipe off the dust.[1]
Step 8: Repaint in thin coats
Brush or roll cabinet paint over the repair and blend it into the surrounding finish, letting each coat dry before the next.[2]
Step 9: Go easy for a week
Keep heavy cleaning and hard knocks off the repair while the finish hardens.[1]
The paint did not bond, or it was not left to harden
Chipping on painted cabinets almost always traces back to adhesion. Kitchen cabinets start with a hard, slick factory finish, and new paint holds to that only if it is cleaned and roughed up first. Most cabinet finishes are too smooth or glossy to reprime and repaint,[1] so a job that skipped the sanding sits on top of the old finish like a skin.
Grease is the second common cause. Cabinets near the stove collect a film that new paint cannot grip, which is why Sherwin-Williams says a degreaser eliminates the grease and oil that naturally builds up over time,[2] and warns that surfaces that are not clean, dry and dull can impact paint adhesion.[2] Inadequate spread and adhesion can result in an uneven appearance or flaking.[2] Paint over a film and it chips in sheets where hands touch most.
Other causes worth checking
- The wrong primer. Benjamin Moore says not to use a lacquer-based primer under its Advance paint, because it can impede adhesion to the cabinets.[1] Skipping primer altogether has the same effect on slick surfaces.
- Rushed drying. Providing ample dry time between coats and reinstalling hardware is essential when painting kitchen cabinets, as it will prevent smudging, peeling, and other imperfections.[2] A common mistake is hanging doors back up and using them the same day.
- Early cleaning and use. Paint that feels dry is not hard yet: full hardness and adhesion will take time to develop, and Benjamin Moore says: "We do not recommend exposing newly painted cabinets to heavy abrasion or cleaning for at least five to seven days".[1]
- Thick coats. Heavy coats stay soft underneath and tear off at edges.
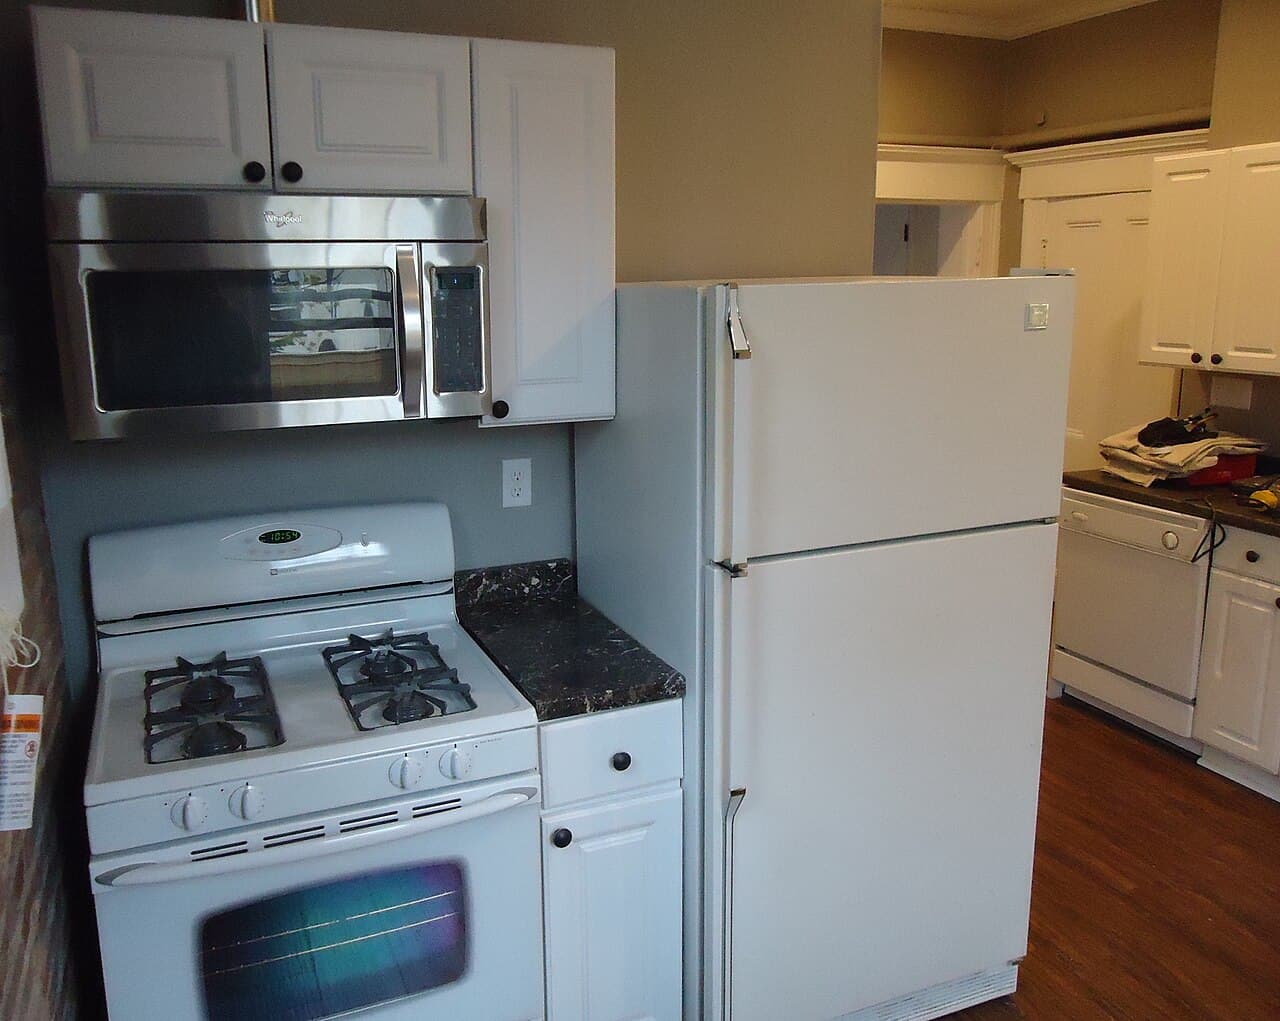
Read the chips before you fix them
Peel a chip back and look underneath. Bare wood or a shiny old finish under the paint means it never bonded, and the problem will spread. Chips only at edges, handles and corners, with firm paint elsewhere, are wear, and a local repair will hold.
Press a strip of painter's tape on a sound-looking panel and pull it off. If paint comes with it, the whole door has the same problem, and patching one chip is only a delay. In that case plan to redo the doors; the steps are in how to paint kitchen cabinets.
Check for lead first in an older house
The EPA puts it this way: "If your home was built before 1978, it may have lead-based paint".[3] People in pre-1978 homes, particularly where paint is peeling or chipping, are at risk of exposure to lead dust.[4] The EPA recommends hiring a certified lead inspector or lead risk assessor to check.[3] Do that before you scrape or sand.
The federal rule has a split worth knowing. In general, the RRP Rule does not apply to homeowners doing RRP projects in their own pre-1978 home,[5] but anyone paid to perform work that disturbs paint in housing and child-occupied facilities built before 1978 must be certified in lead-safe work practices.[5] So a painter you hire for an older house should be certified.
Repairing the chipped spots
For a few chips, follow the steps above. Scrape only what lifts. Use a gentle grease remover and a damp sponge to wipe them clean,[1] and scuff with medium-grit sandpaper (we like 100- to 150-grit).[1] Prime the bare spots, then sand all surfaces lightly, making sure not to remove the coat of primer.[1]
Before you commit, test adhesion in an unnoticeable spot,[2] such as the inside of a door. Let the first coat of cabinet paint dry for about 24-48 hours,[2] and wait before heavy cleaning. For how to look after the finish afterwards, see how to clean painted kitchen cabinets without damaging them.
Stop and call a pro if
- The house predates 1978 and the paint tests positive for lead, or you cannot get it tested. Hire a lead-safe certified painter.[5]
- Paint is lifting in sheets across many doors. A full strip, prime and repaint is a bigger job than spot repair.
- The wood or board underneath is swollen, soft or crumbling from water, which paint will not fix.
- You are weighing cost against replacement. See whether to paint or replace kitchen cabinets.
Getting help in Virginia
Loclis lists painting businesses near you: browse painting in Virginia or read more painting answers. For what a cabinet job costs, see how much it costs to paint kitchen cabinets in Virginia.
When you are ready, describe the cabinet job once and local painters quote it.
Common questions
- Why does cabinet paint chip around the handles and edges first?
- Those spots take the most abrasion from hands, fingernails and door slams, and they are where thin or poorly bonded paint gives up first. Chips only there, with sound paint everywhere else, usually mean ordinary wear on a finish that is otherwise holding. Chips across flat panels mean a bonding problem.
- Can I just paint over the chips?
- Not for long. Paint over loose edges and the new coat chips off with the old one. Scrape back what lifts, scuff the area, spot-prime the bare spots, and then repaint, so the repair has something sound to hold on to.
- Does the kind of primer matter?
- Yes. Benjamin Moore says not to use a lacquer-based primer under its cabinet paint because it can impede adhesion, and Sherwin-Williams recommends testing its primer in an unnoticeable spot first. Match the primer to the paint and the existing surface, and read the label.
- How long should new cabinet paint cure before I use the cabinets?
- Benjamin Moore says cabinets can go back in service once the paint has dried, with at least 24 hours as the minimum, but it does not recommend heavy abrasion or cleaning for at least five to seven days. Full hardness takes longer than dry-to-touch.
- Is chipping old cabinet paint a lead risk?
- In a pre-1978 home it can be. The EPA says people in pre-1978 homes, particularly where paint is peeling or chipping, are at risk of exposure to lead dust. Test before you sand, and use a licensed painter if you are not doing it yourself in your own home.
- When is it better to repaint all the cabinets than patch?
- When chips and peeling cover many doors, or the paint lifts in sheets when you press tape on it. At that point spot repairs keep failing, and a full strip-back, prime and repaint is the repair that lasts.
Sources
- [1] How to Paint Kitchen Cabinets Like an Expert in 9 Steps, Benjamin Moore. Checked October 28, 2026.
- [2] How to Paint Kitchen Cabinets in 5 Steps, Sherwin-Williams. Checked October 28, 2026.
- [3] Renovation, Repair and Painting Program: Do-It-Yourselfers, U.S. Environmental Protection Agency. Checked October 28, 2026.
- [4] Protect Your Family from Sources of Lead, U.S. Environmental Protection Agency. Checked October 28, 2026.
- [5] Lead Renovation, Repair and Painting Program, U.S. Environmental Protection Agency. Checked October 28, 2026.
Want a pro to handle it?
Describe the job once. Licensed local businesses send quotes, and you pay only when you book one.
Get a quote from a local pro