How do I fix a hole in a hollow-core door?
Most holes in a hollow-core door can be patched in an afternoon: trim the torn edges, push a backing of cardboard or paper into the hole, build wood filler up in thin layers, sand it flush, then prime and paint the whole face. If the skin is split across a large area or the door is badly warped, a new door slab is often the better repair.
Free to ask. Local shops send quotes, and you pay only when you book one.
By Kasra Taheri, Founder, LoclisUpdated
Researched and drafted with AI, then checked claim by claim against the sources listed below before it was published. Prices and rules change; the dates beside each source say when it was last checked.
Step by step
Read when to stop and call a pro, further down this page, before you start.
Step 1: Check the paint's age
If the house was built before 1978, treat the old paint as possible lead paint: if you must sand, wet the area first, sand as little as you can and wipe up the dust with damp paper towels.[5]
Step 2: Take the door down
Tap the hinge pins up and out, lift the door off and lay it flat across two sawhorses or a padded table.
Step 3: Trim the torn edges
Cut away loose, splintered skin with a sharp utility knife so the hole has clean, firm edges.
Step 4: Pack a backing
Push crumpled paper or strips of cardboard into the hole and glue a piece of cardboard to the inside of the skin, so the filler has something to sit on; do not fill the cavity with spray foam.[2]
Step 5: Mask around the hole
Put masking tape around the damage to keep the surrounding surface clean and cut down on sanding later.[1]
Step 6: Fill in thin layers
Press wood filler in with a putty knife; for damage deeper than 1/4 inch, apply it in layers and let each layer dry before the next.[1]
Step 7: Overfill the last coat
Leave the final layer slightly proud of the surface so it can be sanded flat.[1]
Step 8: Let it dry fully
Allow about 2 to 6 hours for shallow fills and about 36 hours for deeper fills, in a room above 40°F.[1]
Step 9: Sand it flush
Sand with a block until the patch is level with the skin and the edges feather out, then wipe off the dust.
Step 10: Prime and paint the face
Prime the patch, then paint the whole face of the door so the repair does not show as a dull spot.
Step 11: Rehang the door
Set the door back on its hinges, drop the pins in and check that it swings and latches as before.
A hole in a hollow-core door looks worse than it is. The door is two thin skins of wood or molded fibreboard glued to a light frame, usually with a cardboard honeycomb or a few cardboard strips between them. When a doorknob, a shoulder or a moving box goes through the skin, there is nothing solid behind it to fill against. The repair is to give the filler something to sit on, build it up in thin layers, and paint the whole face so the patch disappears.
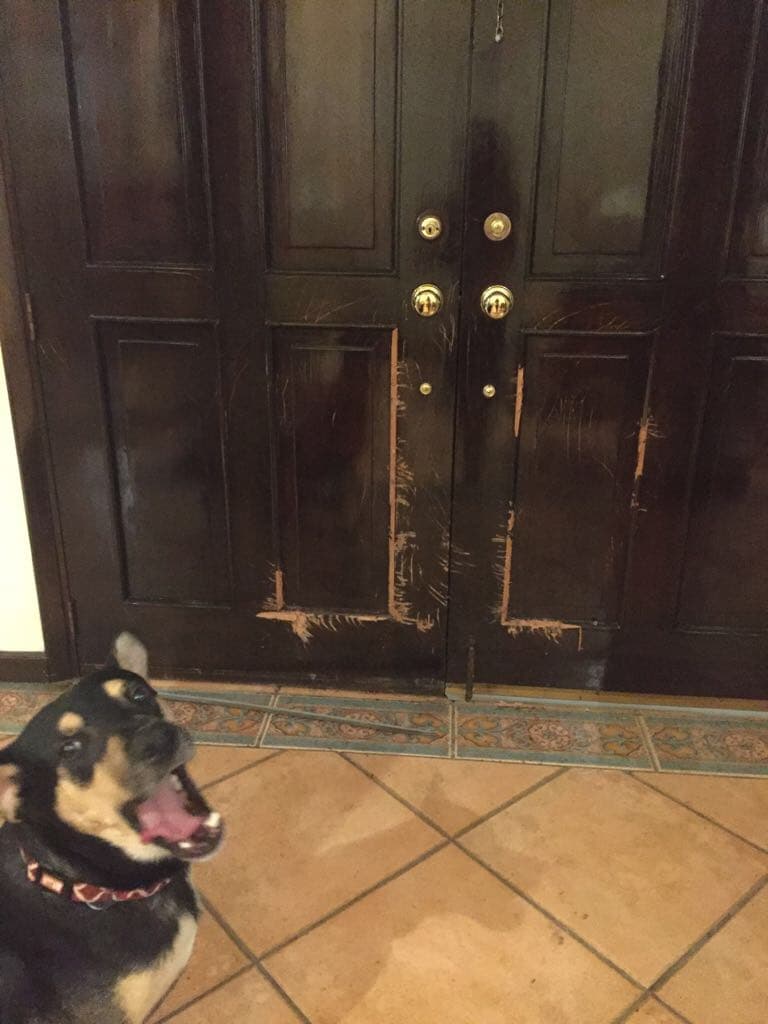
Patch it or replace it
Patch when the damage is one hole up to about the size of a fist, a dent, or a few gouges, and the door still hangs straight and latches.
Replace the slab when the skin is split across a large area, the face has peeled away from the frame, or the door is badly bowed. Masonite notes that hollow core doors may be more prone to warp than solid core doors,[4] and some warp is normal: Masonite's interior door warranty allows no more than 1/4 inch of warp across a 36 by 78 inch section of a 1-3/8 inch door.[3] A patch will not fix a door that rubs or will not latch because it is bent.
What you need
A utility knife, a putty knife or two, masking tape, cardboard or paper for the backing, a little wood glue, a sandable wood filler, sandpaper on a block, primer and paint to match. Sawhorses or a padded table make the work far easier than doing it with the door on its hinges.
Why the backing matters
Filler pushed into an empty hole falls into the door or sags as it dries. Stuffing crumpled paper or cardboard strips behind the hole, and gluing a piece of cardboard to the back of the skin, gives the filler a floor. For a clean, larger hole, some people cut a piece of thin plywood or hardboard slightly bigger than the opening, slip it through at an angle and glue it to the back of the skin.
Expanding spray foam is the shortcut many people reach for, but its maker warns against using it to fill closed cavities or voids, because flammable vapors and uncured material can build up,[2] and the inside of a door slab is exactly that kind of space. The can holds a highly flammable gas and isocyanate,[2] which is more hazard than a door patch needs.
Filling, sanding and painting
Wood filler shrinks and cracks when it goes on too thick. DAP's instructions for its Plastic Wood-X filler say that for gouges and damage deeper than 1/4 inch, apply the filler in layers and let each layer dry before the next.[1] It gives about 2 to 6 hours to dry for shallow repairs and 36 hours for deeper fills, and says the surface, the filler and the air should all be above 40°F.[1] In a Virginia winter, bring the door indoors and do the work in a heated room rather than a cold garage or porch.
Leave the last layer slightly high, then sand it flat with a block so you do not dish out the soft filler. Run your hand over it with your eyes closed: you will feel a ridge before you see it.
On a stained wood-veneer door the patch will show, because filler does not take stain like wood. DAP's advice is that if the wood is to be stained, stain before you fill.[1] For most hollow-core doors, painting is the simpler finish. Prime the patch, then paint the whole face rather than just the spot, so the sheen matches. Masonite says primer does not function as a sealer or moisture barrier,[3] so finish with real paint on top.
If you replace the slab
A new slab needs the hinge mortises and lock holes cut to match the old one, and it should be sealed. Masonite's instructions for its interior doors call for all six edges sealed with at least two coats of paint, varnish or lacquer to prevent warping,[3] and tell installers not to trim the top of the door, and not to take more than 1/4 inch off the bottom unless extra blocking is added.[3] A hollow door is only solid around its edges, and cutting deeper opens the hollow core. A pre-hung door, which comes in its own frame, is a bigger job that involves removing the trim and the old jamb.
Old paint
In an older house, check before you sand. The EPA warns that old or worn lead-based paint, especially on surfaces subject to constant friction like doors, can produce chips and dust that become a hazard.[5] Most hollow-core doors are not that old, but a door that has been repainted for decades in a pre-1978 house may carry old layers. If you hire the job out, the federal rule is that, in general, anyone paid to perform work that disturbs paint in housing built before 1978 must be certified in lead-safe work practices, sole proprietorships included.[6] The rule does not cover minor repair and maintenance that disturbs six square feet or less of paint per room inside,[7] which takes in most single door patches. Patching several doors in one room, or stripping a whole door, can go past that.
Stop and call a pro if
- The door has a fire rating label on its hinge edge. Masonite's warranty says: "Any alteration to a fire or other rated door is not permitted unless expressly authorized by ANSI standards such as under NFPA 80."[3]
- The jamb is split, the hinges have pulled out of the frame, or the door stopped closing at the same time cracks appeared in nearby walls. That points to the frame or the house, not the door.
- The house was built before 1978 and you rent it out, or the paint is already chipping. The EPA's lead rules apply to paid work and to landlords working on rentals.[6]
Getting it done
A door patch is a common small job for a handyman. Virginia requires a contractor's licence for a single repair job over $1,000,[8][9] which a door patch rarely reaches, but a job that grows into new doors throughout the house can. See what a handyman costs in Virginia and why small repairs keep coming back, browse small repairs or door repair, find handyman businesses around Blacksburg, or read the other handyman answers.
When you would rather hand it off, describe the door repair once and local businesses quote it.
Common questions
- Can I use spray foam to fill a hole in a hollow-core door?
- It is better not to. The maker of Great Stuff foam warns against using it to fill closed cavities or voids, because flammable vapors and uncured foam can build up inside, and the inside of a door slab is a closed cavity. Crumpled paper or cardboard behind the hole gives the filler the support it needs.
- What filler works best on a hollow-core door?
- A sandable, paintable wood filler is the usual choice for the door skin, built up in thin layers. Lightweight spackle can work on a shallow dent in a painted door, but it is softer and dents again more easily on a door that gets bumped.
- Is it cheaper to patch or replace a hollow-core door?
- For a fist-sized hole, patching usually costs less than a new slab plus paint. When the skin is split in several places, the door is warped, or the face has peeled away from the core, a replacement slab is often less work than a patch that will still show.
- How long before I can paint the patch?
- DAP gives about 2 to 6 hours for shallow repairs and 36 hours for deep fills with its Plastic Wood-X filler. Follow the label of the product you use, and wait until the filler is hard all the way through before sanding.
- Can a handyman fix a door hole for me?
- Yes. It is a common small job. In a house built before 1978, the EPA's lead-safe certification rule generally applies to paid work that disturbs paint, but it does not cover minor repairs that disturb six square feet or less of paint per room inside, which a single patch usually stays under. If the job grows past $1,000, the person needs a Virginia contractor's licence.
Sources
- [1] Plastic Wood-X Wood Filler with DryDex, DAP. Checked October 26, 2026.
- [2] Great Stuff Consumer Safety Information, DuPont. Checked October 26, 2026.
- [3] Interior Door Limited Warranty, with installation, care and finishing instructions, Masonite. Checked October 26, 2026.
- [4] Storage, Handling and Finishing Instructions for Interior Doors, Masonite. Checked October 26, 2026.
- [5] Reduce the Risk of Lead Exposure at Home, U.S. Environmental Protection Agency. Checked October 26, 2026.
- [6] Lead Renovation, Repair and Painting Program, U.S. Environmental Protection Agency. Checked October 26, 2026.
- [7] Lead Renovation, Repair and Painting Program: Contractors, U.S. Environmental Protection Agency. Checked October 27, 2026.
- [8] Va. Code § 54.1-1100, Definitions (Contractors), Code of Virginia, Virginia General Assembly. Checked October 26, 2026.
- [9] Va. Code § 54.1-1103, Necessity for license, Code of Virginia, Virginia General Assembly. Checked October 26, 2026.
Want a pro to handle it?
Describe the job once. Licensed local businesses send quotes, and you pay only when you book one.
Get a quote from a local pro