How do I fix nail pops in drywall?
Set the popped nail below the surface with a hammer, then drive drywall screws into the stud on each side of it so the board stays tight. Fill the dents with spackling or joint compound, let each coat dry, sand, prime and paint. Skip the screws and the pop usually returns, because a loose board is what pushed the nail out.
Free to ask. Local shops send quotes, and you pay only when you book one.
By Kasra Taheri, Founder, LoclisPublished
Researched and drafted with AI, then checked claim by claim against the sources listed below before it was published. Prices and rules change; the dates beside each source say when it was last checked.
Step by step
Read when to stop and call a pro, further down this page, before you start.
Step 1: Find the stud
The popped nail is already in a stud; the new screws go in that same line, a short distance above and below it.
Step 2: Set the nail
Counter-sink the popped nail lightly with a hammer.[1]
Step 4: Clean the spot
Remove dust and debris with a vacuum or brush so the filler grips the wall.[1]
Step 5: Fill it
Press patching compound over the nail and screw heads with a putty knife and leave the surface flat.[2]
Step 6: Let it dry and recoat
Allow each coat to dry before adding another, and add a second coat if needed.[2]
Step 7: Sand smooth
Sand with a wet sponge, or with 150-grit paper or finer, then wipe the dust off.[2]
A nail pop is a small raised circle on a wall or ceiling where a drywall nail has backed out and pushed the paint up. Fixing it takes three moves: secure the board with screws so the nail cannot pop again, set the loose nail below the surface, and fill, sand, prime and paint over the spot. It is a small job, but skipping the screws is why pops come back.
Why nails pop
A nail that pops up and shows through drywall is known as a "nail pop."[1] The usual cause is a board that is not held tight to the framing. USG puts it this way: all gypsum panels should be tight and secure against the framing members or underlying substrate.[3] Loose panels will create “fastener pops” and joint cracks.[3]
That is why hammering the nail back in is not a lasting fix. The board is still loose, and the nail works its way out again. The repair has to pull the board back against the stud.
How to fix a nail pop
Start by counter-sinking a nail pop with a hammer.[1] Tap it lightly, so the head sits just below the paper surface without punching through it.
To prevent nail pops from happening again, put sheetrock screws into the stud, on each side of the nail pop.[1] Find the stud first: the popped nail is already in it, so the screws go a short distance above and below the nail along the same line. Drive each screw until the head sits just below the surface without tearing the paper. Drywall screws should be driven to penetrate just below the gypsum panel surface without breaking the surface paper.[3] A screw driven too far leaves a dent that shows through the paint.
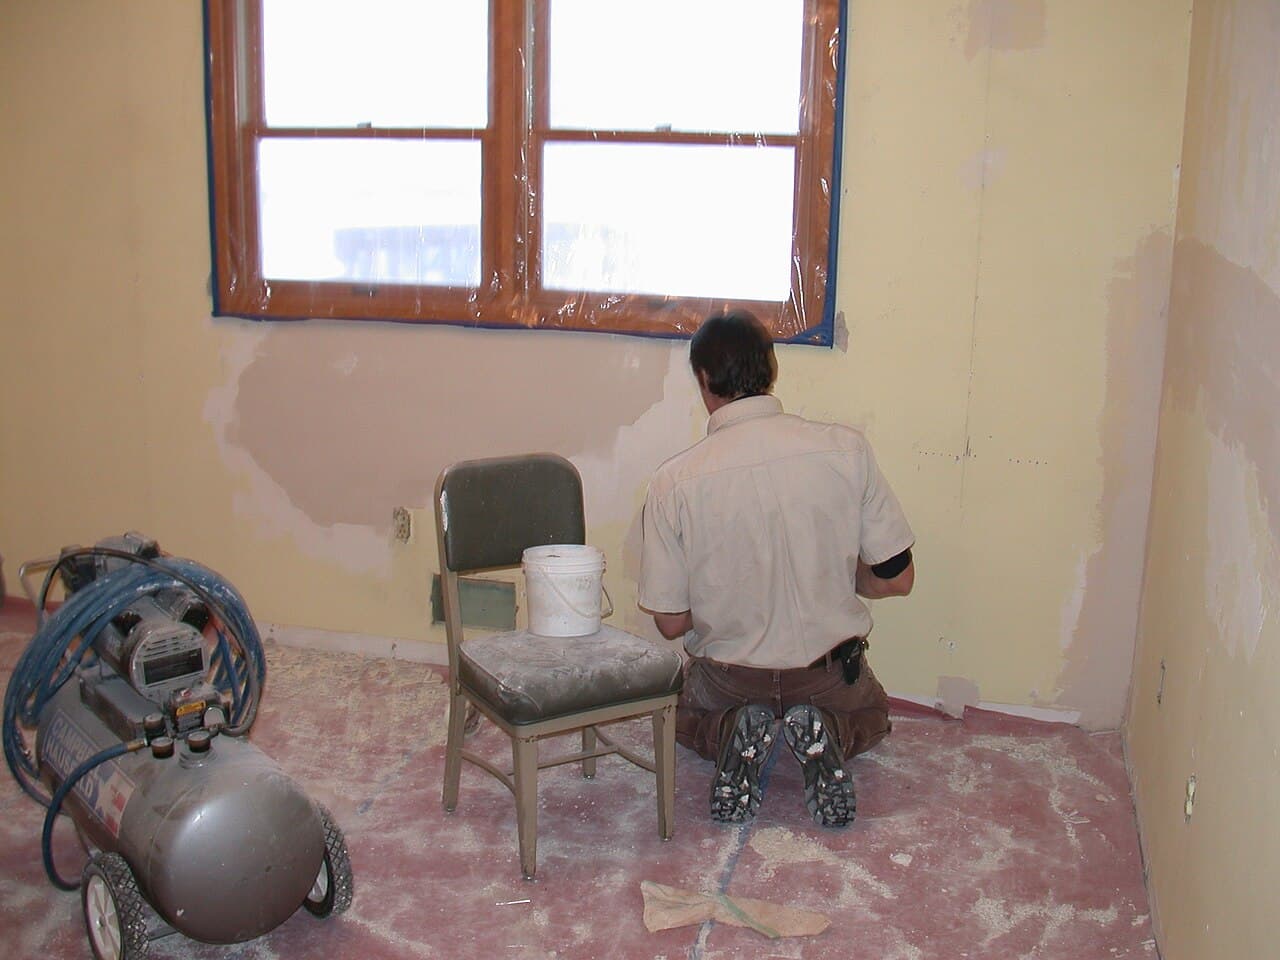
Fill, sand and prime
Fill nail pop holes as you would a screw hole or any other minor imperfection.[1] Remove dust and debris with a vacuum or brush first, because dust can affect how well the filler dries and grips the surface of the wall.[1] Press the compound in with a putty knife and draw the knife firmly across the spot so the surface is left flat.
USG gives the sequence for a popped nail: cover with patching compound, let it dry, add a second coat if necessary, then sand and prime when dry.[2] Apply over dry surfaces only and allow each coat to dry before applying another coat.[2] At 75 °F and 50% relative humidity, allow approx. 24 hr. between applications.[2] A spackling such as DAP DryDex changes color when it is dry, in approximately 1 to 5 hours depending on temperature, humidity and depth of fill, and the manufacturer says one application is usually sufficient for small repairs less than 1/8" in depth.[4]
To sand without a cloud of dust, sand with a wet sponge to eliminate dust and scuffing of paper.[2] If dry sanding, use 150-grit sandpaper, 220-grit abrasive mesh cloth or finer.[2] Wipe the wall with a damp cloth and let it dry.
Prime the patch before you paint. Priming seals the filler and helps prevent it from absorbing the new paint.[1] Skip this step and the repaired spots show as dull patches in the finished wall, a problem called flashing.
Matching the paint
Spot-painting only the patch often shows. If you can, paint the whole wall from corner to corner. If you only touch up, match the color and the sheen, and use the same kind of roller or brush you used before: the flatter the finish, the easier it is to touch up, and the glossier the finish, the more challenging.[6]
When pops keep coming back
A few pops in a new house are normal as the framing settles and dries. A wall or ceiling with many pops, or pops that return after screws, points to something other than a stray nail. In that case a drywall finisher can reset the fasteners across the whole surface. That job is cheaper and tidier before you repaint than after.
Stop and call a pro if
- Pops are all over a ceiling or a large wall. The board may be loose across a wide area, and a ceiling pop that lets go can bring compound or paper down with it.
- There is a water stain, soft spot or bubbling near the pop. Moisture is the cause, and filling it hides the problem. Find the leak first.
- The drywall is crumbling. EPA advises that a home with damaged building materials, such as crumbling drywall, may warrant inspection by a trained and accredited asbestos professional, and says that if in doubt you should treat the material as if it contains asbestos and leave it alone.[7]
- The paint is flaking in a home built before 1978. Any renovation, repair or painting project in a pre-1978 home or building that has lead-based paint can easily create dangerous lead dust.[5] If you hire someone, EPA says anyone paid to perform work that disturbs paint in housing built before 1978 must be certified in lead-safe work practices.[5]
Getting help in Virginia
If the repair grows beyond a few pops, read how much a patch and paint job costs in Virginia and whether to hire a painter or a drywall contractor. Browse more painting answers or the painting category.
When you want a pro to do it, describe the wall once and local contractors will quote it.
Common questions
- Why do nail pops come back after I fill them?
- Because the board is still loose against the stud. USG says loose panels create fastener pops, so filling over the nail without securing the board only hides it for a while. Add screws into the stud on each side of the nail and the board is held in place.
- Can I just hammer the nail back in?
- Only as part of the repair. Benjamin Moore's method starts by counter-sinking the nail with a hammer, then adds screws on each side of it into the stud. Hammering alone leaves the board loose.
- Should I use spackle or joint compound?
- Either works for a small spot. Benjamin Moore lists spackling or joint compound as the filler, and USG calls for patching compound over a popped nail.
- How long before I can paint over a nail pop repair?
- It depends on the compound and the room. USG allows approx. 24 hours between coats at 75 °F and 50% relative humidity, while a spackling like DAP DryDex changes color when it is dry, typically in approximately 1 to 5 hours depending on temperature, humidity and depth of fill. Prime before painting.
- Do I need to worry about lead paint when sanding a nail pop?
- If the house was built before 1978, yes. EPA's rule on paid work does not generally apply to homeowners doing their own work, but EPA still urges lead-safe practices. Wet sanding and wiping up the dust cut the mess.
Sources
- [1] How to Fix Cracks and Holes in Walls, Benjamin Moore. Checked October 27, 2026.
- [2] Sheetrock Brand Patch and Repair Pack Plus 3 Application Tips (J1805), United States Gypsum Company. Checked October 27, 2026.
- [3] Wallboard Finished Appearance, Managing Expectations and Best Practices (WB2625), United States Gypsum Company. Checked October 27, 2026.
- [4] DryDex Spackling, technical data sheet (08/2024), DAP. Checked October 27, 2026.
- [5] Lead Renovation, Repair and Painting Program, U.S. Environmental Protection Agency. Checked October 27, 2026.
- [6] How to Touch Up Paint, Benjamin Moore. Checked October 27, 2026.
- [7] Protect Your Family from Exposures to Asbestos, U.S. Environmental Protection Agency. Checked October 27, 2026.
Want a pro to handle it?
Describe the job once. Licensed local businesses send quotes, and you pay only when you book one.
Get a quote from a local pro