How do I paint interior doors without brush marks?
Take the door off its hardware, clean it, sand it smooth and prime bare or patched wood. Paint with a good angle brush on the panels and edges and a roller on the flat areas, in thin, even coats, tipping the brush lightly. Let each coat dry fully, at least four hours, before the next.
Free to ask. Local shops send quotes, and you pay only when you book one.
By Kasra Taheri, Founder, LoclisPublished
Researched and drafted with AI, then checked claim by claim against the sources listed below before it was published. Prices and rules change; the dates beside each source say when it was last checked.
Step by step
Read when to stop and call a pro, further down this page, before you start.
Step 1: Take off the hardware
Unscrew the knob and latch plate and set the screws aside, so you are not painting around them.[1]
Step 2: Clean the door
Wash it with a degreasing dish soap and rinse with a clean, damp cloth.[1]
Step 3: Sand it smooth
Sand the surface smooth and wipe the dust off with a clean, damp rag.[1]
Step 6: Roll the flat areas
Roll the remaining areas in thin, even layers.[1]
Step 7: Let the first coat dry
Wait at least four hours before a second coat.[1]
Step 8: Add the second coat and leave it
Paint a second thin coat, then let it dry four hours or overnight, and reattach the hardware only once the paint is fully dry.[1]
Prep carefully, brush gently, and let it dry
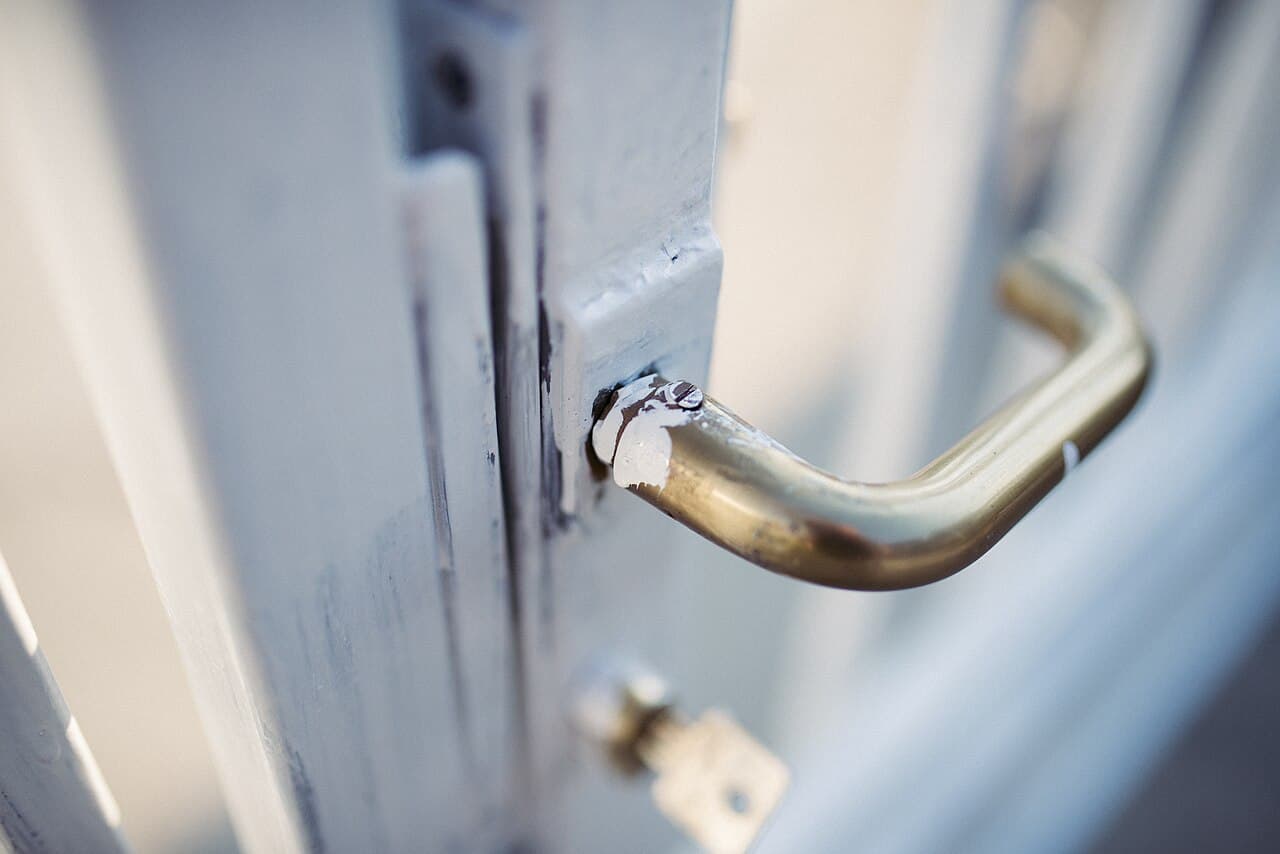
Brush marks come from three things: a cheap brush, paint that was worked too hard, and a coat recoated before the last one was dry. Fix those and an ordinary interior door paints smoothly.
Start with the brush. Benjamin Moore's trim guide warns that "Inexpensive brushes tend to leave brush marks or lose bristles as you paint" and recommends high-quality nylon/polyester brushes for water-based paint.[2] A good angle brush, buying one decent brush rather than a cheap set, is the best money you will spend on this job.
Get the surface right first
Take the hardware off before you start. Sherwin-Williams says to "Remove hardware ahead of time to make painting your doors quicker and easier", and to reattach it only once the paint is fully dry.[1] Painting around a knob is where most drips and smears begin.
Then clean and sand:
- Wash the door with degreasing dish soap, rinse with a clean, damp cloth, and let it dry. Grease and finger oils are what a clean surface gets rid of.[1]
- Sand the surface smooth and wipe off the dust with a clean, damp rag.[1] If the existing finish is glossy, sanding matters more: Benjamin Moore says high-gloss trim should be sanded so the new primer or paint will take.[2]
- Prime bare wood and any filled holes or dents. Sherwin-Williams says to prime a door that has not already been painted or primed, and Benjamin Moore says all repairs should be primed before painting.[1][2]
How to put the paint on
Work in this order: panels and edges with a brush, flat areas with a roller. Sherwin-Williams has you use an angle trim brush on the paneled areas and around the hinges and hardware, then a roller on the remaining areas in thin, even layers.[1]
Technique is the part people get wrong:
- Load the brush lightly. Benjamin Moore says to dip about a third of the way into the paint and tap off the excess against the side of the container.[2]
- Press lightly. In their words, "If you press lightly, the paint will release evenly and level off, giving you a professional-quality finish."[2]
- Brush with the grain on a flat door, and on a panel door do the recessed panels first, then the horizontal rails, then the vertical stiles, so you finish on the long visible strokes. Keep a wet edge by working across a section without stopping.
- Do not go back over paint that has started to tack up. A dragged, sticky patch is what leaves a ridge. Leave it, let it dry, and fix it on the next coat.
Two thin coats beat one thick one. Sherwin-Williams says to allow at least four hours before applying a second coat, and four hours or overnight after the second.[1] If you are not sure the first coat is dry, wait longer.
Do not rush the last step
A door that feels dry can still be soft enough to stick in the jamb. Benjamin Moore's cabinet-painting guide makes the point for painted cabinet doors, and it holds for room doors too: "The longer the paint dries, the more durable its finish will be and the less likely it will stick during reinstallation."[3] Keep the door open until the paint has cured, and a bit of wax on the latch edge does no harm.
Stop and call a pro if
- The house was built before 1978. Old paint may contain lead. EPA says old or worn lead-based paint, "especially on surfaces subject to constant friction like doors or window sills, can produce chips and dust that become a hazard when inhaled or ingested."[4] Sanding it is exactly how that dust is made. Anyone paid to disturb painted surfaces in a pre-1978 home must be lead-safe certified, and EPA recommends that homeowners planning such work hire a lead-safe certified contractor.[4] If you are unsure, hire a lead-safe certified contractor instead of sanding it yourself.
- The paint is peeling or cracking in layers. That points to moisture or a failed old coat that needs more than a light sanding.
- The door is warped, rubs the frame or has water damage. That is a carpentry repair, not a paint problem.
Next steps
If you also plan to do the trim, read should I hire a painter just for trim and doors and how much it costs to paint trim and doors in Virginia. More are in painting answers, and you can browse the painting category.
If you would rather hand it off, describe the job and local painters will quote it.
Common questions
- Should I take the door off its hinges to paint it?
- You do not have to. Taking off the hardware is the step that matters most. Lifting the door off its hinges and laying it flat lets paint level out and avoids runs on the panels, but a door painted standing up works if you keep coats thin.
- Brush or roller for an interior door?
- Both. Sherwin-Williams has you brush the panels and around the hinges and hardware, then roll the remaining areas in thin, even layers.
- How long should I wait between coats?
- Sherwin-Williams says to let the first coat dry at least four hours before a second, and to let the second dry four hours or overnight.
- Do I need to sand a door before painting it?
- Yes. Sherwin-Williams has you sand the surface smooth and wipe off the dust. Benjamin Moore adds that a high-gloss finish should be sanded so the new primer or paint can grip.
- Why does my painted door stick in the frame?
- Paint that has not finished drying can stick where the door meets the frame. Benjamin Moore's cabinet guide notes that the longer paint dries, the less likely it is to stick during reinstallation, and the same logic applies to a door.
- Is it safe to sand an old door in an older house?
- Not without checking. In a home built before 1978 the old paint may contain lead, and sanding can create dangerous dust, so see the section below before you start.
Sources
- [1] How to Paint Interior Doors, Sherwin-Williams. Checked October 27, 2026.
- [2] How to Paint Trim: 4 Steps for Painting Trim, Benjamin Moore. Checked October 27, 2026.
- [3] How to Paint Kitchen Cabinets Like an Expert in 9 Steps, Benjamin Moore. Checked October 27, 2026.
- [4] Lead Renovation, Repair and Painting Program, U.S. Environmental Protection Agency. Checked October 27, 2026.
Want a pro to handle it?
Describe the job once. Licensed local businesses send quotes, and you pay only when you book one.
Get a quote from a local pro