Why are my new stair treads squeaking?
New treads usually squeak because wood rubs on wood where a joint is loose: the tread against its riser, against the stringer, or against a nail that has worked slack as the wood changed with the seasons. Find the step that makes the noise, then add glue and screws through pre-drilled holes where the parts meet. If the whole stair moves, call a pro.
Free to ask. Local shops send quotes, and you pay only when you book one.
By Kasra Taheri, Founder, LoclisPublished
Researched and drafted with AI, then checked claim by claim against the sources listed below before it was published. Prices and rules change; the dates beside each source say when it was last checked.
Step by step
Read when to stop and call a pro, further down this page, before you start.
Step 1: Find the noisy step
Walk the stairs slowly, close to the wall side first, and mark each step that squeaks with a piece of painter's tape.
Step 2: Locate the movement
Have a helper step on the tread while you watch and feel for movement at the front edge, the back joint with the riser and the ends where the tread meets the stringer.
Step 3: Look for gaps
Check for a visible gap between tread and riser or tread and stringer; a gap means the parts have shrunk apart or were never pulled tight.
Step 4: Mark where the screws go
Choose spots that hit solid wood, such as through the tread into the riser below, and keep them in line so the screw heads look deliberate.
Step 5: Pre-drill the holes
Drill lead holes slightly smaller than the screw so the tread does not split.[2]
Step 6: Glue the joint
Work a thin bead of wood glue or construction adhesive into any gap you can reach.[1]
Step 7: Drive trim-head screws
Drive screws through the pre-drilled holes until the tread is snug and the movement stops, without crushing the wood.
Step 8: Fill and finish
Fill the screw heads with matching wood filler, sand lightly and touch up the finish once it has dried.
Step 9: Retest the stairs
Walk the step again, and repeat on any step that still squeaks.
The short version
New stair treads squeak because two pieces of wood are rubbing at a joint that has gone a little loose. The usual places are where the tread meets the riser below it, where the tread ends meet the stringer, and around a nail that has stopped gripping. The fix is to find the exact step and the exact joint, then close the gap with glue and screws set in pre-drilled holes.
Why new treads squeak
Wood is never fully still. Proper drying reduces shrinking and swelling of wood while in use to manageable amounts under all but extreme conditions of relative humidity or rewetting such as flooding.[3] "Manageable" still means movement, and a stair has many joints that can open a hair as a heated house dries out in winter.
Fasteners matter here. The withdrawal resistance for nails driven into wood that is subjected to changes in moisture content may be as low as 25% of the values for nails tested soon after driving.[2] A treads-and-risers stair held together with a few nails, and no glue, is a common recipe for a squeak.
Other common causes on a new job:
- Tread not glued to the riser or stringer. Treads held by nails alone can flex and rub.
- A riser that does not quite touch the tread. A hairline gap lets the tread rock down onto it.
- Wedges or shims behind a stringer that have shrunk or slipped.
- New treads laid over an old stair that was already loose, so they inherit its movement.
Find the squeak before you fix it
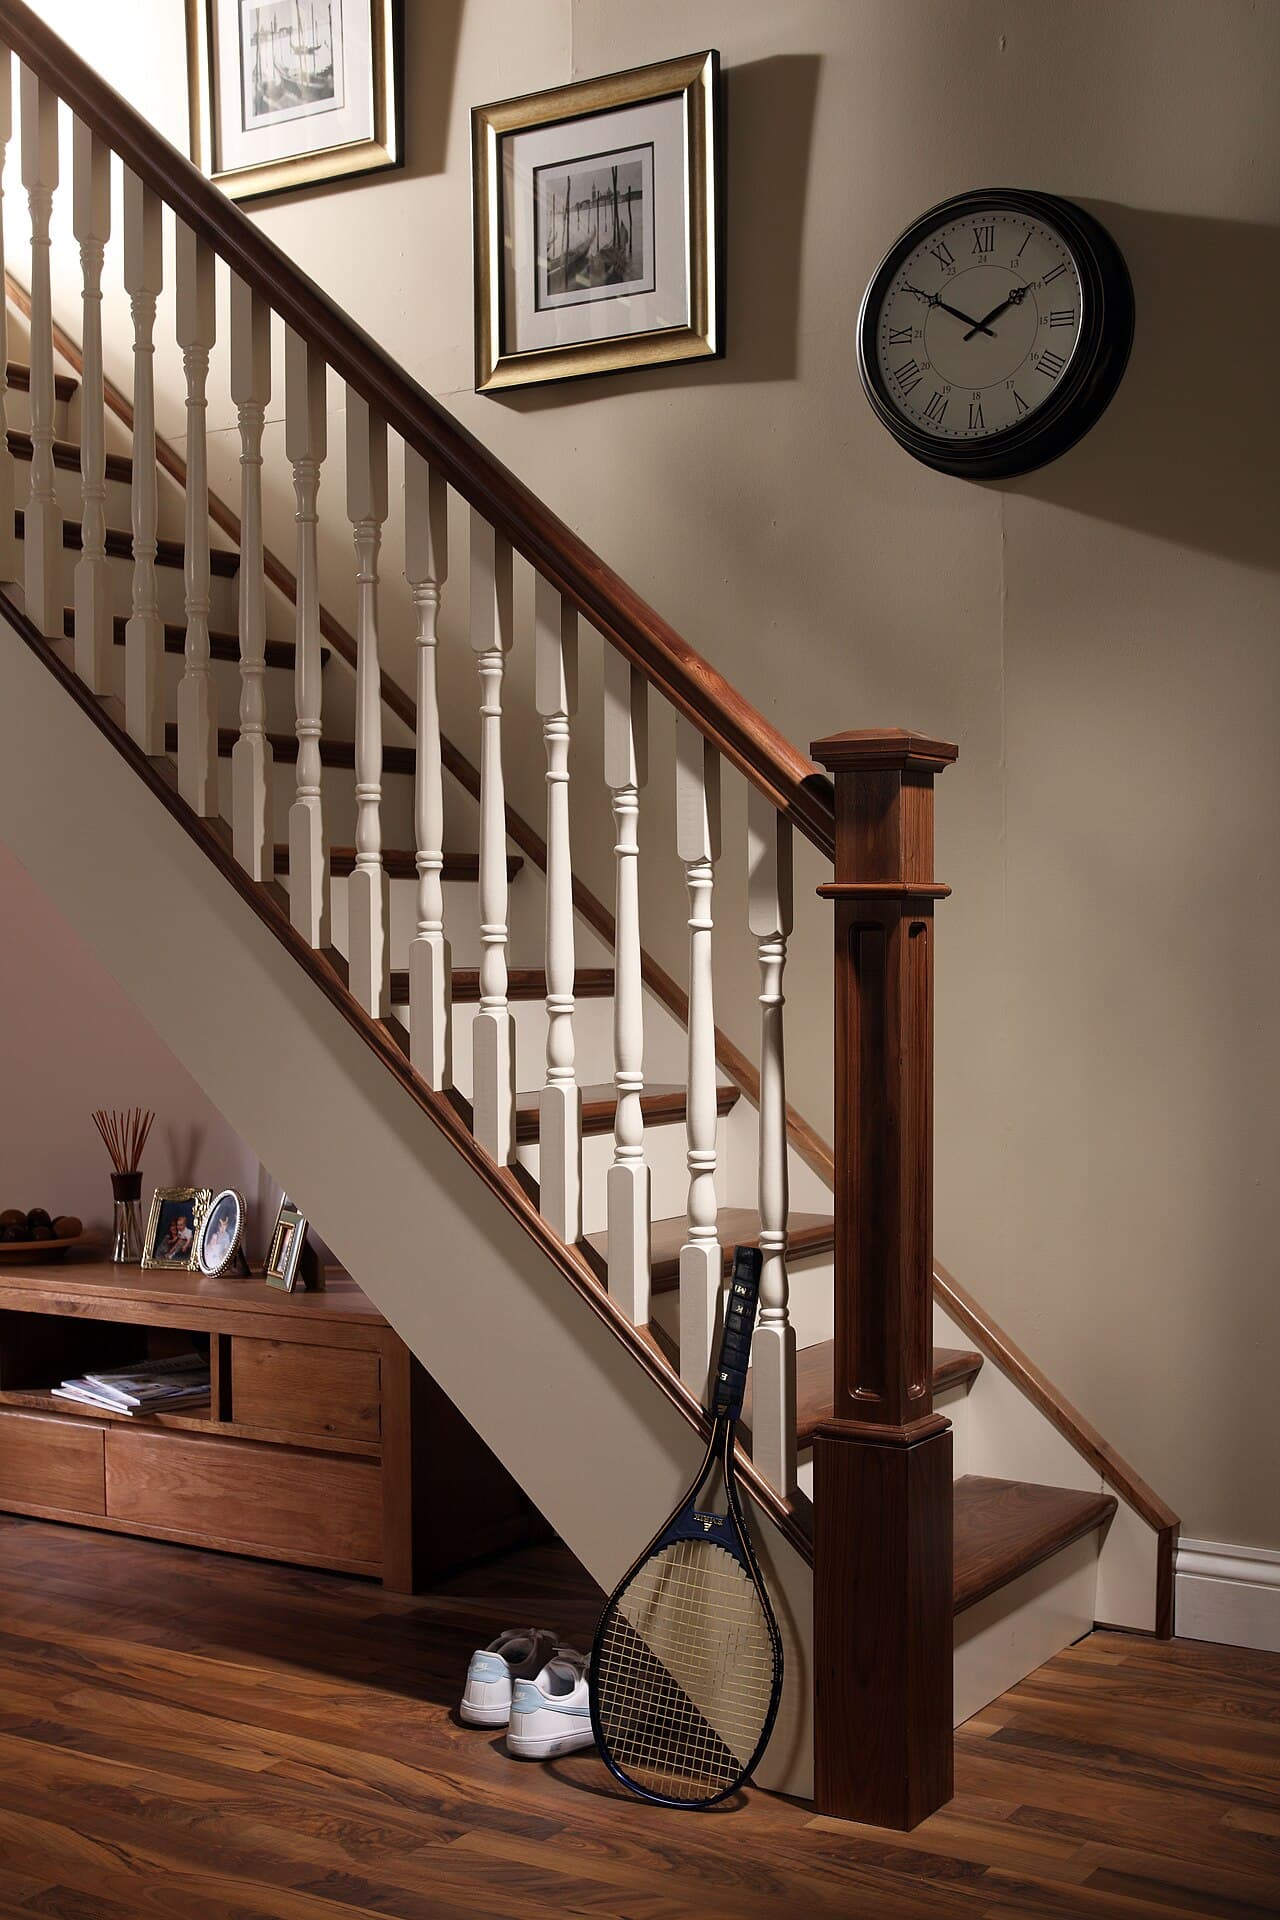
Walk the stairs slowly and mark the noisy steps with tape. Squeaks are often loudest near the middle of a tread and quietest at the wall side, so test both. Then have a helper stand on the step while you watch the joint line. A gap that opens and closes under weight, or a riser that visibly rocks, tells you where to work.
If you can, check from underneath. An unfinished basement stair lets you see the back of the riser and the underside of the tread, which makes the fix quicker and the result less visible.
Close the gap
Glue first, then screws. Construction adhesives enable a nailed or screwed floor system to act to some degree as a composite assembly with increased stiffness.[1] The Forest Products Laboratory describes this for floor systems: "Floors are less bouncy with fewer squeaks and nail pops or screw pulls."[1] A stair tread is a smaller version of the same joint: glue stops the rubbing and screws hold it shut while it cures.
Drill lead holes before you drive a screw, especially in hardwood, so the tread does not split.[2] Space the screws in a neat line at the tread-to-riser joint so they look intentional, drive them just below the surface, and fill the heads with matching filler.
For a squeak in the middle of a wide tread, a short run of screws through the tread into the riser or a glued block under the tread is usually enough. For a step that squeaks at the end, check the stringer joint first.
If you recently had treads installed, the installer may owe you a callback. Read the warranty before you touch anything, so a fix does not complicate a claim. Our guide to how to fix a squeaky floor covers the same ideas for the floor itself.
Stop and call a pro if
- The stair moves as a whole. If the stringers flex, a tread is cracked through, or the staircase shifts when you climb it, that is a structural job, not a squeak.
- A tread or riser is split or sagging. It should be replaced, not screwed together.
- The squeak sits behind a finished ceiling. Getting at it means opening drywall.
- Every step is noisy. That points to how the stair was built, and the installer or a carpenter should look at it.
- The handrail or balusters are loose. That is a fall risk, so have it checked before you use the stairs.
Getting help in Virginia
Start with the person who installed the treads. If you need someone else, read should I hire a carpenter to replace stair treads, how to replace carpeted stairs with wood treads and what it costs to replace stair treads in Virginia. DPOR's guide says: "If the work you are considering is valued at $1,000 or more, a valid Virginia Contractor’s License is required for the license category in which the contractor is to work."[4] Browse flooring or more flooring answers.
When you are ready, describe the stairs once and licensed local pros quote them.
Common questions
- Is a squeak in brand-new treads a sign of bad work?
- Not necessarily. Wood moves as the house heats, cools and changes humidity, and a joint that was snug on install day can loosen a little. A squeak on a few steps is usually a small fix. A stair where every step moves, or one that has gotten worse quickly, deserves a look from the installer.
- Should I use nails or screws to stop a stair squeak?
- Screws, set into pre-drilled holes. Nails hold less well once the wood goes through moisture cycles: the Forest Products Laboratory says nails driven into wood that is subjected to changes in moisture content may be as low as 25% of the values for nails tested soon after driving. A screw pulled tight with glue closes the gap instead of just sitting in it.
- Will the squeak go away on its own?
- Sometimes it eases when the seasons change, but a loose joint rarely tightens itself. If the step is still noisy after a full year of heating and cooling, treat it rather than waiting.
- Can I fix a squeaky step from underneath?
- On an open basement stair, often yes: a glued block or a screw driven up through the riser from below can pull the parts together. Behind a finished ceiling it means opening drywall, and that is the point to hire someone.
- Does powder or lubricant stop a squeak?
- It can quiet a rubbing joint for a while, but it does not close the gap. If you try talc or a dry lubricant, keep it off the tread surface where feet land, since a slick tread is a fall risk.
- Who should I call if the squeak is on a fresh installation?
- Start with the installer who did the work, because a callback may be covered under their warranty. If you hire someone else, ask for the contractor license number first: Virginia requires a license for work valued at $1,000 or more.
Sources
- [1] Wood Handbook, Chapter 10: Adhesives with Wood Materials (FPL-GTR-190), USDA Forest Service, Forest Products Laboratory. Checked October 28, 2026.
- [2] Wood Handbook, Chapter 8: Fastenings (FPL-GTR-190), USDA Forest Service, Forest Products Laboratory. Checked October 28, 2026.
- [3] Wood Handbook, Chapter 13: Drying and Control of Moisture Content and Dimensional Changes (FPL-GTR-190), Forest Products Laboratory, USDA Forest Service. Checked October 28, 2026.
- [4] What You Should Know Before You Hire a Contractor, Virginia Board for Contractors, DPOR. Checked October 28, 2026.
Want a pro to handle it?
Describe the job once. Licensed local businesses send quotes, and you pay only when you book one.
Get a quote from a local pro