How do I patch a vinyl pool liner?
For a small tear or hole, use a vinyl patch kit made for underwater use. Cut a patch with a two-inch overlap on every side and rounded corners, clean it and the liner, coat one side with the kit's vinyl cement, fold it loosely, unfold it over the hole underwater, press out the bubbles, and leave it to bond for a day.
Free to ask. Local shops send quotes, and you pay only when you book one.
By Kasra Taheri, Founder, LoclisPublished
Researched and drafted with AI, then checked claim by claim against the sources listed below before it was published. Prices and rules change; the dates beside each source say when it was last checked.
Step by step
Read when to stop and call a pro, further down this page, before you start.
Step 1: Find the damage and dry-fit the patch
Look closely at the hole or tear and cut the vinyl patch so it overlaps the damage by two inches on all sides.[1]
Step 2: Round the corners
Round the patch corners to minimize peeling.[1]
Step 3: Clean the patch and the liner
Wipe the patch with the alcohol wipe from the kit and make sure the liner surface is free from debris.[1]
Step 4: Coat one side of the patch
Brush an even coat of the vinyl cement on one side of the patch, edge to edge.[1]
Step 5: Fold it loosely
Fold the patch in half without pressing the folded surfaces together, so it does not bond to itself.[1]
Step 6: Unfold it over the damage
Take the folded patch underwater, unfold it over the damaged area and press it firmly onto the vinyl.[1]
Step 7: Press out the bubbles
Apply even pressure throughout to push out air bubbles, and hold it for a minute or so.[1]
Step 8: Leave it alone
Allow at least an hour for the bond to form; the strongest hold comes after a day.[1]
Use a vinyl patch kit made for underwater use. For a small hole or tear, cut a patch that overlaps the damage by two inches on every side, round its corners, coat one side with the kit's vinyl cement, fold it loosely, then unfold it over the damage under water and press out every bubble. Leave it undisturbed for at least a day. Large tears, seam splits and damage near a fitting are a different job.
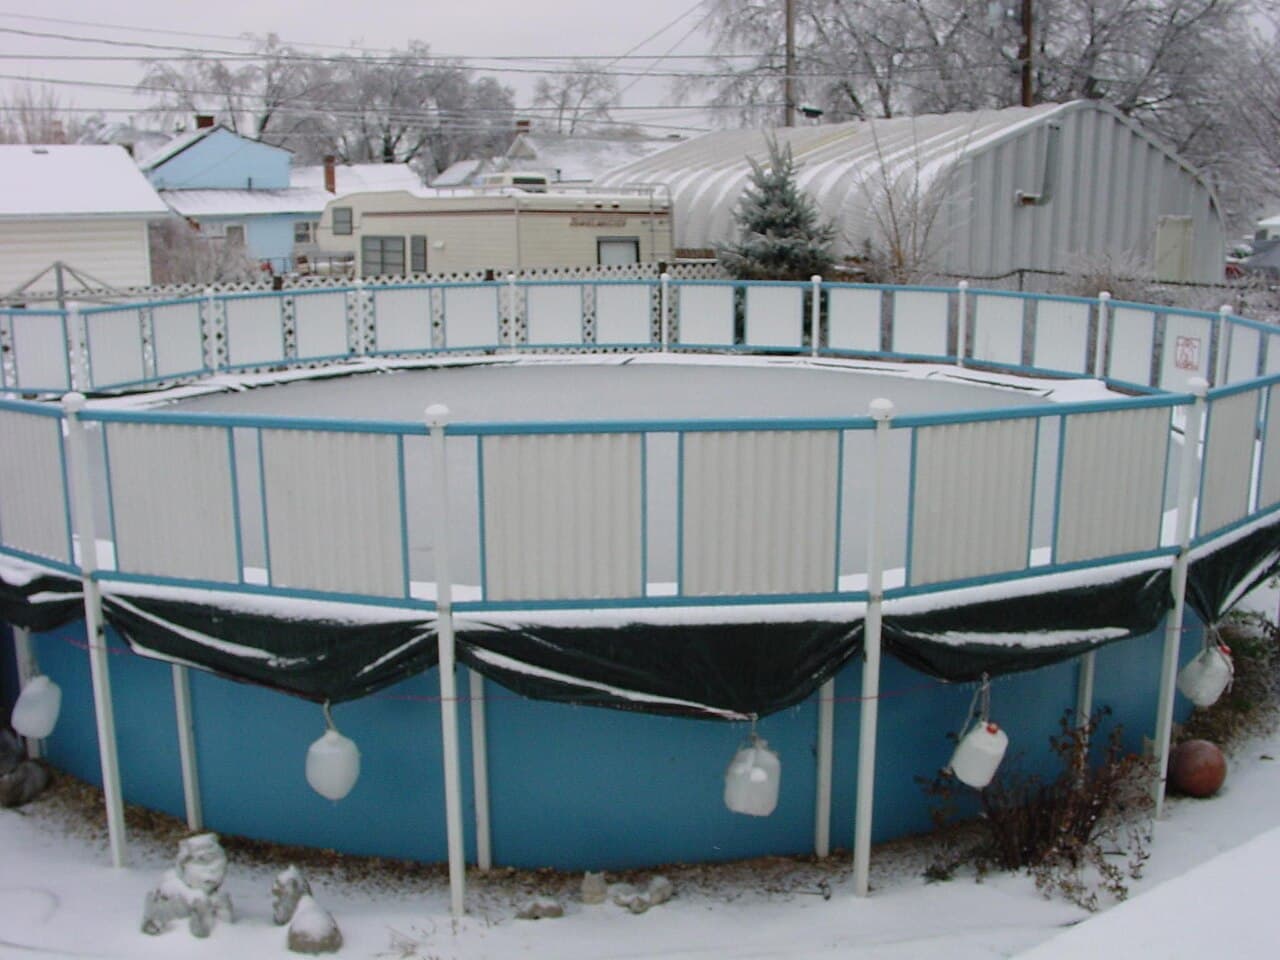
Why you can usually patch with the water in
Draining a vinyl-liner pool is a last resort. Swimline's care guidance says "Draining can stress and shrink the liner and may void warranty."[2] Underwater patches exist for exactly this reason, and a kit made for the purpose is a sound fix for a small puncture, such as one from a toy, a stick or a pool tool.
Use a kit sold for vinyl pools, with its own vinyl cement and a clear vinyl patch. The steps below follow RH Adhesives' underwater instructions for its HH-66 kit; if your kit's sheet differs, the sheet in your box wins.
Before you start
Find the hole first. A hole you can see is simple. If the pool is losing water and you cannot see why, do a bucket test before you patch anything, because a patched liner does not help if the water is going out through a pipe or a fitting.
You need the kit, a pair of goggles or a mask, and a clear few minutes without swimmers or a running vacuum.
Patch it, step by step
Size the patch first. The instructions are to "Cut patch to appropriate size, ensuring a two-inch overlap on all sides. Round corners to minimize peeling."[1] Square corners catch on brushes and nets and lift; rounded ones stay down.
Clean both surfaces. Wipe the patch with the alcohol wipe in the kit, and make sure "the liner surface is free from debris" where it will sit.[1] Algae or slime under a patch is a path for water.
Coat the patch, not the liner. Brush the cement evenly over one whole side of the patch, edge to edge.[1] Do not leave dry strips at the border.
Then "Fold the vinyl patch in half loosely. Do not press the folded surfaces together, as this may cause the patch to bond to itself."[1] Take it down to the damage with the cement side folded in.
Unfold it over the hole, centered, and press firmly. The kit's instruction is "Apply even pressure throughout to remove air bubbles. Maintain pressure for a minute or so to ensure the bond is formed."[1] Work from the middle outward and finish with the edges, since a lifted edge is where the patch fails.
Last, wait. The kit says: "Allow to fully bond for at least an hour. Strongest hold achieved after one day."[1] Keep the cleaner out of the pool and nobody brushing that wall for that day.
What about the dry method
If the damaged area is above the water, the same kit has a dry method: coat both surfaces, wait until the cement is tacky ("typically around two minutes"), then press the patch on firmly.[1] That is simpler, but it only suits a spot you can reach without lowering the water.
Stop and call a pro if
- The tear is long, or runs along a seam. A patch is for a hole, not a split. Swimline's warranty covers seam separation from manufacturing defects for 15 or 25 seasons, while it excludes "Rips, tears, punctures, or other mechanical damage".[3] Contact the retailer who sold the liner before you cover a seam.
- The damage is at a skimmer, return, light or step. Those need the water level lowered and the fitting handled, which is liner and plumbing work.
- The pool keeps losing water after the patch. Have the leak located; see what leak detection costs.
- The liner is brittle, faded or wrinkled all over. More patches will not fix an aging liner; see whether to patch or replace.
- You are paying someone to do it. In Virginia, "Swimming pool construction contracting" covers "the construction, repair, improvement, or removal of in-ground swimming pools",[4] and "if the work you are considering is valued at $1,000 or more, a valid Virginia Contractor's License is required for the license category in which the contractor is to work."[5]
Next steps in Virginia
Browse more pool equipment answers, or find local help in pool equipment repair. If a patch is not enough, describe the damage and Virginia pool pros can quote it.
Common questions
- Can I patch a vinyl pool liner without draining the pool?
- Yes, for a small hole or tear. Patch kits made for underwater use are designed for it, and you work the patch on while submerged. Draining is best avoided: Swimline says draining can stress and shrink the liner and may void warranty.[^swimline-faq]
- How long before I can leave the patch alone?
- RH Adhesives' kit instructions give at least an hour to bond and say the strongest hold comes after one day.[^rh] Whatever kit you use, follow the cure time on its own sheet and keep brushes, nets and vacuum heads away from the patch until then.
- Why round the corners of the patch?
- Square corners lift first and peel. The kit instructions say to round the corners to minimize peeling.[^rh]
- Will the liner warranty cover a tear?
- Usually not. Swimline's warranty covers seam separation from manufacturing defects and excludes rips, tears and punctures.[^swimline-warranty] Read the warranty that came with your own liner.
- What if the pool is still losing water after the patch?
- The hole may not have been the only leak, or the water may be escaping through plumbing, a fitting or a seam. Run a bucket test and, if the loss continues, have a leak specialist find it before you buy more patches.
Sources
- [1] Repair a vinyl pool liner with the HH-66 underwater pool patch kit, RH Adhesives. Checked October 27, 2026.
- [2] Swimline Frequently Asked Questions (liner care), Swimline. Checked October 27, 2026.
- [3] Pool Liner Warranty, Swimline. Checked October 27, 2026.
- [4] 18VAC50-22-30. Definitions of specialty services (Board for Contractors Regulations), Virginia Administrative Code, Virginia General Assembly. Checked October 27, 2026.
- [5] What You Should Know Before You Hire a Contractor, Virginia Board for Contractors, DPOR. Checked October 27, 2026.
Want a pro to handle it?
Describe the job once. Licensed local businesses send quotes, and you pay only when you book one.
Get a quote for Pool Equipment