How do I fix a scratch in wood furniture?
Match the repair to the depth. Clean the spot first. For a light scratch, rub with a nutmeat such as a walnut or pecan, or with a conditioner or oil that suits the finish. For a scratch you can feel, tint it with stain or a scratch remover that matches the finish. For a gouge, use a colored filler stick. Test on a hidden spot first.
Free to ask. Local shops send quotes, and you pay only when you book one.
By Kasra Taheri, Founder, LoclisPublished
Researched and drafted with AI, then checked claim by claim against the sources listed below before it was published. Prices and rules change; the dates beside each source say when it was last checked.
Step by step
Read when to stop and call a pro, further down this page, before you start.
Step 1: Clean the scratched area
Clean the spot with a furniture cleanser-conditioner, which also helps blend the color of the scratched area with a natural finish.[1]
Step 2: Test on a hidden spot
Try any stain, oil or remover on the underside or back of the piece first, so a wrong color or a reaction with the finish does not land on the top.
Step 3: Rub a light scratch with a nutmeat
On a natural finish, rub a broken pecan, walnut or Brazil nut diagonally along a minor scratch until it darkens.[1]
Step 4: Oil an oil finish
On an oil finish, rub carefully with the grain using a fine steel wool pad dipped in mineral oil or boiled linseed oil, then wipe the whole surface.[1]
Step 5: Soften the finish for a small scratch
On a shellac, lacquer or varnish finish, the matching solvent applied with a small brush or toothpick softens the finish around a small scratch.[1]
Step 6: Color a deeper scratch
Use a stain close to the original, or a commercial scratch remover as its label directs, applied with a fingertip or a small pointed brush along the scratch.[1]
Step 7: Feather it out
Work diagonally along the scratch, feathering the color toward the edges, and let it dry before judging it.[1]
Step 8: Repeat if needed
It may be necessary to repeat the process after 24 hours.[1]
Step 9: Fill a gouge
For a hole or gouge, fill it with a lacquer stick in a shade close to the wood, after cleaning out any char.[1]
Step 10: Rub in the repair
When dry, rub varnish or shellac finishes with pumice and oil, and lacquered surfaces with rottenstone and oil, to blend the sheen.[1]
Fix a scratch by its depth, from the gentlest method up. A light scratch usually disappears with a clean, a nutmeat or a little oil. A scratch you can feel with a fingernail needs color from a stain or scratch remover. A gouge needs a filler. Oregon State's extension circular says damaged finishes can often be repaired without refinishing the piece.[1] Start with a cleaning and a test on a hidden spot.
Find out how deep it is
Run a fingernail across the scratch. If it glides over without catching, only the finish is marked, or just a surface haze. If it catches, the finish is cut through, and the wood below may have lost color. If a piece is missing, you have a gouge.
Also work out what finish you have, because the right solvent depends on it. Water, alcohol, and heat damage shellac finishes,[1] so on an older piece go carefully with anything wet. Sponging a spot on the underside with denatured alcohol shows whether it is shellac: the circular says a shellac finish will soften and come off.
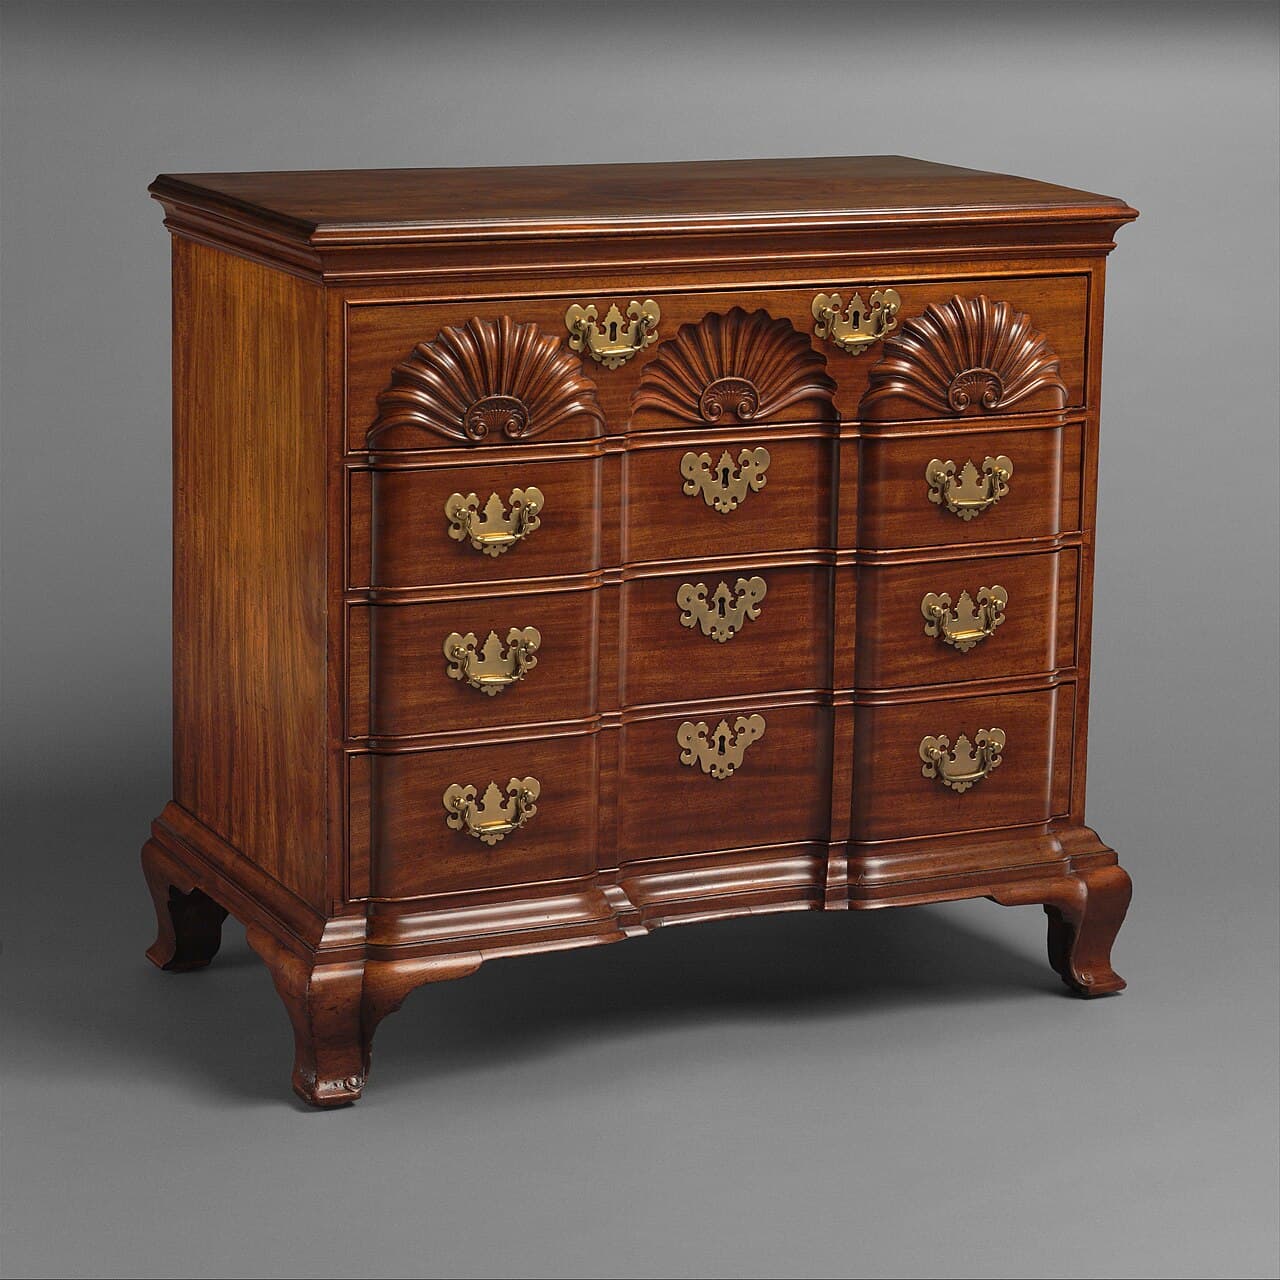
Light scratches
Start by cleaning. A furniture cleanser-conditioner cleans the area and blends the color of a scratch with a natural finish. Wipe off wax, polish and dust first, since a fresh repair over grime never blends.
For a minor scratch on a natural finish, the circular suggests broken pieces of nutmeat, such as pecan, English or black walnut, Brazil nut or butternut.[1] Rub it diagonally along the scratch until it darkens.[1] Buff it with a soft cloth afterwards.
On an oil finish, the circular's method is a 3/0 steel wool pad dipped in lightweight mineral oil, boiled linseed oil or paraffin oil.[1] Rub carefully with the grain, then wipe the whole surface so the sheen stays even.
Scratches you can feel
For a scratch through the finish, the idea is to soften the finish so it flows over the scratch, or to color the scratch so it stops showing. Match the solvent to the finish:
- Lacquer: lacquer thinner softens the lacquer around the scratch.[1]
- Shellac: shellac thinner or denatured alcohol solvent softens shellac around the scratch.[1]
- Varnish: gum turpentine softens the varnish enough to cover a small scratch.[1]
- Any of them: a commercial scratch remover, used as its label directs.[1]
Apply the solvent with a small brush or toothpick, or the stain with a finger or small pointed brush, diagonally along the scratch, feathering it out toward the edges.[1] If the scratch has pale wood showing, tint it with a stain close to the original color first, let it dry, and finish over it. You may need to repeat the process after 24 hours,[1] so do not overload it in one go. At the end, rub varnish or shellac finishes with pumice and oil, and lacquered surfaces with rottenstone and oil,[1] to blend the sheen with the rest of the top.
Gouges and holes
For a chipped edge or a hole, clean out any char or loose bits, then fill. For a deep hole no larger than a thumbnail, the circular says to fill it with a lacquer stick.[1] Colored filler sticks come in many wood shades, and you can blend two together to match. Level the fill to the surface with a flexible blade, let it set, and rub it in with the finish. A good match takes patience, and you may want to practice on scrap.
Safety with solvents and stains
Thinners, turpentine and stains are flammable and harmful to breathe. Read the manufacturer's labels and heed their warnings.[1] Ventilate the room with cross ventilation so vapors clear quickly, which the circular says prevents toxic effects from breathing fumes and reduces the danger of fire.[1] Do not smoke where you use flammables.[1]
Rags are a fire risk too. The U.S. Fire Administration says to store oily and solvent-wet rags in a tightly sealed metal container and then discard them.[3]
Stop and call a pro if
- The piece is an antique or an heirloom. The circular warns that removing the original finish of a valuable piece in good condition would destroy much of its value and character.[1] Ask a restorer before you touch it.
- The finish is peeling, lifting or alligatored over a wide area. That is refinishing, not a scratch repair. Our guide to refinishing a wood dresser covers it.
- Your repair is getting worse. The National Park Service says poorly done repairs are another common cause of damage to wooden objects.[2] Stop, and do not sand through veneer.
- The scratch is in veneer and the veneer is lifting or cracked. That needs a repairer's adhesive and clamping.
Getting help in Virginia
For prices, read what wood furniture repair costs in Virginia, and for who does the work, see who repairs wood furniture. You can also browse furniture repair answers or small repairs on Loclis.
When you are ready, describe the repair once and local furniture repairers can quote it.
Common questions
- Can I fix a scratch without refinishing the whole piece?
- Usually, yes. Oregon State's extension circular says damaged finishes can often be repaired without refinishing the piece. Scratches, white rings and small gouges are all spot repairs. Refinish only when the finish is failing across the whole surface.
- Does the walnut trick really work?
- On a minor scratch in a natural wood finish, yes. The extension circular suggests rubbing a broken nutmeat such as pecan, walnut, Brazil or butternut diagonally along the scratch until it darkens. It disguises the scratch by coloring it and does not fill anything, so it suits hairline marks only.
- How do I know what finish my table has?
- The extension circular suggests sponging a spot on the underside with denatured alcohol: a shellac finish will soften and come off. If it does, avoid water, alcohol and heat on that piece, because they damage shellac. If nothing happens, you may have lacquer, varnish or a modern coating, and a hidden-spot test of your product tells you more.
- What if the scratch goes through to pale wood?
- Then the color is gone, not only the shine. Tint the scratch with a stain close to the original, or use a commercial scratch remover as its label directs, then rub the area to blend the sheen. A pale line that stays visible is a sign to ask a furniture repairer for a color match.
- Will a repair lower the value of an antique?
- It can. The circular warns that removing the original finish of a valuable piece in good condition would destroy much of its value and character, and the National Park Service notes that poorly done repairs are a common cause of damage to wooden objects. For an antique or heirloom, have a restorer look at it before you try anything.
Sources
- [1] Furniture Restoration, Extension Circular 734 (revised January 1970, archived), Cooperative Extension Service, Oregon State University. Checked October 27, 2026.
- [2] Museum Handbook, Part I, Appendix N: Curatorial Care of Wooden Objects, National Park Service, U.S. Department of the Interior. Checked October 27, 2026.
- [3] Pictograph: Store Oily and Solvent-Wet Rags in a Metal Container, U.S. Fire Administration, FEMA. Checked October 27, 2026.
Want a pro to handle it?
Describe the job once. Licensed local businesses send quotes, and you pay only when you book one.
Get a quote for Furniture