How do I refinish a wood dresser?
Check whether the finish is clear or painted, since older paint may contain lead. Then work outdoors or with strong ventilation, strip or sand back to clean wood, repair joints and drawers, and apply stain and a clear finish in thin coats. Many dressers only need cleaning and a light scuff before a new coat.
Free to ask. Local shops send quotes, and you pay only when you book one.
By Kasra Taheri, Founder, LoclisPublished
Researched and drafted with AI, then checked claim by claim against the sources listed below before it was published. Prices and rules change; the dates beside each source say when it was last checked.
Step by step
Read when to stop and call a pro, further down this page, before you start.
Step 1: Identify the finish
Decide whether the dresser has a clear finish over visible grain or paint, and check whether the top is veneer. Treat an older painted piece as possibly leaded.[1]
Step 2: Set up outdoors or with cross-ventilation
Work outdoors if possible; indoors, open all doors and windows.[5]
Step 3: Take the dresser apart
Pull out the drawers and take off the pulls and knobs, bagging the screws with labels.
Step 4: Clean the surface
Wipe off dirt and polish residue so the stripper or sandpaper works on the finish, not the grime.
Step 5: Remove the old finish
Strip with a product sold as a paint stripper, following its label, with chemical-resistant gloves and goggles,[5] or scuff a sound finish if you are only recoating.
Step 6: Let the wood dry
Allow the wood to dry fully before sanding.
Step 7: Sand with the grain
Work from coarse paper to fine, going gently on veneer.[3]
Step 8: Repair the piece
Glue loose joints, fill dents, and fix sticking drawers while the wood is bare.
Step 9: Test the stain
Try the stain on the back or inside a drawer before committing to the visible surfaces.
Step 10: Apply the finish in thin coats
Wipe or brush on the stain and clear coat, letting each coat dry and sanding lightly between coats.
Step 12: Reassemble
Refit the drawers and hardware once the last coat is fully dry.
Refinishing a dresser is a weekend-sized job you can do yourself if you work outdoors or with strong fresh air, protect your skin and lungs, and take the right path for the finish you have. Check what is on the piece, strip or sand it back to clean wood, repair the joints and drawers, then apply a new finish in thin coats. Most of the time goes into the prep, not the topcoat.
Check what you are dealing with first
Look at the finish before you buy anything. A clear, glossy or satin coat over visible grain is a varnish, lacquer or shellac, and it can be stripped or sanded. Paint is different: the EPA lists refinishing old furniture among the jobs that can put you in contact with lead.[1] The federal ban on lead-containing paint covers furniture articles for consumer use that bear lead-containing paint, and applies to products manufactured after February 27, 1978.[2] A painted dresser made before then may carry lead, so treat dry sanding as off limits. The EPA's advice for a repair you cannot avoid is to wet the area first, sand the minimum area needed and clean up thoroughly.[1]
Also check the top and sides for veneer, a thin layer of wood over a different core. Veneered surfaces may split or buckle because the grain orientation of the veneer is different from that of the underlying wood.[3] Sand veneer gently and briefly, because it is easy to go through.
If the dresser is an antique or a family piece, stop and read the last section before you touch it.
Pick the right way to remove the finish
Often you do not need to strip at all. NPS guidance says refinishing is preferred if the existing finish is either inappropriate or almost completely worn away.[3] If the finish is sound but dull, a good cleaning and a light scuff may be all it needs before a new coat.
When you do need to strip, choose carefully. In March 2019, EPA issued a final rule to prohibit the manufacture (including import), processing, and distribution of methylene chloride for consumer paint and coating removal.[4] That means current consumer strippers use other solvents, and the CPSC warns that paint strippers that carry a citrus smell or "environmentally friendly" claims may also be hazardous.[5] Some strippers use caustic alkalis, and caustic products can darken wood and raise the grain.[5]
Whatever you buy, read the label. Use paint strippers outdoors, if possible. If you must use them indoors, cross-ventilate by opening all doors and windows.[5] Wear chemical-resistant gloves appropriate to the type of stripper being used,[5] and note that common kitchen latex gloves do not provide enough protection.[5] Add goggles and long sleeves.
Sand, repair and prepare
Once the old finish is off, let the wood dry fully, then sand with the grain, moving from coarse paper to fine. Sanding across the grain leaves scratches that stain will highlight. Remove dust with a vacuum and a slightly damp cloth.
This is the time to fix what is wrong with the piece. Tighten loose joints and glue anything that wobbles, fill dents and gouges with wood filler or a matching patch, and deal with sticking drawers: our guide to fixing a drawer that will not slide smoothly covers the usual causes. Repairs done now are far easier than after the finish is on.
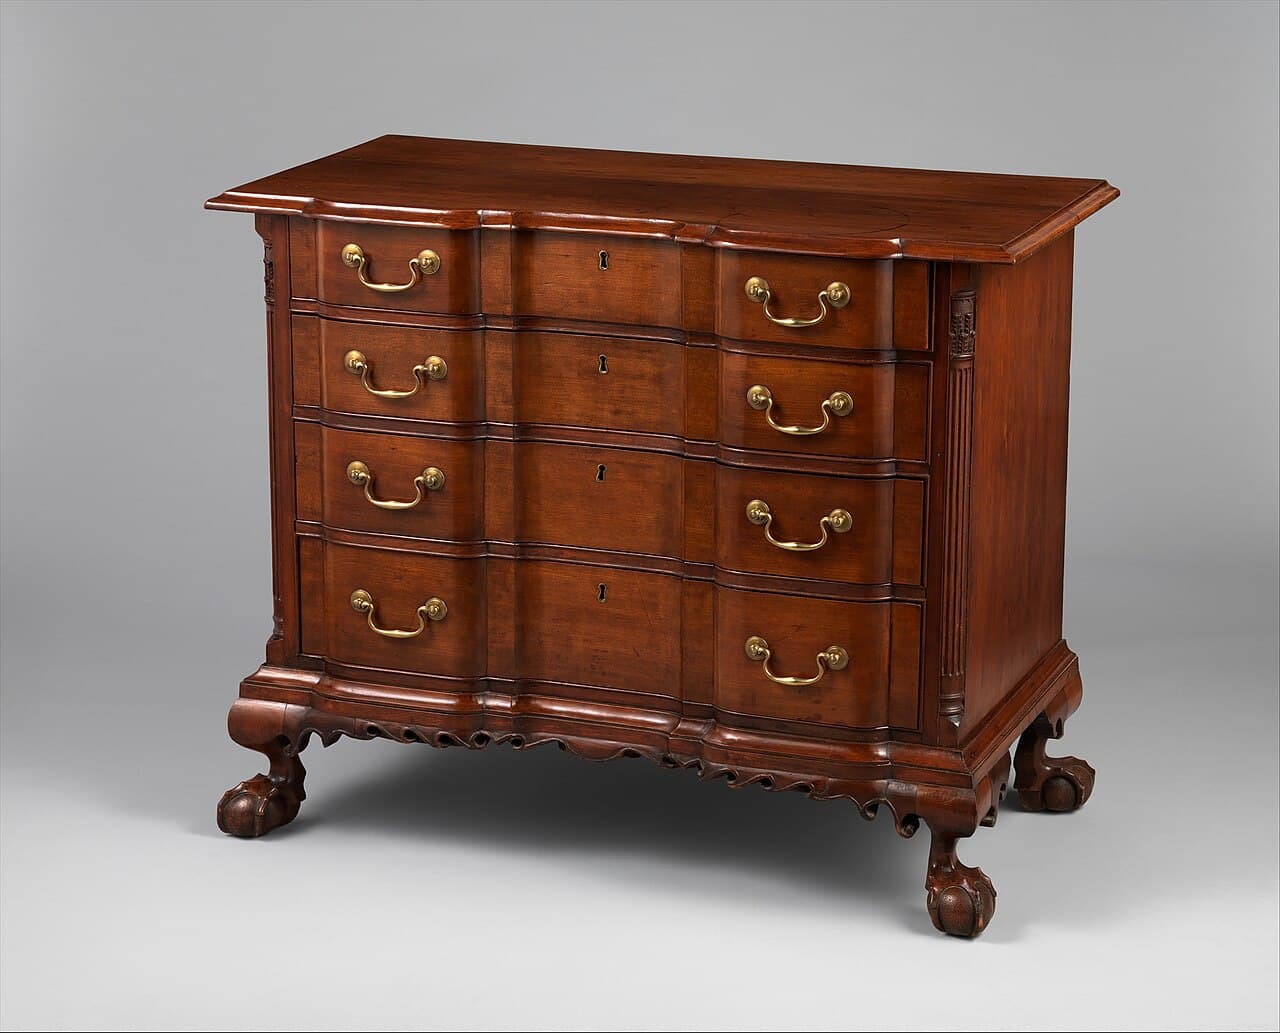
Apply the new finish
If you want a stained look, test the stain on the back or inside a drawer first, because the same stain looks different on oak, maple and pine. Wipe it on, let it soak in briefly and wipe off the excess for an even color.
For protection, a wipe-on or brush-on clear finish in thin coats is the most forgiving choice for a beginner. Thin coats dry harder and flow out smoother than one heavy coat. Let each coat dry as the label directs, and sand lightly with fine paper between coats. Keep to the dry times on the can, since a finish used too soon stays soft and marks easily.
Take the drawers out and finish them separately, and leave the insides raw or sealed lightly so they do not stick in humid weather. Put hardware back only when the last coat is dry.
Handle the rags and leftovers safely
Rags soaked in stain, oil or solvent can be a fire risk. The U.S. Fire Administration says to store oily and solvent-wet rags in a tightly sealed metal container and then discard them.[6] Dispose of paint strippers according to the instructions on the label,[5] and never use gasoline, lighter fluid, or kerosene to strip paint.[5]
Stop and call a pro if
- The piece is painted and was made before 1978. Lead paint changes how it must be sanded and cleaned up. Ask a refinisher how they will contain the dust.[1]
- It is an antique or an heirloom. Poorly done repairs are another common cause of damage to wooden objects,[3] and a stripped original finish cannot be put back.
- You cannot work outdoors or with strong cross-ventilation. The CPSC says that if work must be done indoors under low ventilation conditions, consider having the work done professionally instead of attempting it yourself.[5]
- The veneer is lifting or the structure is cracked. These need a repairer's skill before any finishing.
Getting help in Virginia
Read what it takes in what furniture refinishing costs in Virginia and whether it is worth refinishing old furniture, see more furniture repair answers, or browse refinishing requests.
When you are ready, describe the piece once and local furniture refinishers can quote it.
Common questions
- Do I have to strip a dresser to refinish it?
- Not always. The National Park Service says refinishing is preferred if the existing finish is either inappropriate or almost completely worn away. If the finish is sound but dull, cleaning and a light scuffing before a new coat can be enough.
- Is it safe to sand an old painted dresser?
- Not without precautions. The EPA lists refinishing old furniture among the jobs that can put you in contact with lead, and the federal lead paint ban on furniture applies to pieces made after February 27, 1978. If you must sand, the EPA says to wet the area first, sand the minimum area needed and clean up thoroughly.
- Can I use methylene chloride stripper?
- Consumer paint and coating removal with methylene chloride was prohibited by EPA's 2019 rule. Other strippers can still be hazardous, so use them outdoors or with cross-ventilation, wear chemical-resistant gloves and follow the label.
- What do I do with the rags?
- The U.S. Fire Administration says to store oily and solvent-wet rags in a tightly sealed metal container and then discard them. Do not leave them in a pile.
- Should I refinish an antique dresser myself?
- Usually not. A poor refinish can lower the value of a valuable piece, and the National Park Service lists poorly done repairs as a common cause of damage. Have an antique assessed by a restorer first.
Sources
- [1] Protect Your Family from Sources of Lead, U.S. Environmental Protection Agency. Checked October 27, 2026.
- [2] 16 CFR Part 1303, Ban of lead-containing paint and certain consumer products bearing lead-containing paint, Consumer Product Safety Commission, Electronic Code of Federal Regulations. Checked October 27, 2026.
- [3] Museum Handbook, Part I, Appendix N: Curatorial Care of Wooden Objects, National Park Service, U.S. Department of the Interior. Checked October 27, 2026.
- [4] Risk Management for Methylene Chloride, U.S. Environmental Protection Agency. Checked October 27, 2026.
- [5] What You Should Know About Using Paint Strippers, U.S. Consumer Product Safety Commission. Checked October 27, 2026.
- [6] Pictograph: Store Oily and Solvent-Wet Rags in a Metal Container, U.S. Fire Administration, FEMA. Checked October 27, 2026.
Want a pro to handle it?
Describe the job once. Licensed local businesses send quotes, and you pay only when you book one.
Get a quote for Furniture