How do I level a floor before installing new flooring?
Find the high and low spots with a straightedge, grind or sand the highs, and fill the lows with patch or a cement-based self-leveling underlayment. One luxury vinyl maker asks for a floor flat within 3/16 inch per 10 foot radius. Prime first, pour in one continuous pass, and wait for the cure time on the bag before laying the new floor.
Free to ask. Local shops send quotes, and you pay only when you book one.
By Kasra Taheri, Founder, LoclisPublished
Researched and drafted with AI, then checked claim by claim against the sources listed below before it was published. Prices and rules change; the dates beside each source say when it was last checked.
Step by step
Read when to stop and call a pro, further down this page, before you start.
Step 2: Find the high and low spots
Lay a long straightedge across the floor in several directions and mark every gap and ridge with a pencil.
Step 3: Secure and fix the surface
Screw down any loose subfloor boards and fill holes and gaps wider than 3/16 inch with a cement-based patching material.[1]
Step 4: Flatten the highs
Sand or grind down high spots, then vacuum thoroughly so no dust is left.[2]
Step 5: Prime
Prime the floor with the primer the underlayment maker names; wood and OSB must be primed before pouring.[2]
Step 6: Mix and pour
Mix the underlayment to the bag's water ratio with a drill and paddle, pour it in one continuous stream and spread it with a gauge rake or spiked roller.[2]
Step 7: Let it cure and re-check
Keep traffic off until the stated times, then check the floor again with the straightedge before the new flooring goes on.[3]
Start with the straightedge
The fix is to find the high and low spots, grind or sand the highs, and fill the lows with patching material or a cement-based self-leveling underlayment. Before you buy anything, find out how flat the new floor needs to be. One luxury vinyl installation guide says to make sure that the surface is clean, dry, structurally sound and flat within 3/16 inch per 10 foot radius.[1] Tile, wood and carpet makers set their own limits, so read your flooring's guide first.
Lay a long straightedge on the floor and slide it around the room, marking gaps and ridges in pencil. The guide's rule for fixing what you find is short: High spots should be leveled and low spots should be filled with a proper material.[1] It also says that gaps and holes greater than 3/16 inch should be filled level with the surrounding surface using cement-based patching material.[1]
Check what you are standing on
Before you disturb an old floor, check what it is. Old resilient flooring and old adhesive may contain asbestos fibers or crystalline silica, so avoid creating dust.[1] Sika's data sheet is blunter: do not sand or grind adhesive residue, because old cutback adhesive may contain asbestos.[3] On an older house, that means stopping and getting the floor tested rather than scraping it yourself.
The floor must also be solid. The same vinyl guide says maximum deflection should not exceed 3/64 inch,[1] and a springy floor is not fixed by pouring a stiff layer on top. On a wood subfloor, any boards that move must be re-secured with screws, and the surface cleaned and vacuumed free of dust.[2] Fixing framing that is sagging is a carpenter's job and is covered below.
Patch, then prime
For small low spots on concrete, use a quality concrete repair mortar first to fill divots, pop-outs and other low areas, and let it cure for 1 hour before pouring over the whole area.[2] Use only cement-based patching and leveling compounds under vinyl.[1]
Primer is the step people skip. Wood and OSB surfaces must be primed before the underlayment is poured.[2] Priming concrete is not necessary in most cases, though extremely porous concrete may need a primer.[2] Sika takes the opposite line for its product and says to always prime concrete and cementitious substrates with its primer,[3] which is why the data sheet for your bag wins over any general advice.
Mix and pour
Sika lists a typical application thickness of 1/8 to 2 inches for its self-leveling underlayment.[3] Tremco's data sheet for one product gives the mix: add 1.5 gallons of clean water to a 5 gallon pail, then pour in one 50 lb bag and mix for a minimum of 3 minutes.[2] Do not exceed 6.5 quarts of water per 50 lb bag,[2] which the sheet says prevents bleeding or segregation.
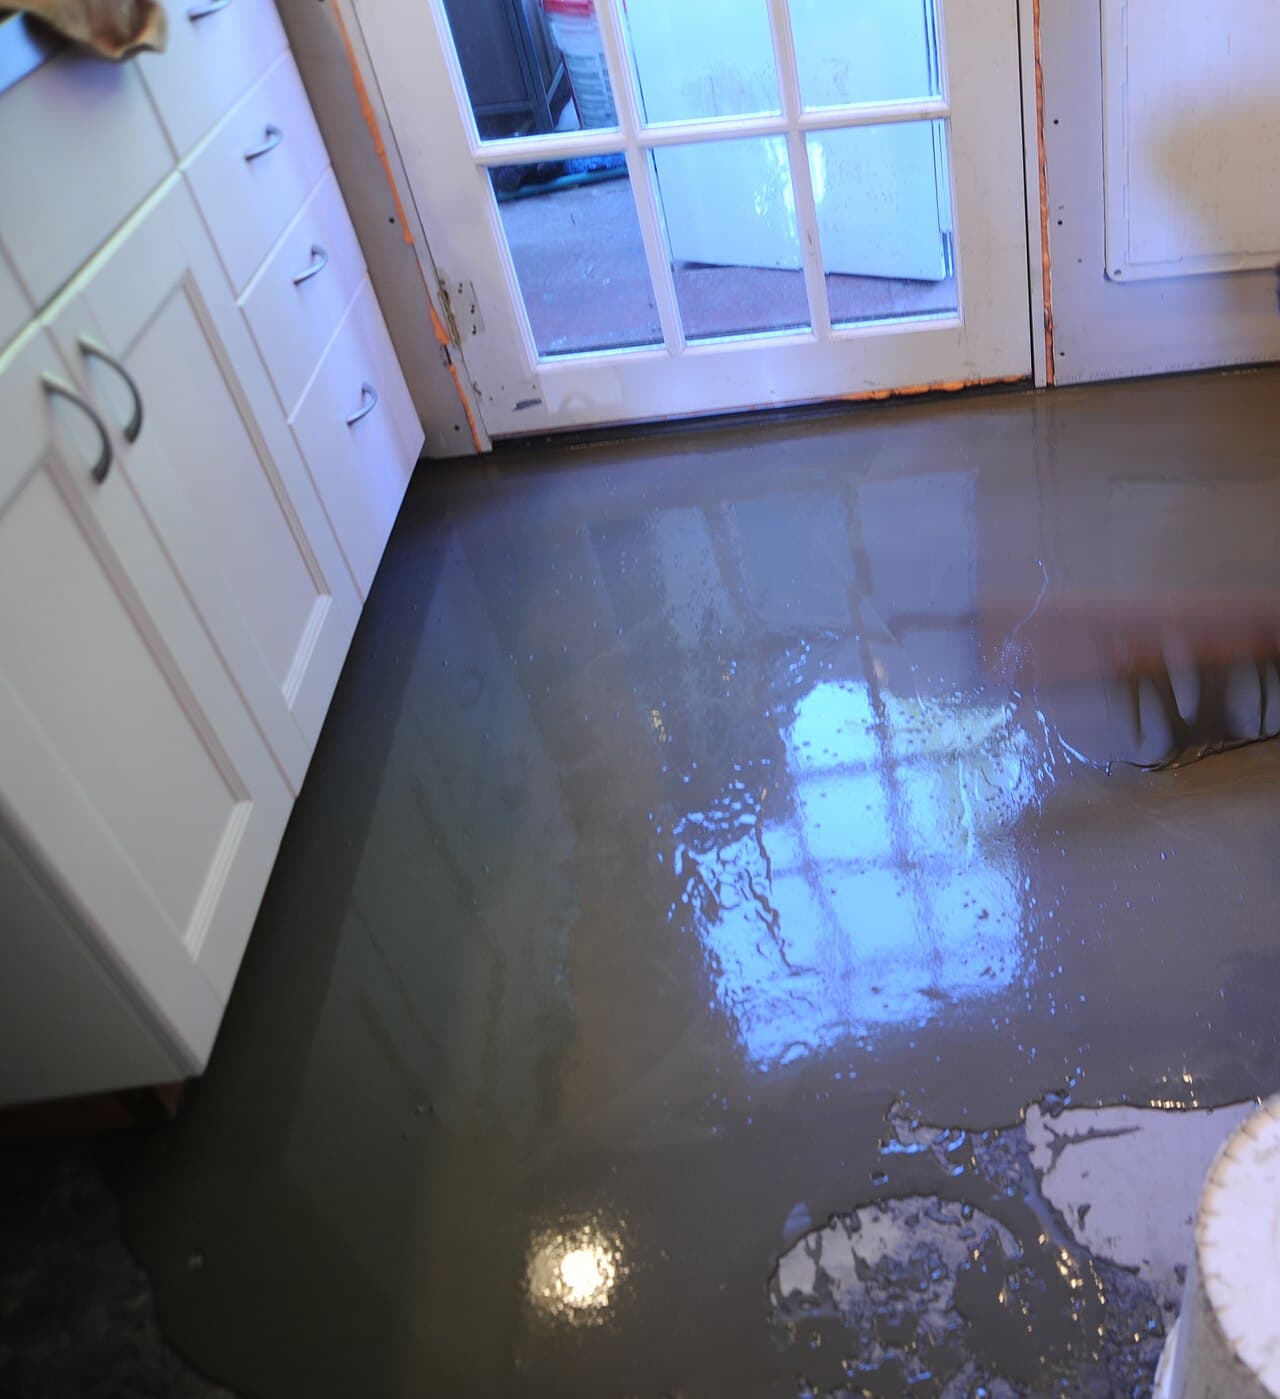
Plan the pour before you mix. Dam doorways and floor drains, and work from the far corner toward the exit. The product should be placed continuously, in a continuous stream from one corner,[2] so mix the next pail while the first is still flowing. A gauge rake or spiked roller helps it settle. Do not use it if ambient temperatures will fall below 40 °F within 72 hours after placement.[2] Turn off radiant heating and forced air ventilation for 24 hours before installation and while the underlayment cures.[3]
Cure, then install
Tremco says light traffic is possible in as little as 4 hours and floor coverings can go down in as little as 24 hours, depending on temperature.[2] Sika lists foot traffic after 2 to 3 hours, vinyl or carpet after 1 day and hardwood after 3 days.[3] Before the new floor goes on, check the flooring maker's limits for moisture.[1]
Stop and call a pro if
- The floor is old vinyl, sheet flooring or has black adhesive under it. It may contain asbestos fibers, and the guides above say not to sand or grind it.[1][3]
- The floor bounces or slopes steadily across the room. That points to framing or settlement, not a surface problem, and leveling compound will not cure it.
- The unevenness is deeper than 2 inches. That is beyond the typical thickness range Sika lists.[3]
- You see water, a damp slab or mold. Fix the moisture first.
- You decide to hire out the job. Virginia requires a valid contractor's licence when the work is valued at $1,000 or more.[4]
Getting help in Virginia
If the job is bigger than a weekend, read how much floor leveling costs in Virginia and whether to hire a pro to level your floor. For floors that sag, see what subfloor repair costs. More topics are in flooring answers and the flooring guide.
When you are ready, describe the job once and licensed local contractors quote it.
Common questions
- How flat does a floor need to be for vinyl plank?
- One luxury vinyl installation guide says the surface should be flat within 3/16 inch per 10 foot radius, and it should be rigid, with deflection not exceeding 3/64 inch.[^aquawood] Your own flooring's guide is the one that counts for its warranty, so read it before you buy leveling material.
- How thick can self-leveling underlayment go?
- Sika lists 1/8 inch up to 2 inches, and Tremco's Vulkem product runs from featheredge up to 2 inches.[^sika][^vulkem] A floor that is out of level by more than that usually needs a different approach, such as fixing the framing.
- Do I have to prime before pouring?
- Usually yes on wood and OSB. Tremco says wood and OSB must be primed before pouring, while concrete often needs no primer unless it is very porous.[^vulkem] Sika says to always prime concrete and cementitious substrates with its own primer.[^sika] Follow the data sheet for the product in your bag.
- How long before I can put the new floor on?
- It depends on the product, the thickness and the temperature. Tremco gives light traffic in as little as 4 hours and floor coverings in as little as 24 hours.[^vulkem] Sika lists 1 day for vinyl or carpet and 3 days for hardwood.[^sika] Check moisture limits for your flooring before installing.
- Can I level over old vinyl or glued-down tile?
- Only after finding out what is under it. Old resilient flooring and old adhesive may contain asbestos fibers, and sanding or grinding the residue can put harmful dust in the air.[^aquawood][^sika] If the floor is old, stop and have it tested before disturbing it.
Sources
- [1] Aquawood Plus Installation Guide (luxury vinyl plank), Aquawood, manufacturer installation guide. Checked October 27, 2026.
- [2] Vulkem Pro Series Self-Leveling Floor Underlayment (data sheet), Tremco Sealants. Checked October 27, 2026.
- [3] SikaLevel self-leveling underlayment (product data sheet, May 2026), Sika USA. Checked October 27, 2026.
- [4] What You Should Know Before You Hire a Contractor, Virginia Board for Contractors, DPOR. Checked October 27, 2026.
Want a pro to handle it?
Describe the job once. Licensed local businesses send quotes, and you pay only when you book one.
Get a quote from a local pro