How do I regrout a shower?
Cut out the old grout, vacuum the joints, mix new cement grout with the water ratio on the bag, pack it in with a rubber float, sponge the tile clean and let it cure. Do not regrout the corners and the tub joint; those take flexible silicone caulk. Keep the shower dry for about three days.
Free to ask. Local shops send quotes, and you pay only when you book one.
By Kasra Taheri, Founder, LoclisPublished
Researched and drafted with AI, then checked claim by claim against the sources listed below before it was published. Prices and rules change; the dates beside each source say when it was last checked.
Step by step
Read when to stop and call a pro, further down this page, before you start.
Step 1: Clean and check the joints
Scrub off soap scum and any mold with detergent and water and dry the wall completely, and fix any leak first.[3]
Step 2: Mark what is grout and what is caulk
Leave the corners and the joint along the tub or shower base for caulk, because movement joints and changes of plane are not filled with grout.[1]
Step 3: Gear up
Wear nitrile gloves, safety glasses and an N95 respirator, since cement grout burns skin and its dust is hazardous.[1]
Step 4: Cut out the old grout
Rake out the damaged grout with a hand grout saw or an oscillating tool with a grout blade, deep enough for new grout to grip, without chipping tile edges.
Step 5: Vacuum the joints
Vacuum out the dust and wipe the joints with a barely damp sponge so nothing loose is left under the new grout.[1]
Step 6: Mix the grout
Use the water ratio on the bag, mix until lump-free, let it stand 5 minutes, remix, and do not add more water.[1]
Step 7: Pack the joints
Hold a rubber float at 45 degrees and press the grout in until the joints are full, then hold the float at 90 degrees to scrape off the excess.[1]
Step 8: Sponge the tile
Smooth the joints with a damp, small-pore sponge in a circular motion, rinsing the sponge often, and work only as much area as you can clean in time.[1]
Step 9: Buff off the haze
After 3 hours, wipe the remaining haze off the tile with cheesecloth or a wrung-out sponge.[1]
Step 10: Caulk the corners
Remove old caulk, clean the joint, tape both sides and fill it with 100% silicone caulk, smoothing it within 5 to 7 minutes before pulling the tape.[2]
Step 11: Let it cure
Keep the room above 50 degrees F and the shower unused for at least 72 hours.[1]
The short version
Regrouting a shower is a patient, messy, low-cost job that most careful homeowners can do. You remove the failing grout, pack in fresh cement grout, clean the tile before it hardens and keep the shower dry while it cures. The corners and the tub joint are different: they get caulk, not grout.
Start by working out why the grout failed. Crumbling, cracked or missing grout is common, but dark staining may be mold, and a leak behind the tile is a bigger problem than any grout. EPA's advice is to fix plumbing leaks and other water problems as soon as possible.[3] Scrub mold off hard surfaces with detergent and water, and dry completely.[3]
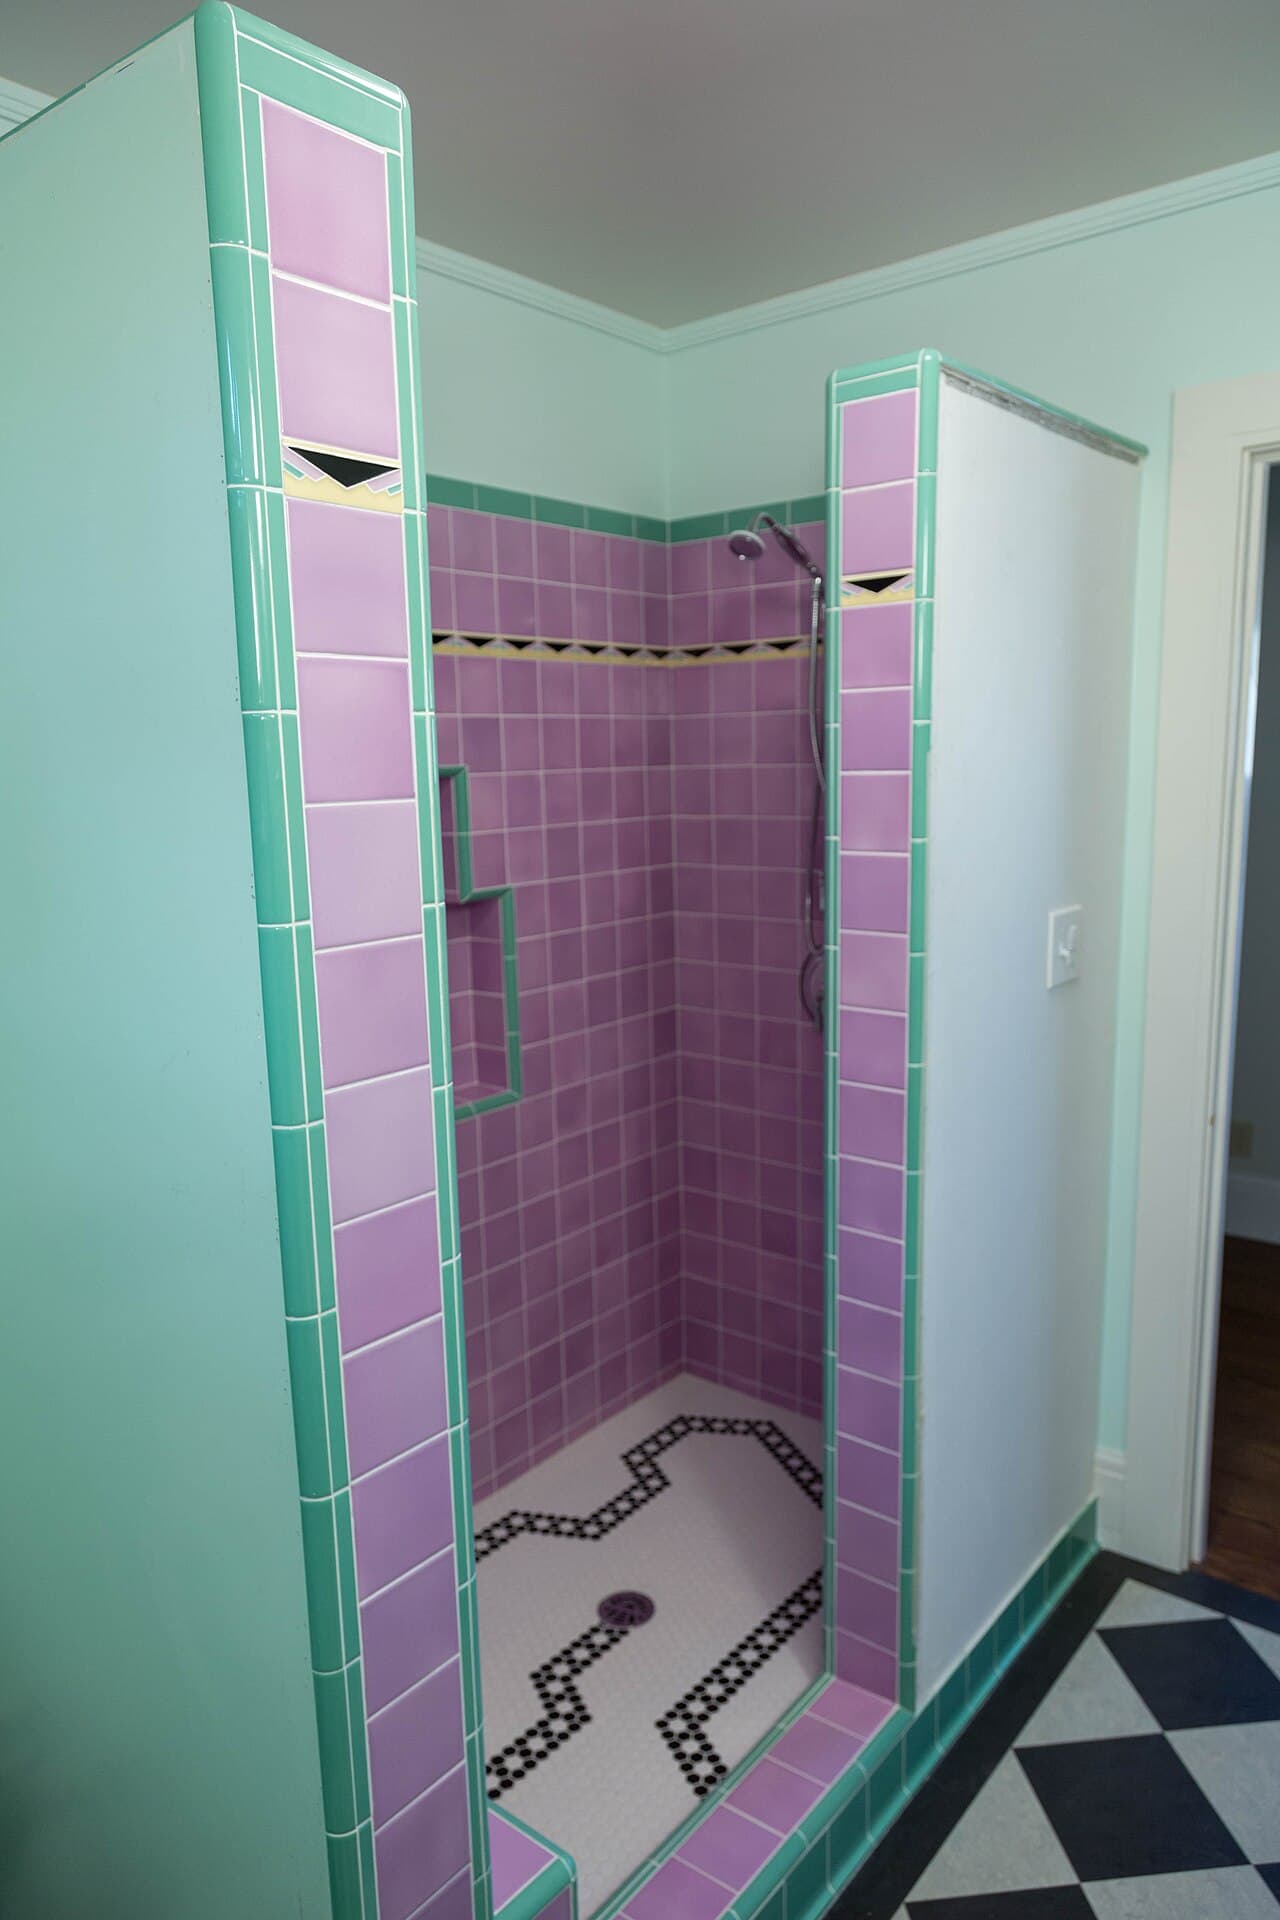
Grout for the flat joints, caulk for the corners
Grout is rigid. The joints where a wall meets a wall, or where the wall meets the tub or shower base, flex slightly as a house settles and as materials expand and contract. One grout manufacturer's data sheet says: "Not for use in movement joints or changes of plane" and adds that movement joints are required for perimeters and other changes of plane in all installations.[1]
So the plan is grout in the flat joints between tiles and flexible silicone caulk at corners and changes of plane.[2] Do not caulk over mold: EPA says not to paint or caulk moldy surfaces.[3]
What you need
- A hand grout saw or an oscillating tool with a grout blade
- A vacuum, a bucket, a small-pore grout sponge and cheesecloth
- A rubber grout float
- Cement grout in a colour that matches, and 100% silicone caulk for the corners
- Nitrile gloves, safety glasses and an N95 respirator
The protective gear matters. The grout data sheet recommends impervious gloves, such as nitrile, safety glasses, and a NIOSH N95 respirator.[1] Its health warning says the product causes severe skin burns and serious eye damage, and that prolonged or repeated inhalation of dust may cause lung damage or cancer.[1] The product contains silica sand and portland cement,[1] so sanding or sawing old grout makes dust you should not breathe. Vacuum often rather than sweeping.
Remove the old grout
Rake out the grout that is cracked, crumbling or loose. You do not have to remove every joint if the rest is sound, but a patchwork of colours never looks right, and a full wall is easier to match. Go slowly near tile edges. Skipping across a glazed edge leaves a chip you cannot undo.
Vacuum the joints and wipe them with a barely damp sponge. The new grout needs a clean, dust-free joint to bond to.
Mix and apply
Follow the bag. For the sanded grout this answer draws on, the mix ratio is 2 to 2.5 quarts of clean water to a 25-pound bag, or 1 to 1.25 pints to a 7-pound bag.[1] Mix to a smooth, lump-free consistency (approximately 3 minutes), let the mixture stand for 5 minutes, then remix and use it.[1] If it stiffens, do not add water, which can weaken the grout.[1] That sanded product is meant to fill joints 1/8 inch to 1/2 inch wide;[1] narrower shower joints often call for unsanded grout, so match the grout to your joint width.[1]
Work one small area at a time. Holding a rubber grout float at a 45 degree angle, completely fill the joints, then hold the float at 90 degrees to remove the excess.[1] Do not spread more grout than can be cleaned within 30 minutes of the grout firming.[1] In a shower that means a few square feet at a time.
Then smooth the joints with a damp sponge in a circular motion, rinsing it often. Haze can be removed after 3 hours with cheesecloth or a wrung-out sponge.[1]
Recaulk the corners
Remove the old caulk, then clean the joints: remove all dirt, dust, and old caulk from the joints.[2] Apply masking tape to each side of the joint, fill the joint completely, and smooth the caulk within 5 to 7 minutes before pulling the tape.[2] LATICRETE says 100% silicone caulk is best for caulking bathtubs and showers, offering the greatest durability.[2] Apply caulk within the temperature range of 40 to 90 degrees F; silicone sets in under 20 minutes and fully cures in 24 hours.[2]
Cure, then seal if you want
Do not open the grout to foot traffic before it has cured for 16 hours, and maintain temperatures above 50 degrees F for at least 72 hours for proper cure.[1] For a shower, that means roughly three days without use.
Sealing is optional. To test an older sealer, drop a small amount of water on the grout. If the water droplets bead up, the sealant is fine. If the water is absorbed into the grout, it is time to reseal.[4]
Stop and call a pro if
- The tile is loose or sounds hollow. Grout cannot hold tiles that have let go of the wall.
- The wall behind the grout feels soft or smells musty. That suggests water is getting in, and EPA says to consider hiring an experienced professional when hidden mold is suspected.[3]
- You see water stains on the ceiling or wall below the shower. That is a leak, not a grout problem.
- The grout cracks again within months. Movement or a failed waterproofing layer is the likelier cause.
Getting help in Virginia
If the repair grows, read should you regrout or retile your shower and what regrouting costs in Virginia. Loclis lists licensed Virginia contractors; browse home repair or more home repair answers.
When you would rather hand it over, describe the job and local pros will quote it.
Common questions
- Can I put new grout over old grout?
- Not reliably. New grout needs a clean, sound joint to bond to, so the loose and cracked grout has to come out first. Rake it out, vacuum the dust and wipe the joint before you mix the new batch.
- How long before I can use the shower after regrouting?
- The grout data sheet says not to open the installation to foot traffic before 16 hours and to hold temperatures above 50 degrees F for at least 72 hours for proper cure. For a shower that gets wet daily, plan on about three days, and check the label of your product.
- Should the corners be regrouted too?
- No. Grout is not for movement joints or changes of plane, and the vertical corners and the joint along the tub or shower base move. Those joints take flexible silicone caulk, which sets in under 20 minutes and cures in 24 hours.
- Do I need to seal the new grout?
- Sealing is optional extra protection. To see whether an existing sealer still works, drop water on the grout: if it beads up the sealer is fine, and if the grout absorbs it, it is time to reseal.
- What if the grout keeps cracking or mold returns?
- That points to movement or moisture behind the tile, not to the grout. Fix leaks as soon as possible, and if the wall is soft or musty, have a licensed tile contractor look at it before you grout again.
Sources
- [1] Polyblend Plus Sanded Grout, Technical Data Sheet TDS-360 (published 3/22/2023), Custom Building Products. Checked October 27, 2026.
- [2] Using the Right Caulk for the Job, LATICRETE International. Checked October 27, 2026.
- [3] A Brief Guide to Mold, Moisture and Your Home, U.S. Environmental Protection Agency. Checked October 27, 2026.
- [4] Frequently Asked Questions, Daltile. Checked October 27, 2026.
Want a pro to handle it?
Describe the job once. Licensed local businesses send quotes, and you pay only when you book one.
Get a quote for Home Repair