How do I repair water-damaged drywall?
Fix the leak first and let the wall dry; EPA says to dry water damage within 24 to 48 hours to prevent mold. Then cut out the soft or stained board, screw in backing strips, fit a patch of the same thickness, tape, apply compound in thin coats, sand, prime and paint. Stop if mold covers more than about 10 square feet or the insulation is wet.
Free to ask. Local shops send quotes, and you pay only when you book one.
By Kasra Taheri, Founder, LoclisPublished
Researched and drafted with AI, then checked claim by claim against the sources listed below before it was published. Prices and rules change; the dates beside each source say when it was last checked.
Step by step
Read when to stop and call a pro, further down this page, before you start.
Step 1: Fix the source and dry the wall
Have the leak repaired, then dry the area; EPA says to dry water-damaged areas and items within 24 to 48 hours to prevent mold growth.[1]
Step 2: Test how far the damage goes
Press the stain and the board around it with a screwdriver handle; soft, crumbling or sagging board has to come out, firm dry board can stay.
Step 3: Mark a square or rectangle
Draw straight lines around the damage, extending into solid board, so the opening has square edges.[2]
Step 4: Cut out the damaged board
Score along the lines with a utility knife or drywall saw, keeping the cut shallow so it does not hit anything behind the board, and lift out the damaged piece.
Step 5: Look behind the opening
Check the back of the board and the space behind it for mold, wet insulation or dampness, since mold can hide on the back side of drywall.[1]
Step 6: Add backing strips
Screw lumber, plywood or paint-stirring strips a few inches longer than the long sides of the hole behind the edge of the opening, with the screws about 1 inch from the edge.[2]
Step 7: Fit the patch
Cut a patch the same thickness as the wall, set it in with a minimal gap and screw it to the strips without breaking the paper face.[2]
Step 9: Sand, prime and paint
Sand with a wet sponge or fine paper, wipe off the dust, prime, and paint with the same sheen as the wall.[3]
Repair water-damaged drywall in this order: stop the water, dry the wall, cut out whatever has gone soft or crumbly, and patch with new board of the same thickness. EPA's guidance on mold is blunt about the first two steps: "Fix plumbing leaks and other water problems as soon as possible."[1] It is important to dry water-damaged areas and items within 24-48 hours to prevent mold growth.[1] A patch over a wall that is still wet only hides the problem.
Decide whether the board can stay
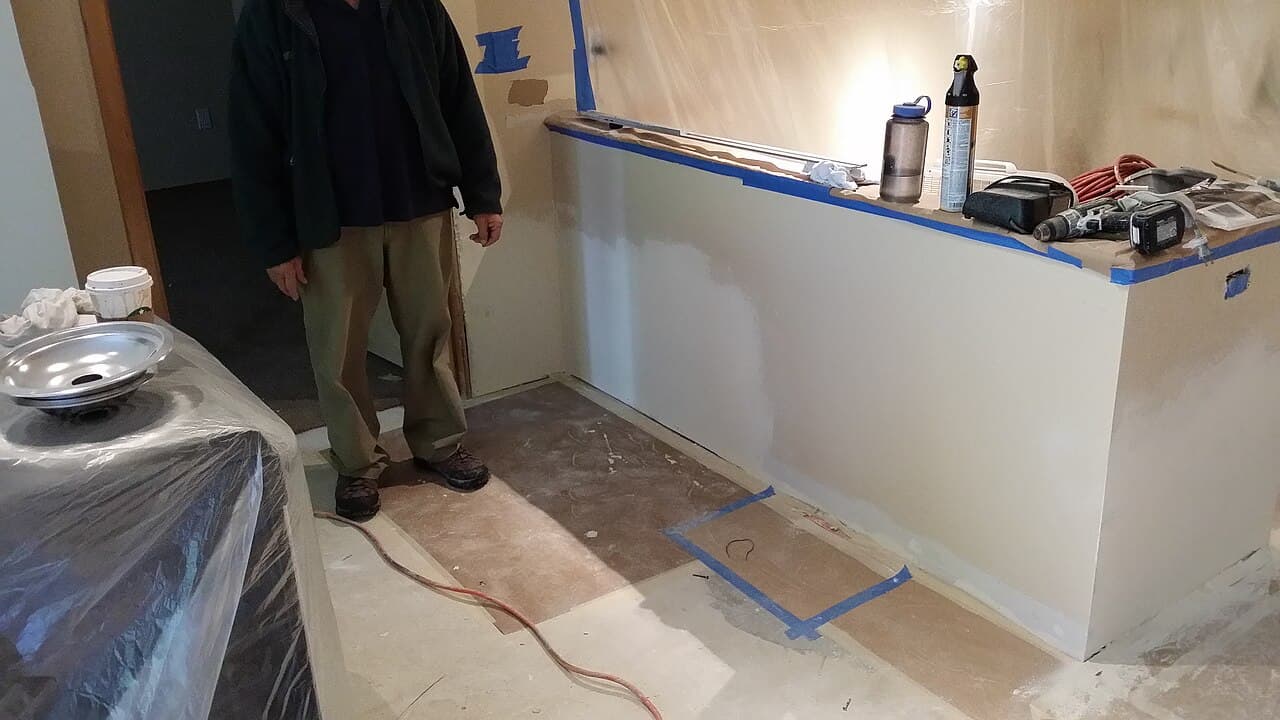
Not every stain means replacement. Press the stained area and the board around it with the handle of a screwdriver. Board that is firm, flat and dry, with only a brown ring, can often be sealed with a stain-blocking primer and painted. Board that is soft, bulging, crumbling or sagging has lost its strength and should come out, along with anything that has visible mold on it. EPA notes that absorbent or porous materials, such as ceiling tiles and carpet, may have to be thrown away if they become moldy,[1] and drywall is paper-faced and porous in the same way.
This guide is for a wall that is dry, after the leak has been fixed. If you do not yet know where the water came from, find that out before you cut anything.
Open the wall and look
Mark a rectangle around the damaged section, extending a few inches into firm board, and score along the lines with a utility knife or drywall saw. Keep the cut shallow: wiring and pipes often run close behind the board. The advice for a clean opening is to square off the edges of the hole to create straight sides.[2]
Once the piece is out, look behind it with a flashlight. Mold may be hidden in places such as the back side of dry wall,[1] and so this is the moment to check the back of the removed piece, the face of the studs and any insulation. If you find black or green growth, wet insulation or rusty fasteners, stop here and read the section below.
Build the patch
Cut lumber or plywood strips (paint stirring sticks work for a small hole) to be a few inches longer than the long sides of the hole, and screw them behind the opening along the two long edges. Keep the screws about 1 inch from the drywall edge, countersunk so they can be covered with compound.[2] The strips give the patch something to screw to where there is no stud.
The new piece has to match the wall: the thickness for patching the hole must be the same thickness as the existing drywall wall.[2] Cut it to fit with only a small gap, set it in, and screw it to the strips, taking care not to break the paper face with the screw heads.
Tape, coat and sand
Press paper joint tape into a coat of compound along the seams. USG says to apply over dry surfaces only and allow each coat to dry before applying another coat,[3] and its guide allows approx. 24 hr. between applications at 75 °F and 50% relative humidity.[3] Plan on three thin coats rather than one thick one. With each coat, use the knife to 'feather' the edges of the wet compound over the surrounding drywall so it gradually tapers to nothing.[2] Keep the room warm: USG calls for a minimum air, joint compound and surface temperature of 55 °F (13 °C).[3]
For sanding, USG's tip is to sand with a wet sponge to eliminate dust and scuffing of paper.[3] Wipe the dust off, then prime before painting. USG calls for SHEETROCK Brand First Coat or undiluted latex flat wall paint with high solids content as the prime coat.[3] The primer matters because bare compound soaks up paint differently from the board around it, which shows as a dull patch, an effect called flashing.
Fire-rated walls and old paint
The wall between an attached garage and the house, and some ceilings, are fire-rated. Virginia's building code requires a permit for the repair or replacement of any required component of a fire or smoke rated assembly,[5] and a standard patch does not restore the rating. USG sells repair clips made for the job: Sheetrock Brand Drywall Repair Clips can be used to repair large holes and water damage in one hour fire-rated 1/2-inch and 5/8-inch thick drywall panels.[4] If you are not sure whether the wall is rated, ask the building department before you cut.
For an ordinary wall, replacing interior wall finishes is an ordinary repair: Virginia's building code lists replacement of all classes of interior wall or ceiling finishes in other groups, besides Class C finishes in Groups A, E, and I, among the work that needs no permit application.[5]
Stop and call a pro if
- Mold covers more than a small area. EPA says that if the moldy area is less than about 10 square feet, in most cases you can handle the job yourself, but that with a lot of water damage, or mold growth over 10 square feet, you should consult its mold remediation guidance or bring in a professional.[1] Do not paint or caulk moldy surfaces.[1]
- The insulation is wet or the framing behind the board is dark, soft or damp. The wall needs drying out and probably more than a patch.
- The water was sewage or flood water. EPA says to call in a professional who has experience cleaning and fixing buildings damaged by contaminated water.[1]
- The ceiling is sagging or holding water. Do not stand under it; call a professional.
- You find wiring or pipes in the way, or the leak source is still unknown. Hand electrical and plumbing work behind the wall to a licensed electrician or plumber; Virginia's building code requires a permit for electric wiring and for changes to the water supply and distribution or sanitary drainage systems.[5]
Getting help in Virginia
Read what a drywall patch costs in Virginia, whether replacing drywall needs a permit and how water damage repair is priced if the job grows. Browse home repair businesses or more home repair answers.
When you are ready, describe the drywall repair once and local businesses quote it.
Common questions
- Can I just paint over a water stain?
- Only once the wall is dry, the leak is fixed and the board is firm. A stain on solid, dry board can be sealed with a stain-blocking primer and painted. Soft, bulging or sagging board has to be cut out, and EPA says not to paint over mold.
- How long does water-damaged drywall take to dry?
- EPA's target is to dry water-damaged areas within 24 to 48 hours to prevent mold growth. A small wet patch from a brief drip may dry in that time with air moving across it; a soaked wall usually will not.
- Does water-damaged drywall always have to be replaced?
- No. Board that stayed firm, flat and only lightly stained can often dry and be primed and painted. Board that is soft, crumbling, swollen or sagging, or that has mold on it, should be cut out and replaced.
- Do I need a permit to patch drywall after a leak?
- Usually not. Virginia's building code lists replacement of interior wall and ceiling finishes among the ordinary repairs that need no permit. A required fire-rated wall or ceiling is different, and so is any plumbing or wiring work found behind the board.
- What if the water came from a sewage backup or a flood?
- Then it is not a DIY patch. EPA says damage caused by sewage or other contaminated water calls for a professional with experience cleaning and fixing buildings damaged by contaminated water.
Sources
- [1] A Brief Guide to Mold, Moisture and Your Home, U.S. Environmental Protection Agency. Checked October 27, 2026.
- [2] How to Fix a Large Hole in Drywall, Benjamin Moore. Checked October 27, 2026.
- [3] Sheetrock Brand Patch and Repair Pack Plus 3 Application Tips (J1805), United States Gypsum Company. Checked October 27, 2026.
- [4] Sheetrock Brand Drywall Repair Clips, USG. Checked October 27, 2026.
- [5] 13VAC5-63-80, Section 108 Application for permit (Virginia Uniform Statewide Building Code), Virginia Administrative Code, Virginia General Assembly. Checked October 27, 2026.
Want a pro to handle it?
Describe the job once. Licensed local businesses send quotes, and you pay only when you book one.
Get a quote for Home Repair