How do I replace a cracked tile?
Cut out the grout around the cracked tile, break it out with a hammer and chisel, scrape away the old mortar, then set a matching spare in fresh thin-set and grout it once the mortar has cured. With goggles on, one tile is a reasonable DIY job. A crack running across several tiles points to a problem underneath, not a bad tile.
Free to ask. Local shops send quotes, and you pay only when you book one.
By Kasra Taheri, Founder, LoclisPublished
Researched and drafted with AI, then checked claim by claim against the sources listed below before it was published. Prices and rules change; the dates beside each source say when it was last checked.
Step by step
Read when to stop and call a pro, further down this page, before you start.
Step 1: Find a matching tile
Use a spare from the original job if you have one; spare tile from the same dye lot is what gives a close match.[1]
Step 2: Put on protective gear
Wear goggles or safety glasses with side shields, and a properly fitted NIOSH/MSHA approved particulate respirator while removing tile; work gloves are a sensible addition.[1]
Step 3: Cut out the grout
Remove all the grout around the cracked tile with a grout saw or an oscillating tool, keeping the blade in the joint so you do not chip the neighbouring tiles.
Step 4: Break and lift the tile
Carefully break the cracked tile with a hammer and chisel, working from the middle toward the edges, and lift the pieces out.
Step 5: Scrape the bed clean
Chip and scrape off the hard mortar or adhesive that was under the tile until the base is flat, then vacuum out the dust.[1]
Step 6: Dry-fit the new tile
Set the new tile in the hole without mortar to check that it fits with even joints and leaves room for a layer of thin-set underneath.
Step 7: Mix a small batch of thin-set
Follow the bag's directions and mix only what you can use in about 30 minutes.[2]
Step 8: Set the tile
Spread thin-set with the notched trowel the bag names, back-butter the tile if the mortar calls for it, and press it in with a slight twisting motion rather than sliding it.[2]
Step 9: Level it and wait
Bring the tile flush with its neighbours, keep the joints even, and wait about 24 hours before grouting unless the mortar bag says otherwise.[2]
Step 10: Grout the joints
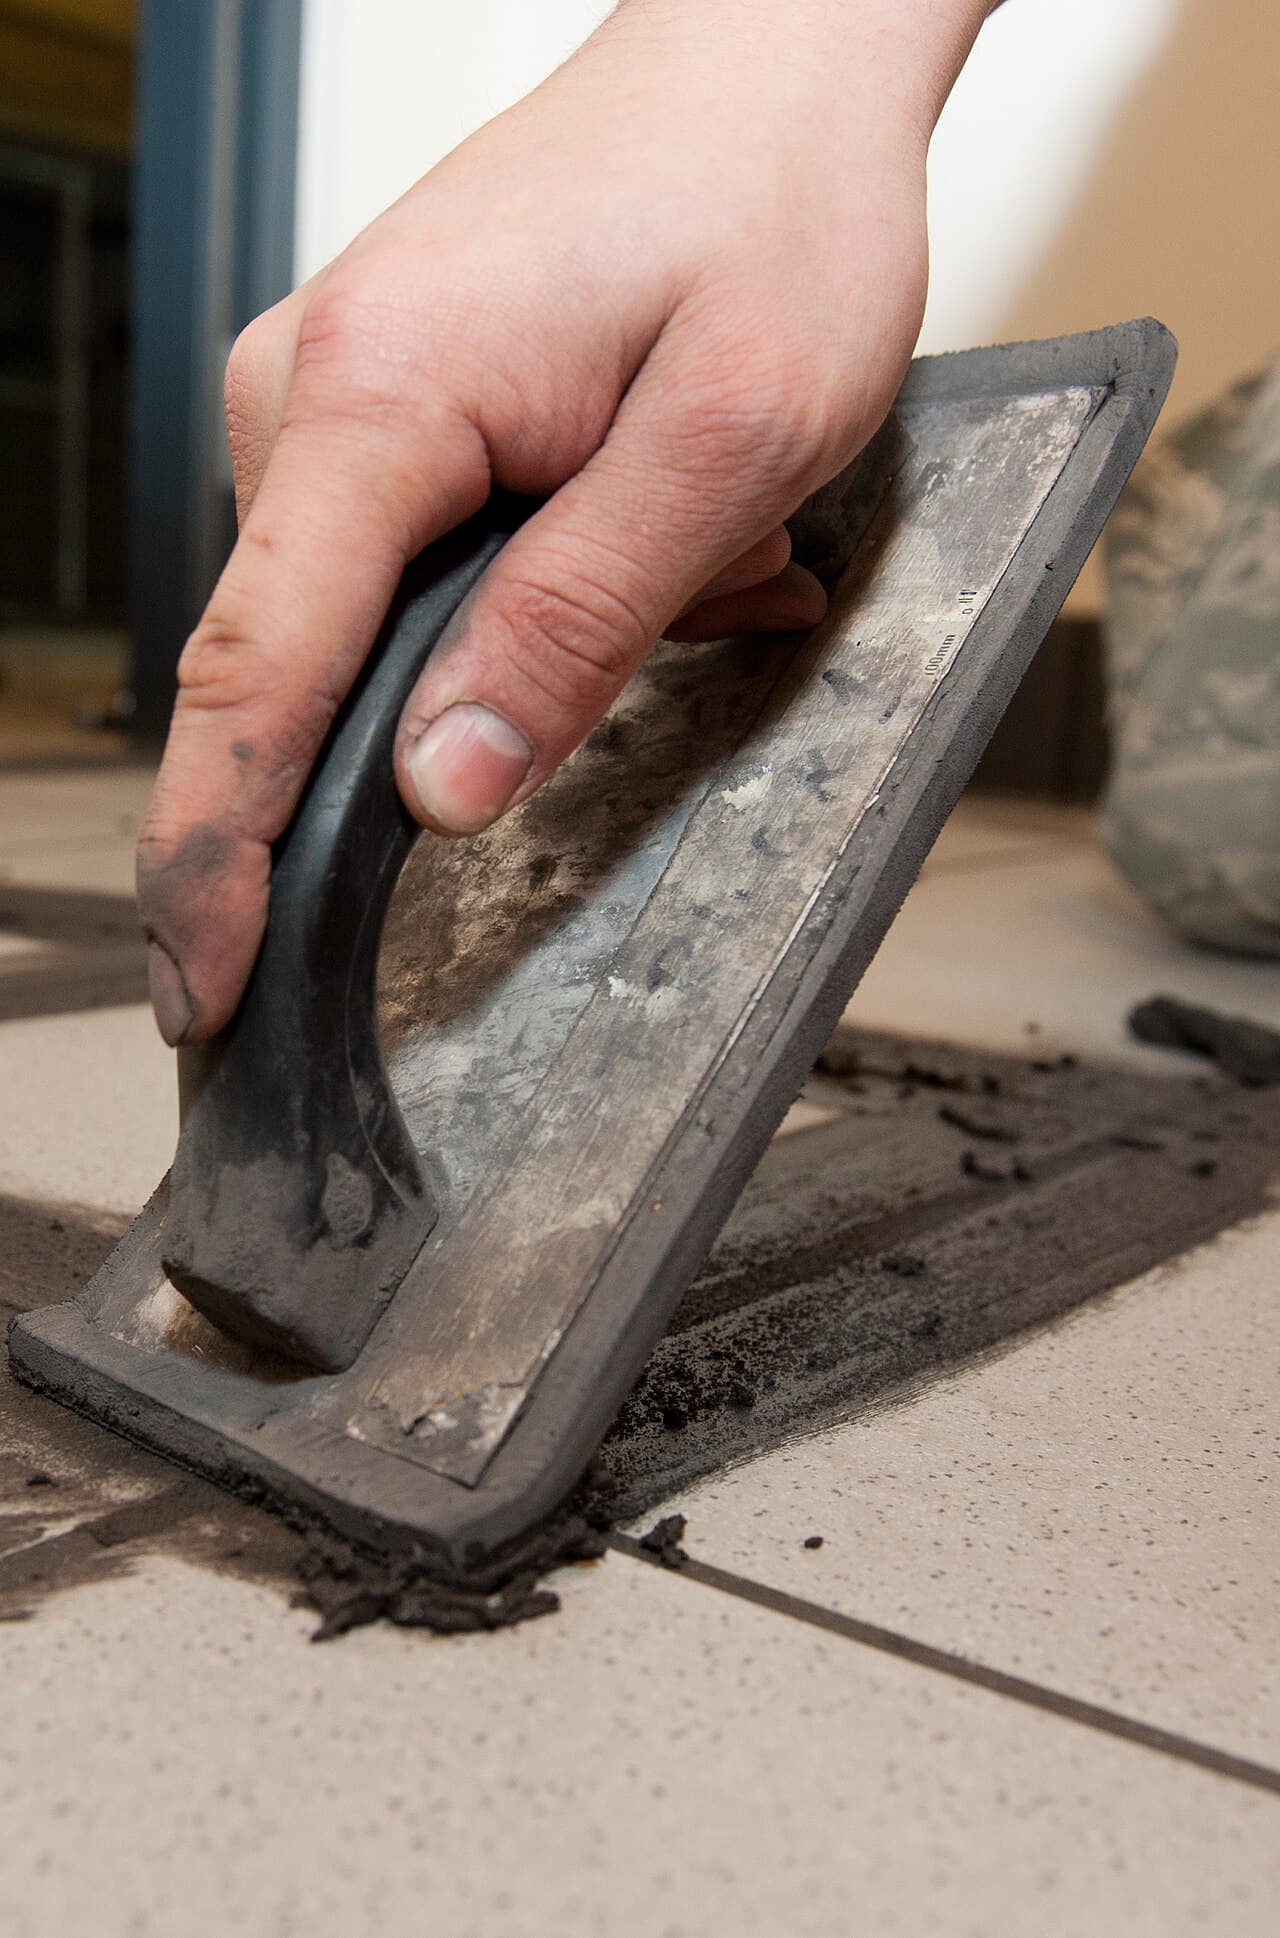
Press grout into the joints with a rubber float held at 45 degrees, then scrape off the excess with the float edge held at 90 degrees.[3]
Step 11: Clean up and let it cure
Smooth the joints with a damp sponge, keep foot traffic off for as long as the grout bag says, and do not seal the grout for three weeks.[2]
To replace a cracked tile, cut out the grout around it, break the tile out, scrape the old mortar flat, set a matching spare in fresh thin-set and grout it once the mortar has cured. Daltile calls replacing a broken tile rather simple, and stresses protective gear, especially goggles.[1] Its three-part method is to remove the grout around the broken tile, carefully remove the tile with a hammer and chisel, then remove the hard mortar or adhesive that was underneath.[1] The steps above fill in the details.
First, look at why it cracked
A single tile with a chip or a starburst crack where something heavy was dropped is usually just a broken tile. Replace it and you are done.
A crack that runs in a line across two or more tiles, a tile that sounds hollow when you tap it, or a floor that flexes when you walk on it is a different problem. Floors and walls shift over time, causing cracks beneath the finished tile.[5] A new tile laid over the same movement will usually crack again. See why floor tiles crack before you start, and how to keep tile from cracking for what fixes the cause.
Get a matching tile before you break anything
The new tile is the hardest part to find, so find it first. Daltile recommends buying about 10% more tile than a job needs and keeping it as "attic stock"[1] so a repair can use tile from the same dye lot and printing process, which can change slightly over the years.[1] Check the garage, basement and attic for a leftover box. If there is none, take a broken piece to a tile shop and compare size, thickness, colour and surface finish side by side.
What you need
- A grout saw, or an oscillating multi-tool with a grout-removal blade
- A hammer, a cold chisel or a stiff putty knife, and a shop vacuum
- Thin-set mortar suited to your tile, a small notched trowel and a mixing bucket
- Grout in the matching colour, a rubber grout float, a sponge and a bucket of clean water
- Safety glasses or goggles, gloves and a particulate respirator
Choosing the grout. Match the type to the joint width. Polyblend Plus Sanded Grout is made for joints 1/8 to 1/2 inch wide, and the maker says its non-sanded version may suit joints up to 1/8 inch.[3] Its data sheet also warns that some ceramic, glass, metal, marble or stone tiles can be scratched by the sand in sanded grout,[3] so test a corner first on polished or glass tile.
Matching the colour. Daltile notes that grout colour can vary slightly from batch to batch and can darken over time,[1] so new grout beside old often looks lighter at first. It also says a grout stain can correct a colour that does not come out as expected.[1] If the old grout is badly stained, cleaning the whole floor first makes the match easier to judge.
Work safely with dust and cement
Cutting tile can produce silica dust, which can be hazardous if inhaled.[1] Daltile does not recommend dry cutting, recommends wet cutting, and recommends a properly fitted NIOSH/MSHA approved particulate respirator when cutting tile or removing installed tile.[1] OSHA explains that respirable crystalline silica is created by cutting, sawing, grinding and drilling materials such as stone, concrete and mortar,[6] and that workers who breathe it are at increased risk of silicosis, an incurable lung disease.[6] For one tile, keep the dust down with a vacuum held at the work and a damp sponge, and wear the respirator anyway.
Cement grout is caustic too. For its grout, the data sheet calls for impervious gloves such as nitrile, safety glasses and a NIOSH N95 respirator,[3] and warns that cement grout can cause severe skin burns and serious eye damage.[3]
This guide is for ceramic, porcelain and stone tile. Old resilient flooring is another matter: vinyl floor tiles and the backing and adhesives of vinyl sheet flooring are among the building materials that have contained asbestos.[7] EPA says you can't tell whether a material contains asbestos simply by looking at it, unless it is labeled.[8] "If in doubt, treat the material as if it contains asbestos and leave it alone."[8]
Tips that make the repair disappear
- Protect the neighbours. Put painter's tape on the edges of the surrounding tiles before you cut the grout. Most chipped edges happen when a grout saw jumps out of the joint.
- Break from the middle. Starting in the centre of the cracked tile and working outward takes pressure off the tiles around it.
- Get the height right. Scrape the old bed lower than you think you need. A tile that sits proud of its neighbours is a trip edge and catches light.
- Mix grout to the bag's ratio. Custom's data sheet says do not add water as it stiffens, because extra water can weaken the grout and cause colour variation, shrinkage, cracks and pinholes.[3]
- Use a fast-setting mortar to finish in a day. Ordinary thin-set wants about a day before grouting, but a fast-setting repair mortar such as Custom's Tile Repair Professional Thin-Set can be grouted in 2 hours and walked on in 4.[4]
- Respect the cure. Custom's data sheet for Polyblend Plus says not to open it to foot traffic before it has cured for 16 hours.[3] Put a box or a chair over the tile so nobody steps on it.
Wall tile and showers
The same method works on a backsplash or a dry wall. In a shower or tub surround, go gently with the chisel: the backer board or membrane behind the tile is what keeps water out of the wall. If what you find behind a broken shower tile is soft, dark or wet, stop there. Caulked joints, such as the one where tile meets the tub, are a separate job; see how to recaulk a bathtub.
Stop and call a pro if
- Cracks run across several tiles in a line, or the floor bounces, dips or creaks where the tiles crack. That is a subfloor or structure question.
- More tiles sound hollow when tapped than the one you meant to replace.
- The board behind a wall or shower tile is soft, crumbling or wet, or there is a stain on the ceiling below.
- The tile is natural stone, a large-format porcelain plank, or part of a pattern you cannot match.
- The floor is old vinyl or sits on old black adhesive, and you do not know what it is made of.
If it is more than you want to take on, compare hiring a handyman or a tile installer and what a few tiles cost to replace in Virginia. You can also browse small tile jobs, find handyman businesses around Blacksburg, or read the other handyman answers.
When you are ready, describe the tile repair once and local businesses quote it.
Common questions
- Can I replace a cracked tile without removing the grout first?
- Not cleanly. The grout locks the tile to its neighbours, so breaking the tile out before the joints are cut tends to chip the tiles around it. Cut out the grout all the way around, then break the tile from the middle outward.
- What if I do not have a spare tile?
- Take a piece of the broken tile to a tile shop and look for a match in size, thickness, colour and finish. Colour can shift between production runs, so even the same product may not match exactly. Some people borrow a tile from inside a closet or under an appliance and put the closest new match there instead.
- Can I fill a cracked tile instead of replacing it?
- A colour-matched filler or epoxy can hide a hairline crack for a while, but it does not fix the tile or whatever cracked it. If the tile is loose, sounds hollow or the crack keeps growing, replace it and look for the cause.
- How long before I can walk on a replaced floor tile?
- It depends on the products. With ordinary thin-set, Daltile suggests waiting about 24 hours before grouting, and a grout such as Polyblend Plus needs 16 hours before foot traffic. Fast-setting repair mortars can be grouted in about 2 hours. Follow the times printed on the bags you use.
- Should I seal the grout around a new tile?
- If the rest of the floor's grout is sealed, yes, but wait. Daltile's guidance is not to apply sealers for three weeks after grouting. To check whether existing grout needs sealing, drop water on it: if it beads, the seal is fine; if it soaks in, it is time to reseal.
Sources
- [1] Frequently Asked Questions, Daltile. Checked October 27, 2026.
- [2] How to Install Floor Tile, Daltile. Checked October 27, 2026.
- [3] Polyblend Plus Sanded Grout, Technical Data Sheet TDS-360, Custom Building Products. Checked October 27, 2026.
- [4] Tile Repair Professional Thin-Set Mortar, Custom Building Products. Checked October 27, 2026.
- [5] 4 Tips for a Successful Tile Floor Installation, LATICRETE. Checked October 27, 2026.
- [6] Silica, Crystalline: Overview, Occupational Safety and Health Administration. Checked October 27, 2026.
- [7] Learn About Asbestos, U.S. Environmental Protection Agency. Checked October 27, 2026.
- [8] Protect Your Family from Exposures to Asbestos, U.S. Environmental Protection Agency. Checked October 27, 2026.
Want a pro to handle it?
Describe the job once. Licensed local businesses send quotes, and you pay only when you book one.
Get a quote from a local pro