How do I keep tile from cracking?
Most tile cracking is prevented before the first tile is set: a stiff enough floor, a crack isolation or uncoupling membrane over problem substrates, full mortar coverage and flexible movement joints at the edges. For tile you already have, keep hard impacts off it, keep the joints at walls and tubs caulked rather than grouted, fix leaks quickly and keep spare tiles.
Free to ask. Local shops send quotes, and you pay only when you book one.
By Kasra Taheri, Founder, LoclisPublished
Researched and drafted with AI, then checked claim by claim against the sources listed below before it was published. Prices and rules change; the dates beside each source say when it was last checked.
Step by step
Read when to stop and call a pro, further down this page, before you start.
Step 1: Keep spare tiles
Store leftover tile from the job, about 10% extra, so a future repair can use tile from the same dye lot.[8]
Step 2: Pad what sits on the floor
Put felt or rubber pads under chair and table legs and heavy furniture so weight is not concentrated on a tile edge or corner.
Step 3: Protect it during moves
Slide appliances and heavy furniture on hardboard or plywood sheets instead of rolling or dragging them across the tile.
Step 4: Check the edge joints
Look where tile meets walls, tubs and cabinets; those are movement joints that need a flexible sealant, not grout.[2]
Step 5: Use the right sealant
Fill movement joints with a silicone, polysulfide or polyurethane sealant that meets ASTM C920, not a siliconized acrylic.[1]
Step 6: Recaulk split joints
When the sealant at an edge joint splits or pulls away, cut it out and replace it so the tile keeps room to move.
Step 7: Test the grout seal
Drop a little water on the grout; if it soaks in rather than beading, it is time to reseal.[8]
Step 8: Fix leaks quickly
Repair toilet, tub and appliance leaks promptly and dry the area, since moisture in a wood subfloor can cause tile bond failure.[4]
Step 9: Watch for early signs
Tap tiles now and then and note any that start to sound hollow or show hairline cracks, and mark crack ends with a pencil to see if they grow.
Step 10: Plan new tile properly
Before new tile goes in, ask the installer about floor stiffness, membranes, mortar coverage and where the movement joints will be.
Most tile cracking is decided before the first tile is set. A floor stiff enough for the tile, a membrane over substrates that move, full mortar coverage and flexible joints at the edges prevent most of it. For tile already in place, the work is simpler: keep hard impacts off it, keep the joints at walls and tubs flexible, fix leaks quickly, and keep spare tiles so a cracked one can be swapped without a visible patch.
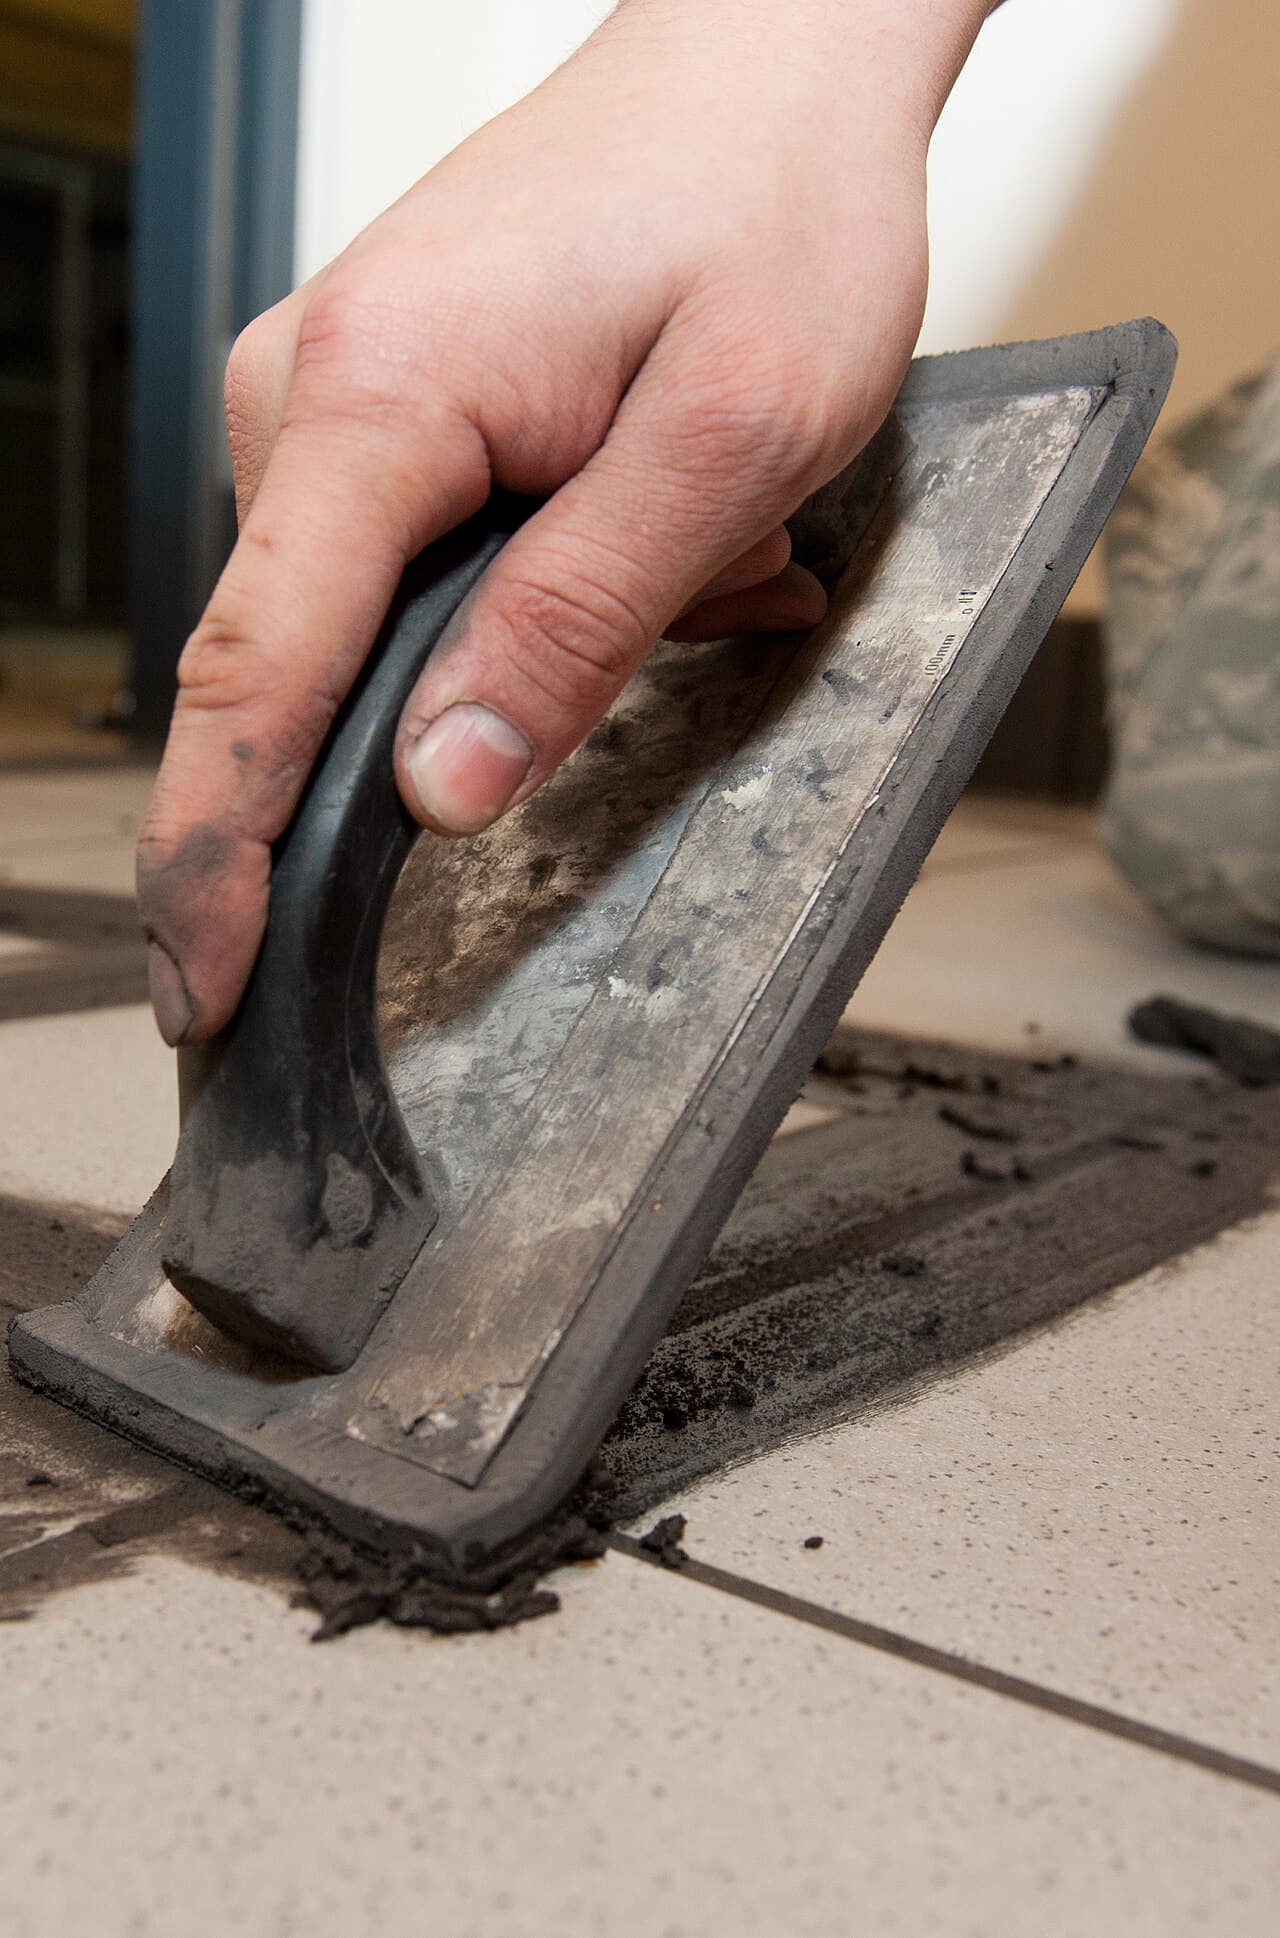
Looking after tile you already have
Keep the edges flexible. Tile, grout and the floor under them move with temperature and humidity, and the edges are where that movement goes. Custom's grout data sheet says movement joints are required for perimeters and other changes of plane in all installations,[2] and that cement grout is not for use in them.[2] If the joint where your floor meets the tub, or your backsplash meets the countertop, is packed with hard grout, raking it out and caulking it is one of the cheapest ways to protect the tile.
Use a sealant that can move. For movement joints, ANSI's tile installation standard recommends a silicone, polysulfide or polyurethane caulk that meets ASTM C920.[1] Custom's paper points out that low-cost siliconized acrylics do not meet ASTM C920 or perform as a movement joint in most specified tile installations,[1] and notes that ANSI and TCNA recommend a caulk with a Shore A hardness greater than 35 for traffic areas.[1] It also says an interior movement joint can usually be as wide as the grout joint, but never less than 1/8 inch.[1] When a bead splits or pulls away, cut it out and redo it; see why caulk keeps cracking and how to recaulk a bathtub.
Think about sun. The same paper notes that floors in direct sunlight need movement joints every 8 to 12 feet,[1] so a sunroom or a floor below a large window deserves a look if cracks show up there first.
Spread the load. Felt or rubber pads under chair legs, and plywood or hardboard sheets under a refrigerator or piano when it is moved, keep weight off tile edges and corners. A dropped cast-iron pan or tool can crack a tile outright, so a rug where you work at the counter is cheap insurance.
Keep spares. Daltile recommends buying about 10% more tile than you need and storing it[8] so a repair matches. If you are moving into a house with tile, ask the seller whether any leftover boxes are in the garage or attic.
Keep water out of the subfloor. On a wood floor, Custom's plywood bulletin calls for all wood subfloors and joists to be dry before tile goes down, because any shrinkage afterward will result in bond failure.[4] A dripping toilet seal or a leaking dishwasher can wet the wood from below. Fix leaks quickly and dry the area.
Check the grout seal. Sealing does not stop cracks, but it keeps grout resisting water and stains. Daltile's test is a few drops of water: "If the water droplets bead up, the sealant is fine."[8] If the water soaks in, it is time to reseal.
Getting it right when tile goes in
If you are tiling a room or redoing one, these are the questions that prevent cracks. Most of them are invisible once the tile is down.
Is the floor stiff enough? Custom notes that building codes recommend floor deflection of no more than L/360,[3] and that the Marble Institute of America recommends no more than L/720 for soft, large, heavily veined or thin stone.[3] For tile bonded over a plywood floor, Custom's bulletin describes a subfloor at least 5/8 inch thick on joists 16 inches apart, plus a 3/8-inch exterior-grade plywood overlay,[4] with 1/8-inch gaps between the panels and 1/4 inch where they meet walls and other fixed surfaces.[4] It also says OSB, particle board, luan and interior-grade plywood are not suitable for bonding tile directly.[4] If the floor bounces, stiffening it is structural work for a builder, not the tile setter.
Is there a membrane where it is needed? Crack isolation and anti-fracture membranes are designed to isolate tile and stone from minor in-plane cracking in the substrate.[7] Custom explains that uncoupling mats absorb stress from movement in the floor below,[5] and that its own mat can be used over young concrete and over single-layer plywood on joists up to 19.2 inches apart.[5] Over a slab with cracks or joints, ask which one the installer plans to use and where.
Has the concrete cured? Most makers of tile-setting products require concrete to cure 28 days before tile is bonded directly to it,[5] unless an uncoupling method made for young concrete is used.
Where will the movement joints go? Ask the installer to show you on a plan: around the room, at changes of plane, over joints in the slab, and through large or sunny floors.
Will the tile be fully bedded? Custom lists a recommended minimum of 80% mortar coverage in dry areas and 95% in wet areas and exteriors.[6] Ask how the installer checks it, for example by lifting a freshly set tile to look at the back.
Is the layout right for the tile? For long tiles, Daltile says rectangular porcelain should not be set in a running bond pattern, but with no more than a 1/3 overlap.[9]
Stop and call a pro if
- New cracks keep appearing, especially in lines across several tiles, or the floor bounces or sags.
- Tiles that used to sound solid now sound hollow over a growing area.
- You find water damage, soft wood or sagging joists under a tiled floor.
- Grout or tile is cracking in a shower, which can let water into the wall.
For the causes in more detail, see why floor tiles crack; for a single broken tile, see how to replace a cracked tile. Browse tile and backsplash work, find flooring businesses around Blacksburg, or read the other handyman answers.
When you need a hand, describe the tile repair once and local businesses quote it.
Common questions
- Does sealing grout stop tile from cracking?
- No. Sealer helps grout resist stains and water, but cracks come from movement, impacts or poor support under the tile. Keep grout sealed for cleaning and water resistance, and deal with cracking through movement joints, a stiff subfloor and full mortar coverage.
- Should the tile at the edge of a room be grouted or caulked?
- Caulked. Where tile meets walls, tubs, cabinets or another surface, the joint needs room to move. Custom's grout data sheet says cement grout is not for those joints; use a flexible sealant that meets ASTM C920, such as 100% silicone, in a colour that matches the grout.
- Is it worth putting a membrane under new floor tile?
- Often, over concrete with cracks or joints, over young concrete, or over a wood subfloor near its limits. Crack isolation membranes and uncoupling mats are made to stop movement in the substrate from reaching the tile. They do not make a bouncy floor stiff, so a floor that flexes still needs structural work first.
- Can I stop a hairline crack in a tile from spreading?
- Not reliably. A filler can hide it and keep dirt out, but if the crack comes from movement underneath it may keep growing. Mark the ends with a pencil and the date; if it grows, find the cause before replacing the tile.
- Do heated floors make tile more likely to crack?
- They add temperature change, which is one more reason for proper movement joints. Follow the heating system and setting material makers' instructions, and let them set how the floor is warmed up after installation.
Sources
- [1] Movement Joints in Tile Assemblies, Technical White Paper WP104, Custom Building Products. Checked October 27, 2026.
- [2] Polyblend Plus Sanded Grout, Technical Data Sheet TDS-360, Custom Building Products. Checked October 27, 2026.
- [3] TB7, Proper Subfloor Deflection When Setting Natural Stone, Custom Building Products. Checked October 27, 2026.
- [4] TB22, Installation of Ceramic Tile over Plywood Substrates with Latex-Portland Cement Mortar, Custom Building Products. Checked October 27, 2026.
- [5] Uncoupling Membranes for Tile Installations, Technical White Paper WP105, Custom Building Products. Checked October 27, 2026.
- [6] Tile Repair Professional Thin-Set Mortar, Custom Building Products. Checked October 27, 2026.
- [7] 4 Tips for a Successful Tile Floor Installation, LATICRETE. Checked October 27, 2026.
- [8] Frequently Asked Questions, Daltile. Checked October 27, 2026.
- [9] How to Install Floor Tile, Daltile. Checked October 27, 2026.
Want a pro to handle it?
Describe the job once. Licensed local businesses send quotes, and you pay only when you book one.
Get a quote from a local pro