How do I replace a thermostat?
If your thermostat is a standard low-voltage (24-volt) model, turn off the system's power, photograph and label each wire by its terminal letter, move each one to the matching terminal on the new base, then restore power and run setup. Stop if the old thermostat is marked 120 or 240 volts, you have a heat pump with a furnace, or the new one needs a C wire you lack.
Free to ask. Local shops send quotes, and you pay only when you book one.
By Kasra Taheri, Founder, LoclisUpdated
Researched and drafted with AI, then checked claim by claim against the sources listed below before it was published. Prices and rules change; the dates beside each source say when it was last checked.
Step by step
Read when to stop and call a pro, further down this page, before you start.
Step 2: Check compatibility first
Run the new thermostat maker's compatibility check using the letters on the terminals, not the colours of the wires, and stop if you have dual fuel, two R wires from the wall or a whole-home humidifier.[3]
Step 4: Take off the old faceplate
Pull or unscrew the old thermostat off its wall plate, leaving every wire attached for now.[1]
Step 5: Photograph and label
Take a clear photo that shows each wire and the letter of its terminal, and put the supplied labels on the wires if colours are faded or repeated.[1]
Step 7: Free the wires
Release the wires from the old plate, take the plate off the wall and wrap the bundle around a pencil so it cannot slip back into the wall.[1]
Step 8: Connect the new base
Feed the wires through the new base and put each one in the terminal with the same letter, one wire per terminal, then tug gently to check it holds.[1]
Step 9: Mount and attach
Level the base, fix it with the supplied anchors and screws, and snap the thermostat onto it.[1]
Step 10: Restore power and set up
Turn the power back on and work through setup, choosing the right system type, such as conventional forced air, heat pump or boiler.[1]
Step 11: Test heating and cooling
Call for heat, then for cooling; a WAITING FOR EQUIPMENT message is a built-in compressor delay, so give it 5 minutes.[2]
Step 12: Keep mercury out of the trash
If the old thermostat contains mercury in a sealed tube, do not throw it away; ask your local waste authority where to take it.[1]
Replacing a wall thermostat is a homeowner job when the old one is a standard low-voltage (24-volt) control wired to a furnace, air handler, heat pump or boiler. The work is mostly careful note-taking: power off, photograph the wiring, move each wire to the terminal with the same letter on the new base, then power on and set it up. Three things turn it into a job for someone else: a line-voltage thermostat, a dual fuel or other complex system, and a new thermostat that needs a power wire your house does not have.
First, make sure yours is a low-voltage thermostat
Before you buy anything, take the cover off the old thermostat and look. Honeywell's install guide asks two questions: are there thick black wires joined with wire nuts, and is the thermostat rated 120 volts or more? If either answer is yes, "you have a line voltage system and the thermostat will not work."[1] High-voltage thermostats usually carry a 110, 115, 120 or 240 VAC rating on the label,[3] and they are common on electric baseboard heat. Google's Nest help says: "High voltage thermostats should only be installed or uninstalled by a professional due to the high voltage that they carry."[3]
Google lists two more systems its Nest thermostats will not run on. Millivolt heat, usually a wall or floor heater, cannot supply the power those thermostats need,[3] and Honeywell's T5 is not made for millivolt systems either.[1] And wires in terminals with non-standard labels, such as 1, 2, 3 or A, B, C, mean the system is proprietary;[3] Google says some proprietary systems offer an adapter, or a pro installer can rewire them to work.[3] Other thermostats have their own lists, so check the one you plan to buy.
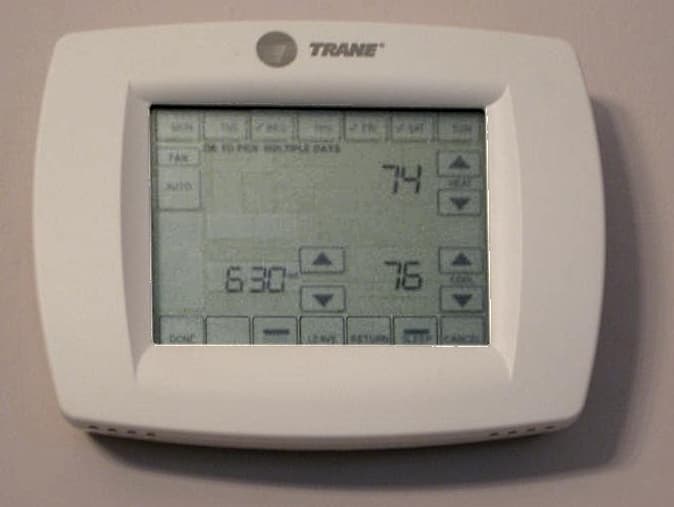
Check the new thermostat will work with your system
Check before you buy. Google and ecobee both have online compatibility checkers.[3][4] For Google's, you only need to know the type of heating system; the brand or model does not matter.[3] Enter the terminal letters that have wires on them, not the wire colours. ENERGY STAR gives the same advice for any smart model: "Make sure the smart thermostat you purchase is compatible with your heating and cooling system."[5]
Three kinds of system are not a homeowner swap. Google recommends professional installation for dual fuel systems (a heat pump with a furnace), dual transformer systems with more than one R wire, and whole-home humidifiers and dehumidifiers.[3] On dual fuel it is firm: "If you have a dual fuel system, you will need to have a trained professional set up your thermostat," because "choosing incorrect options for a dual fuel system can result in damage to your system."[3] You likely have dual fuel if there is a furnace indoors and a heat pump outside; check the outdoor unit's label, since heat pumps look like air conditioners.[3]
If your photo shows separate Rh and Rc wires from the wall with no jumper between them, or wires running to a whole-home humidifier or dehumidifier, stop there and have an HVAC technician do the swap.
The C wire question
The common (C) wire does not control heating or cooling; it helps deliver power from the system to the thermostat.[3] Some Wi-Fi thermostats need it. Honeywell's T5, for example, lists "Required: 24 VAC power" with a C wire.[1]
If your old thermostat has no wire on C, look behind the wall plate first: Honeywell suggests checking for a spare wire tucked into the wall or wound around the bundle,[1] which may already reach the furnace. Using it means connecting the other end at the furnace or air handler too, and Honeywell warns that some equipment marks its 24 VAC common terminal with a letter other than C.[1] Some makers sell an adapter instead: ecobee's Power Extender Kit installs at the furnace control board and combines the jobs of the Y and G wires to free one up as a C wire,[4] and it "only works with 24 VAC systems."[4]
Either way, the work moves from the wall to the inside of the furnace cabinet. That part is outside this guide; if the new thermostat needs a C wire and the wall end has none, pick a model that runs without one or have an HVAC technician finish it.
Doing the swap
Four details matter more than the rest:
- The photo. Take it before a single wire comes off, with every terminal letter readable. It is your map if anything goes wrong.
- Stranded wire. Look at the end of one wire. Google's check is simple: if there is more than one large strand, the wiring is not compatible with a Nest thermostat.[3] A professional may be able to cap, solder or replace stranded wires with solid wire.[3]
- The wires falling into the wall. Wrap them around a pencil while the old plate is off.
- One wire per terminal. Tug each one gently once it is in.
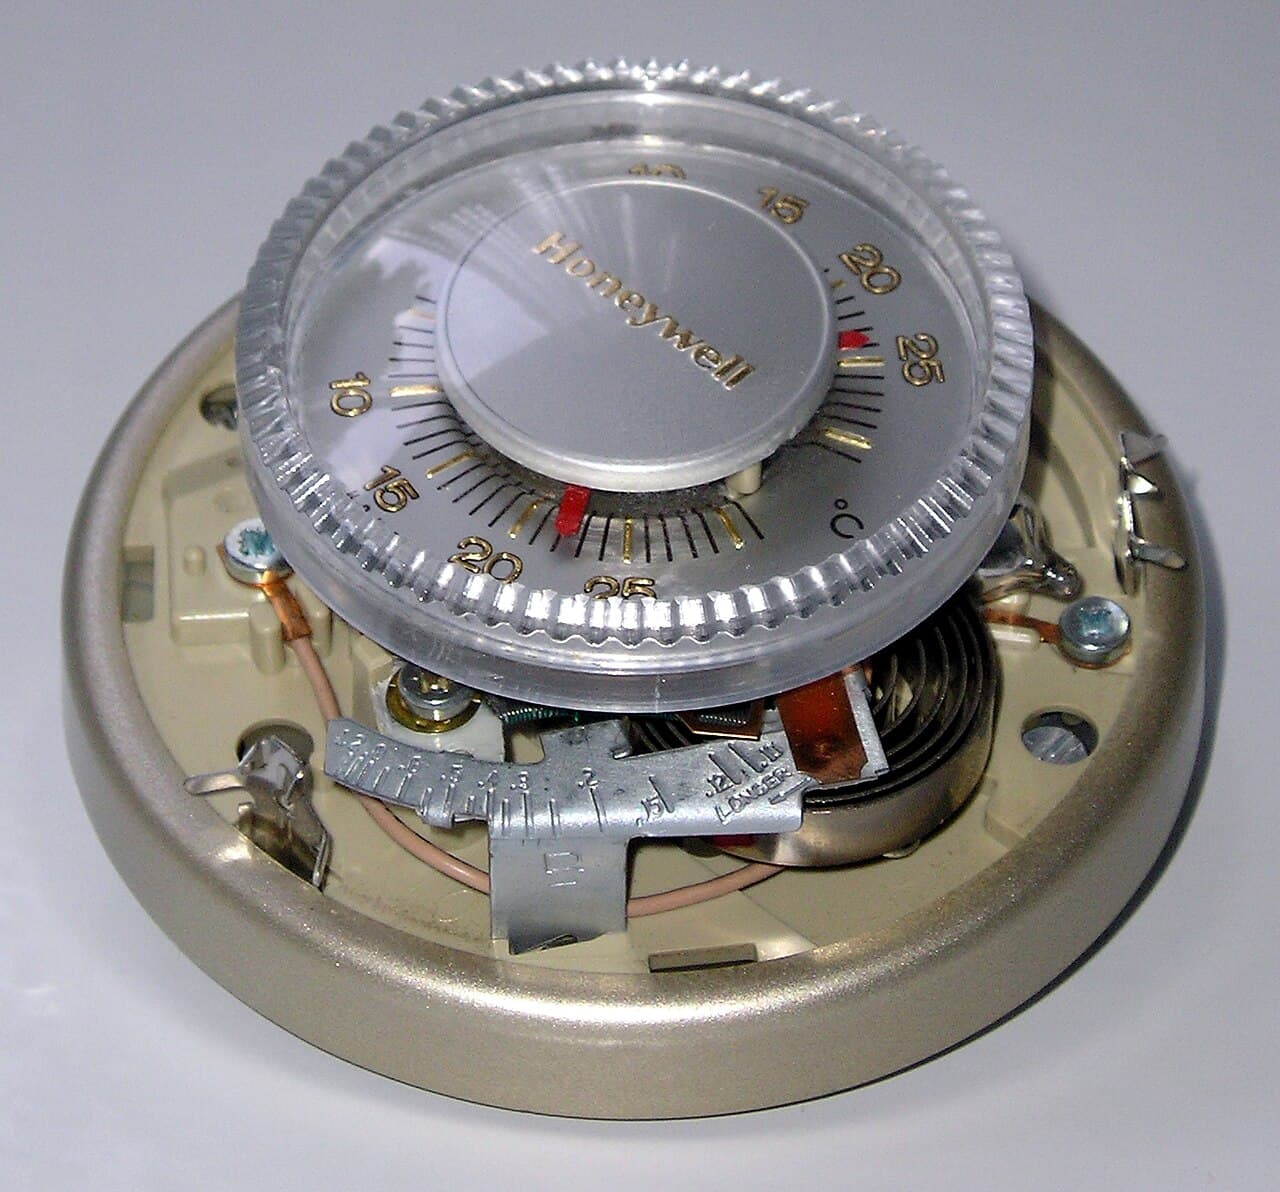
Mercury in old thermostats
Some older thermostats contain mercury in a sealed tube.[1] Honeywell's guide says: "If this product is replacing a control that contains mercury in a sealed tube, do not place the old control in the trash."[1] Under the Code of Virginia, any Virginia locality may, by ordinance, prohibit the disposal of thermostats containing mercury in its waste-to-energy or solid waste facilities, as long as it runs a recycling program that can handle them.[7] Call your county or city waste office and ask where to take it.
If the tube is cracked or broken, stop. Do not vacuum or sweep up the mercury: EPA warns that a vacuum "will put mercury into the air and increase exposure" and that a broom "will break the mercury into smaller droplets and spread them."[8] Following EPA's advice, have everyone else and any pets leave the room, open windows and doors to the outside, shut the doors to the rest of the house, and ask your local health department, waste authority or fire department how to deal with it.[8]
Setup and the first test
Setup asks what you are controlling: conventional forced air, heat pump, boiler or cooling only. On a heat pump it also asks whether the heat pump's reversing valve (the O/B wire) energizes in cooling or in heating.[1] If heat and cooling seem reversed after the swap, that setting is the usual first thing to check.
When you test, do not expect instant air. If a Honeywell display shows WAITING FOR EQUIPMENT, "it is in compressor delay mode to protect the system."[2] Google likewise suggests waiting at least 5 minutes, since many systems delay their start.[3] If something still does not work, why a new thermostat is not working goes through the causes in order.
Permits
In Virginia, no permit is needed for wiring and equipment that operates at less than 50 volts,[6] which covers a standard thermostat in a house. The exemption does not apply when such installations "are located in a plenum, penetrate fire rated or smoke protected construction,"[6] or are part of a fire alarm or similar safety system. For the licence side, see whether a homeowner can replace a thermostat without a licence.
Stop and call a pro if
- The old thermostat is 120 or 240 volts, or has thick wires and wire nuts. That is line-voltage electrical work.
- The new thermostat needs a C wire and there is no spare at the wall, or the fix means working inside the furnace or air handler.
- The wires are stranded, or the terminals have numbers or odd letters instead of the usual R, W, Y, G, C.
- You have a dual fuel system (a heat pump with a furnace), two R wires from the wall, or a whole-home humidifier or dehumidifier. Google says dual fuel needs a trained professional to set it up, and recommends professional installation for the other two.[3]
- The old thermostat's mercury tube is cracked or broken. Do not vacuum or sweep it up; clear the room, air it to the outside and call your local health department or fire department.[8]
- You smell gas or burning at any point. Leave the thermostat and call your gas company or an HVAC technician.
If you would rather hand it over, what an HVAC company charges to install a thermostat covers what goes into the price. Loclis lists DPOR-licensed HVAC businesses with their licence number and class: browse HVAC businesses in Blacksburg, thermostat installation or all heating and cooling answers.
To have a licensed local business do it, describe the job once and they quote.
Common questions
- Do I need to turn off the breaker to change a thermostat?
- Turn off power to the heating and cooling system at its service switch or at the breaker before you touch the wires. Thermostat makers ask for this to protect you and the equipment; Honeywell's guide warns of shock or equipment damage. Then change the setting on the old thermostat and wait 5 minutes to make sure nothing starts.
- Does the wire colour tell me where it goes?
- No. Go by the letter on the terminal each wire comes off, not its colour, because installers do not always use the same colours. That is why the photo of the old wiring, with the terminal letters readable, matters more than anything else you do.
- What if I do not have a C wire?
- Look for a spare wire tucked into the wall or folded back in the bundle. Some thermostats run without one, and some makers sell an adapter that fits at the furnace or air handler. Connecting anything at the furnace end, or running a new cable, is work to hand to an HVAC technician.
- Can I replace the thermostat for my electric baseboard heaters the same way?
- No. Baseboard heaters usually use a line-voltage thermostat, marked 120 or 240 volts, with thick wires and wire nuts. That is mains electrical work, and Google's Nest help says only a professional should put one in or take one out.
- Do I need a permit to replace a thermostat in Virginia?
- Not for a low-voltage one in an ordinary house. Virginia's building code exempts wiring and equipment that operates at less than 50 volts from a permit, unless it runs in a plenum, goes through fire-rated construction or is part of a fire alarm or similar safety system.
- What should I do with my old round thermostat?
- Older thermostats can contain mercury in a sealed tube, and Honeywell's install guide says a control like that should not go in the trash. Ask your county or city waste office where to drop it off. If the tube is cracked or broken, do not vacuum or sweep up the mercury; air the room to the outside and call your local health department or fire department.
Sources
- [1] T5 Smart Thermostat RCHT8610WF Quick Install Guide (33-00498EF-03), Resideo Technologies (Honeywell Home). Checked October 26, 2026.
- [2] FocusPRO N100 Series Installation Manual: Troubleshooting and Support, Resideo Technologies (Honeywell Home). Checked October 26, 2026.
- [3] Nest thermostat compatibility, Google Nest Help. Checked October 26, 2026.
- [4] Power Extender Kit, ecobee. Checked October 26, 2026.
- [5] Smart Thermostats, ENERGY STAR, U.S. Environmental Protection Agency. Checked October 26, 2026.
- [6] 13VAC5-63-80. Section 108 Application for permit (Virginia Uniform Statewide Building Code), Virginia Administrative Code, Virginia General Assembly. Checked October 26, 2026.
- [7] § 10.1-1425.26. Cathode ray tube and mercury thermostat special waste recycling program, Code of Virginia, Virginia General Assembly. Checked October 26, 2026.
- [8] What to Do if a Mercury Thermometer Breaks, U.S. Environmental Protection Agency. Checked October 27, 2026.
Want a pro to handle it?
Describe the job once. Licensed local businesses send quotes, and you pay only when you book one.
Get a quote for HVAC Repair