How do I lay a paver patio?
Have Virginia 811 mark buried lines, dig out the area, compact a crushed-stone base (4 to 6 inches is the usual range for a patio) in layers of 3 to 4 inches with a slight slope away from the house, set an edge restraint, screed a layer of loose bedding sand, lay the pavers, then compact them and sweep joint sand in until the joints are full.
Free to ask. Local shops send quotes, and you pay only when you book one.
By Kasra Taheri, Founder, LoclisUpdated
Researched and drafted with AI, then checked claim by claim against the sources listed below before it was published. Prices and rules change; the dates beside each source say when it was last checked.
Step by step
Read when to stop and call a pro, further down this page, before you start.
Step 1: Call Virginia 811 first
Submit a locate request at least 3 working days before you dig and wait until the utilities have marked their lines.[7]
Step 2: Mark the area and the slope
Stake the outline, run string lines, and set the base to fall away from the house by 1 to 2 percent, which is a 1/2 inch drop in 4 feet at 1 percent.[1]
Step 3: Dig past the edges
Excavate deep enough for the base, bedding sand and pavers, and extend the base beyond the paved edge by as much as the base is deep.[1]
Step 4: Prepare the soil
Take out roots, organic soil and large rocks, and compact the soil; over clay, lay a geotextile first so the soil does not mix into the stone.[1]
Step 5: Build the base in layers
Spread crushed-stone base and compact it with a plate compactor in layers of 3 to 4 inches, adding a little water if the stone is dry.[1]
Step 6: Set the edge restraint
Spike an invisible-type paver edge restraint into the base material along every edge that is not against a wall or slab.[2]
Step 7: Screed the bedding sand
Spread bedding sand in a consistent layer over the finished base, strike it level, and do not compact it.[1]
Step 8: Lay the pavers
Start along the longest straight wall using a string line, set pavers beside each other with about 1/8 inch between them, and re-check the line every 4 feet.[2]
Step 9: Cut the edge pieces
Cut pavers to fit with a splitter or a wet masonry saw, and wear a dust mask or respirator when cutting.[4]
Step 10: Compact the pavers
Sweep the surface clean, then run a plate compactor fitted with a protective cover over the laid area in all directions.[2]
Step 11: Fill the joints
Sweep joint sand in, compact again and top up as needed, following the sand maker's bag instructions.[2]
A paver patio is a layered job: compacted soil, a compacted crushed-stone base, a bed of loose sand, the pavers, and sand swept into the joints, all held in by an edge restraint. Most of the work, and most of what decides whether the patio stays flat, happens before the first paver goes down. A small patio is a reasonable project for a couple of weekends with a rented plate compactor; Unilock suggests spreading anything of 500 square feet or more over a couple of weekends, and hiring out the excavation if you want to save your back.[3]
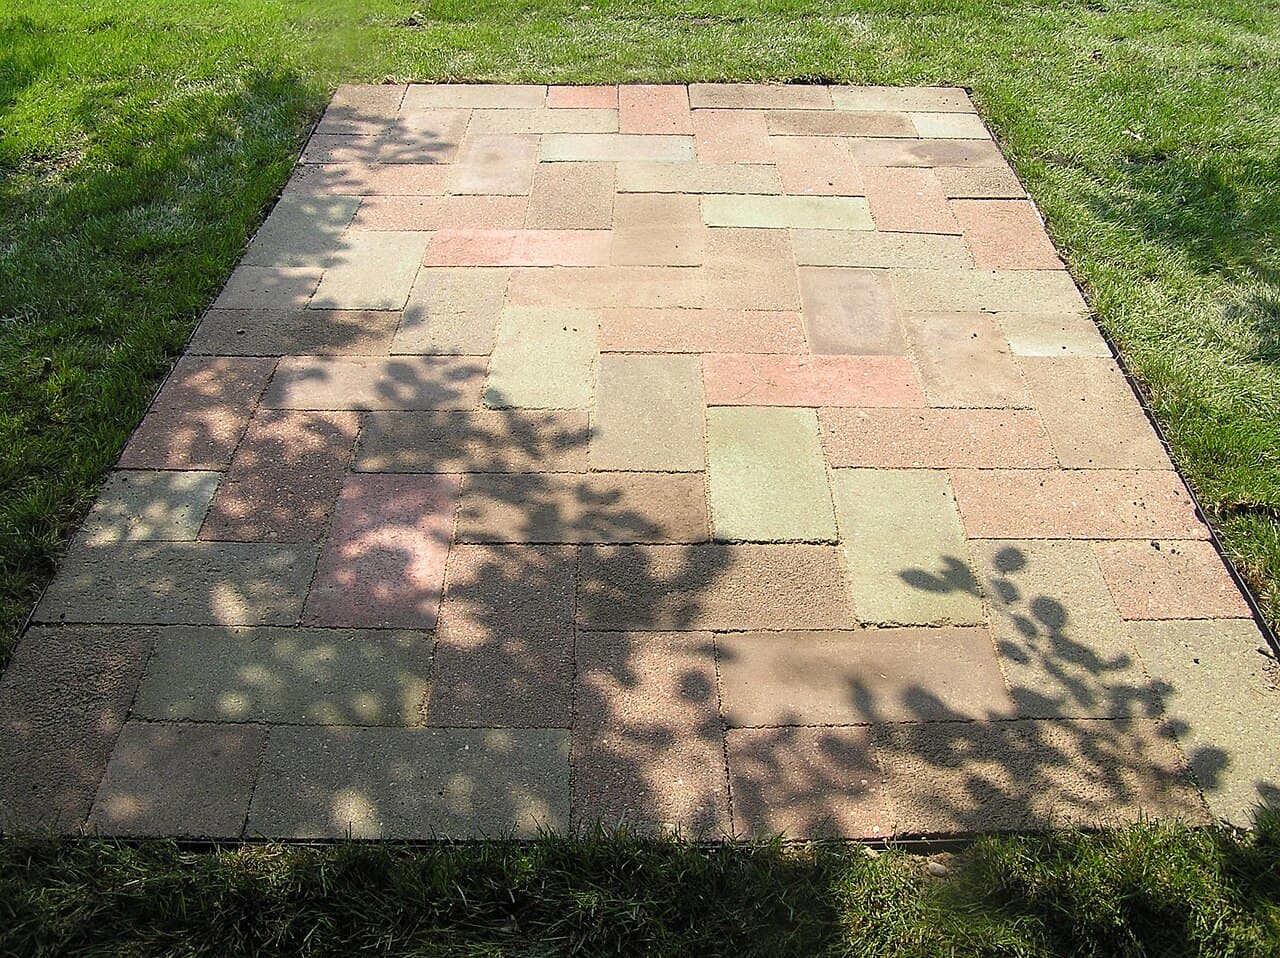
Before you dig
Call 811. In Virginia, contact Virginia 811 at least 3 working days before you dig, so the utilities can mark their lines.[7] The service is free, and you need a new ticket each time you dig.[7] The marks cover the utilities' own lines only. Virginia 811 lists private lines its member utilities will not mark, including lines from the house to a detached garage or shed, invisible pet fences, propane tanks and their lines, septic tanks and their lines, and the water line between the meter and the house.[8] If any of those could run under the patio, find them before you dig.
Check approvals. Ask your county or city whether the patio needs a permit or any other approval. Prince William County, for example, lists concrete patio slabs on grade that are not designed to support a future building addition among work with no building permit, and adds that zoning and/or watershed approval will be required.[9] That list does not mention pavers, so ask your own locality, and check any HOA rules.
Plan the drainage. Water has to run off the patio and away from the house. Do not count on the joints to drain it: other than with permeable pavers, only a small amount of water (2-5%) gets through the joints, so surface water needs to be shed off, which Unilock says requires a slope of 2%.[3] For setting the base, Unilock calls a slope of 1% to 2% adequate.[1] At 1 percent that is a 1/2 inch fall in 4 feet, so you can tape a 1/2-inch spacer under one end of a 4-foot level and set the base until the bubble centers.[1] Start your layout at the house, where the finished surface should sit below the door threshold, and set string lines from there.
What goes under the pavers
The soil. Dig out topsoil, roots, debris and large rocks and compact the soil before any base goes in. Soil that is wet, muddy or full of organic matter tends to keep settling, however good the layers above it are. Over clay or other poorly draining soil, Unilock advises laying a geotextile first, which works as a mechanical barrier that stops the clay mixing into the base.[1]
The base. Unilock gives 4 to 6 inches of base as its guideline for pedestrian areas, with no absolute rule, and says clay bases generally need to be dug deeper.[1] Use crushed stone sold as paver base, not round gravel, which does not lock together.
Compaction is the step people skimp on. Most ordinary plate compactors will not compact more than about 4 inches of base at once, so Unilock says to build it up in layers of 3 to 4 inches rather than dumping it all in.[1] If the stone is dry, a little water helps it pack and cuts the dust.[1] Also extend the base past the paved edge by the same distance as the base is deep,[1] so the edge pavers are not sitting on the shoulder of the base.
Do not lay plastic sheeting under the patio to stop weeds; it traps water.[1]
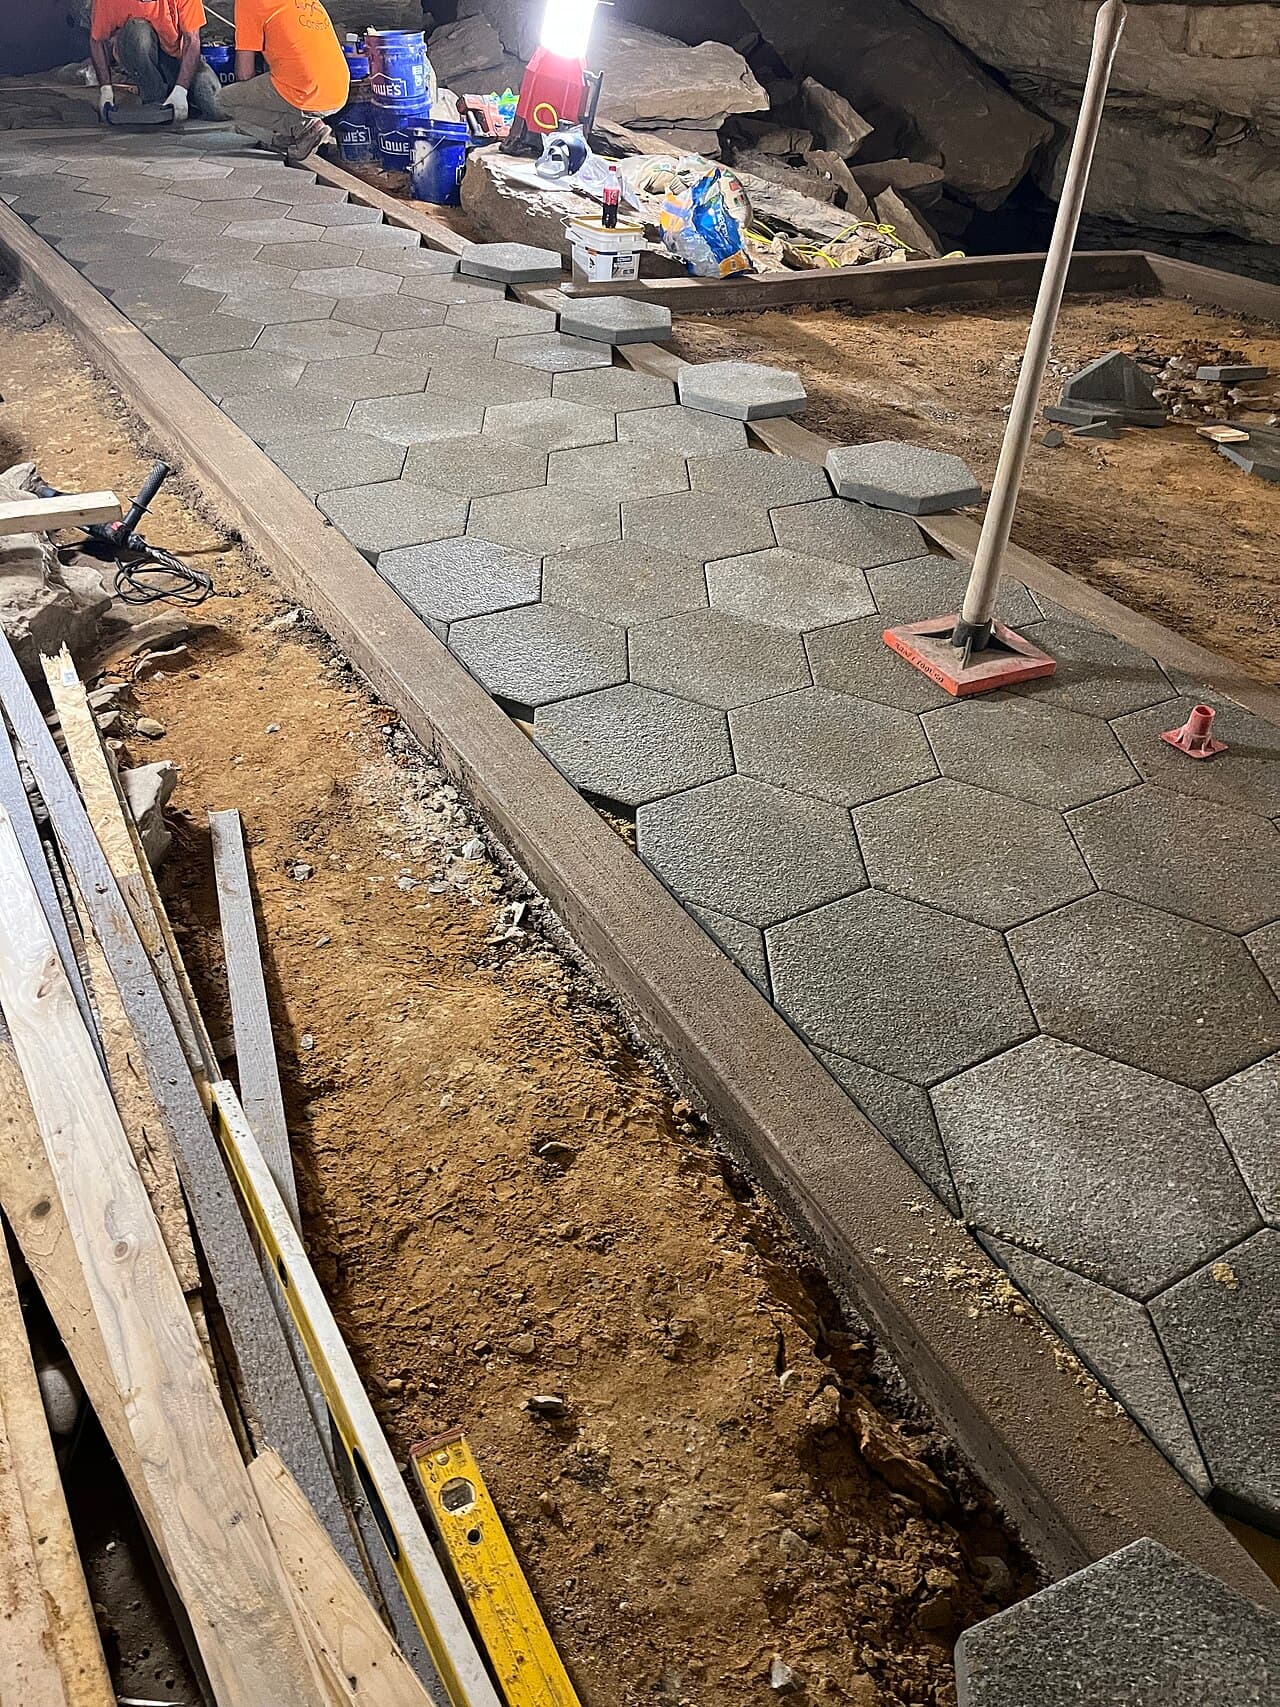
The bedding sand. Spread a consistent layer of bedding material and strike it level. Do not compact it; the loose sand is forced up between the pavers during the final compaction, where it sets and secures them.[1] Avoid stone dust and limestone screenings, which have too many fines and trap water.[1] Only screed as much bedding as you can cover with pavers that day, because rain or foot traffic means re-leveling it. Once it is screeded, keep off it; kneel on the pavers you have already laid.
The edge restraint. All paver projects need edge restraint, whatever their use. Unrestrained pavers slowly creep into the softer surrounding material and large gaps open around the perimeter.[2] Unilock recommends an invisible edge system spiked into the base material;[2] a foundation wall, garage sill or existing slab can do the job along those sides. Flexible edging also lets you check a curve by eye before you nail it down.
Laying and finishing
Never assume a wall is straight. Unilock says to start along the longest straight wall, follow a string line spaced approximately 1/4 inch off it, and stop every 4 feet to pull a string line along the laying face.[2] Set the pavers beside each other rather than hammering them tight: the recommended space is 3 mm (1/8 inch), and adjusting the face with a screwdriver beats hammering the stones.[2] Pull pavers from several bundles at once so the colors blend.
Cut pieces to fill the edges with a splitter or a masonry saw. Cutting concrete pavers makes respirable crystalline silica dust, so cut outdoors and wear a respirator or dust mask rated for fine dust. OSHA's construction rule for work crews calls for saws with an integrated water delivery system that continuously feeds water to the blade;[4] a wet saw is the better choice at home too.
Then clean and compact. Sweep off dust and debris, check the color mix, rearrange any stones you do not like, and then tamp the pavers with a compactor in all directions, with a protective plate cover because the steel plate can mar the surface of some stones.[2] Sweep joint sand over the surface and compact again, topping up until the joints are full, then sweep off the excess.
Polymeric sand. If you want a joint sand that hardens, read the bag first, because the wrong application can ruin a good job.[2] Check the bag's minimum joint width against your joints. Sika's Evolution Polymeric Sand is made for joints from 1/8 inch wide,[5] while Sakrete's Paver Set lists a minimum joint width of 1/4 inch,[6] wider than the 1/8-inch joints described above. Sika's product goes in only when rain is not expected within 24 hours (48 hours for joints wider than 1/2 inch), and when the air and surface stay above 41°F for at least 48 hours after installation.[5] Both makers say to blow the dust off the paver faces before wetting,[5][6] or it can leave a haze or stain. Keeping weeds out afterwards is covered in how to keep weeds from growing between pavers.
Stop and call a pro if
- The lines have not been marked. Do not dig until Virginia 811's locate is complete. Virginia law sets a two-foot tolerance zone on either side of the marks, where only certain kinds of digging, such as with hand tools, are allowed.[7]
- You hit or damage a buried line. Stop digging immediately and step away from the area. Virginia 811 says to call 911 if flammable, toxic or corrosive gas or liquid is escaping or there is any danger, then notify the affected utility and Virginia 811.[7]
- A private line runs where you plan to dig, such as one to a detached garage, a propane tank or a septic system, and you cannot tell exactly where it is.[8]
- The yard slopes enough to need a retaining wall or steps to make the patio level. Retaining walls are structural work.
- Water already runs toward the house, collects where the patio will go, or the soil stays soggy for days after rain. The drainage needs designing first.
- The patio will carry a hot tub, a roof, an outdoor kitchen or a vehicle. Those loads need a heavier base and often gas, electrical or permit work.
Getting quotes
If you would rather hire the job out, what a paver patio costs in Virginia explains what goes into a quote, and pavers or poured concrete compares the two. Browse patio and paver businesses, concrete and hardscaping businesses in Blacksburg, or more concrete and hardscaping answers.
Describe your patio once and licensed local businesses quote it.
Common questions
- How deep do I dig for a paver patio?
- Add up the layers: the compacted crushed-stone base, the bedding sand, and the thickness of the pavers you bought. Unilock's guideline for the base on pedestrian areas is 4 to 6 inches, and clay soils generally need to be dug deeper to drain. Check the paver maker's installation guide for the bedding depth that goes with your product, and dig past the paved edge by the depth of the base.
- Can I lay pavers on sand alone, without gravel?
- Not if you want them to stay flat. The sand layer only beds the pavers; the compacted crushed-stone base underneath carries the load. Unilock calls a proper base crucial for any paving project.
- Do I need to call 811 for a small patio?
- Yes. Virginia 811 asks you to contact it at least 3 working days before any excavation, the service is free, and a new ticket is needed each time you dig. Wait until the lines are marked before you start, and remember that private lines, such as a line to a detached garage or a propane tank, are not marked.
- Do I need a permit for a paver patio in Virginia?
- Ask your own county or city before you start. Prince William County, for example, lists concrete patio slabs on grade that are not designed to support a future building addition among work that needs no building permit, but notes that zoning and/or watershed approval will be required. Its list does not mention pavers, so check with your locality and any HOA.
- Should I use polymeric sand in the joints?
- It can help, but check the bag's minimum joint width first. Sika's Evolution is made for joints from 1/8 inch, while Sakrete's Paver Set lists a 1/4-inch minimum. Sika also wants no rain expected for 24 hours and temperatures above 41°F for 48 hours after installation.
Sources
- [1] Do's and Don'ts of Paver Installation: Base Preparation, Unilock. Checked October 26, 2026.
- [2] Do's and Don'ts of Paver Installation: Step 3 of 3 - Installing the Pavers, Unilock. Checked October 27, 2026.
- [3] Do's and Don'ts of Paver Installation: Step 1 of 3 - Pre-installation and Planning, Unilock. Checked October 27, 2026.
- [4] 29 CFR 1926.1153, Respirable crystalline silica (construction), Occupational Safety and Health Administration, U.S. Department of Labor. Checked October 27, 2026.
- [5] Evolution Polymeric Sand product data sheet, Sika. Checked October 26, 2026.
- [6] Paver Set Polymeric Sand installation instructions, Sakrete. Checked October 26, 2026.
- [7] Homeowners FAQ, Virginia 811. Checked October 26, 2026.
- [8] Private Utilities Explained, Virginia 811. Checked October 27, 2026.
- [9] Do I Need a Permit?, Prince William County Building Development Division. Checked October 26, 2026.
Want a pro to handle it?
Describe the job once. Licensed local businesses send quotes, and you pay only when you book one.
Get a quote from a local pro