Why are my pavers sinking?
Usually because something underneath has moved: soil or gravel base that was not compacted well, a base or soil that stays saturated, bedding sand laid too thick, sand washed out by a downspout or pressure washer, or an edge restraint that has failed. A shallow low spot can usually be lifted, corrected and relaid with the same pavers.
Free to ask. Local shops send quotes, and you pay only when you book one.
By Kasra Taheri, Founder, LoclisUpdated
Researched and drafted with AI, then checked claim by claim against the sources listed below before it was published. Prices and rules change; the dates beside each source say when it was last checked.
Step by step
Read when to stop and call a pro, further down this page, before you start.
Step 1: Look after a rain
Check the patio during or right after rain, when puddles show exactly where the low spots are.
Step 2: Measure the dip
Lay a long straight board across the low area and measure the gap, so you can tell a real dip from a shadow or a color change.
Step 3: Find the water source
Check whether a downspout or the drip line of a roof without gutters empties onto that spot, and whether a slope sends runoff there.[3]
Step 4: Check the edges
Look for widening joints and tilted pavers near the edge, the sign of a loose or missing edge restraint.[2]
Step 5: Lift the low pavers
Scrape the sand out of the joints around one paver, pry it up, then lift the rest of the low area and stack the pavers in order.
Step 6: Fix what is underneath
Remove the old bedding sand, then compact or add crushed-stone base where it has settled, in layers of 3 to 4 inches.[1]
Step 8: Refill the joints
Sweep joint sand into the joints, compact again until they are full, and sweep the surface clean.
Pavers sink when something under them moves: the soil, the gravel base, the sand bed or the edge restraint. The usual culprits are a base that was not compacted well, soil or base that stays wet, bedding sand laid too thick, joint sand washed out, and an edge that has moved. The good news is that a paver patio can be taken apart and put back without a patch.
The usual causes
A base that was not compacted properly. Most ordinary plate compactors will not compact more than about 4 inches of base at once, and if you try a thicker layer, the bottom of a thicker layer settles later.[1] A base dumped in one go, or one that is simply too thin, can go on settling after the patio is finished. Unilock gives 4 to 6 inches of base as its guideline for pedestrian areas, and says clay bases generally need to be dug deeper.[1] Backfilled utility trenches are another common place for settlement, because the fill was never compacted like the undisturbed ground.
Too much bedding sand. The sand under the pavers is meant to be a consistent layer that you do not compact.[1] When an installer uses extra sand to fill dips in the base, the layer is no longer even and the thick spots compress over time. The wrong sand makes it worse: Unilock says to avoid stone dust and limestone screenings, which have too many fines and trap water.[1]
Water. Soil and base that stay wet lose strength. Joints do not drain a patio: other than permeable pavers, only a small amount of water (2-5%) gets through the joints, so surface water has to be shed by the slope.[3] Look at what feeds the low spot: a downspout emptying onto the patio, a lawn sloping toward it, or a patio that slopes toward the house instead of away. Plastic sheeting laid under the base is another culprit; as Unilock puts it, "Plastic will entrap water."[1]
Lost joint sand. The sand in the joints locks the pavers together. Pressure washing and runoff can blast it out, and once the joints are empty, the pavers can rock and water reaches the bedding more easily.
A failed edge. All paver projects need edge restraint, and without it unrestrained pavers slowly creep into the softer surrounding material and gaps open around the perimeter.[2] The signs are widening joints and tilting or sinking pavers along the edge. Flat landscape edging made for flower beds is a weak substitute, and soil backfill does not hold a paver edge in place.
Frost, if it is high rather than low. A section that rises above its surroundings is a heave, usually from frost in wet soil underneath. It is a drainage and base problem too, but the fix is different from a settled spot.
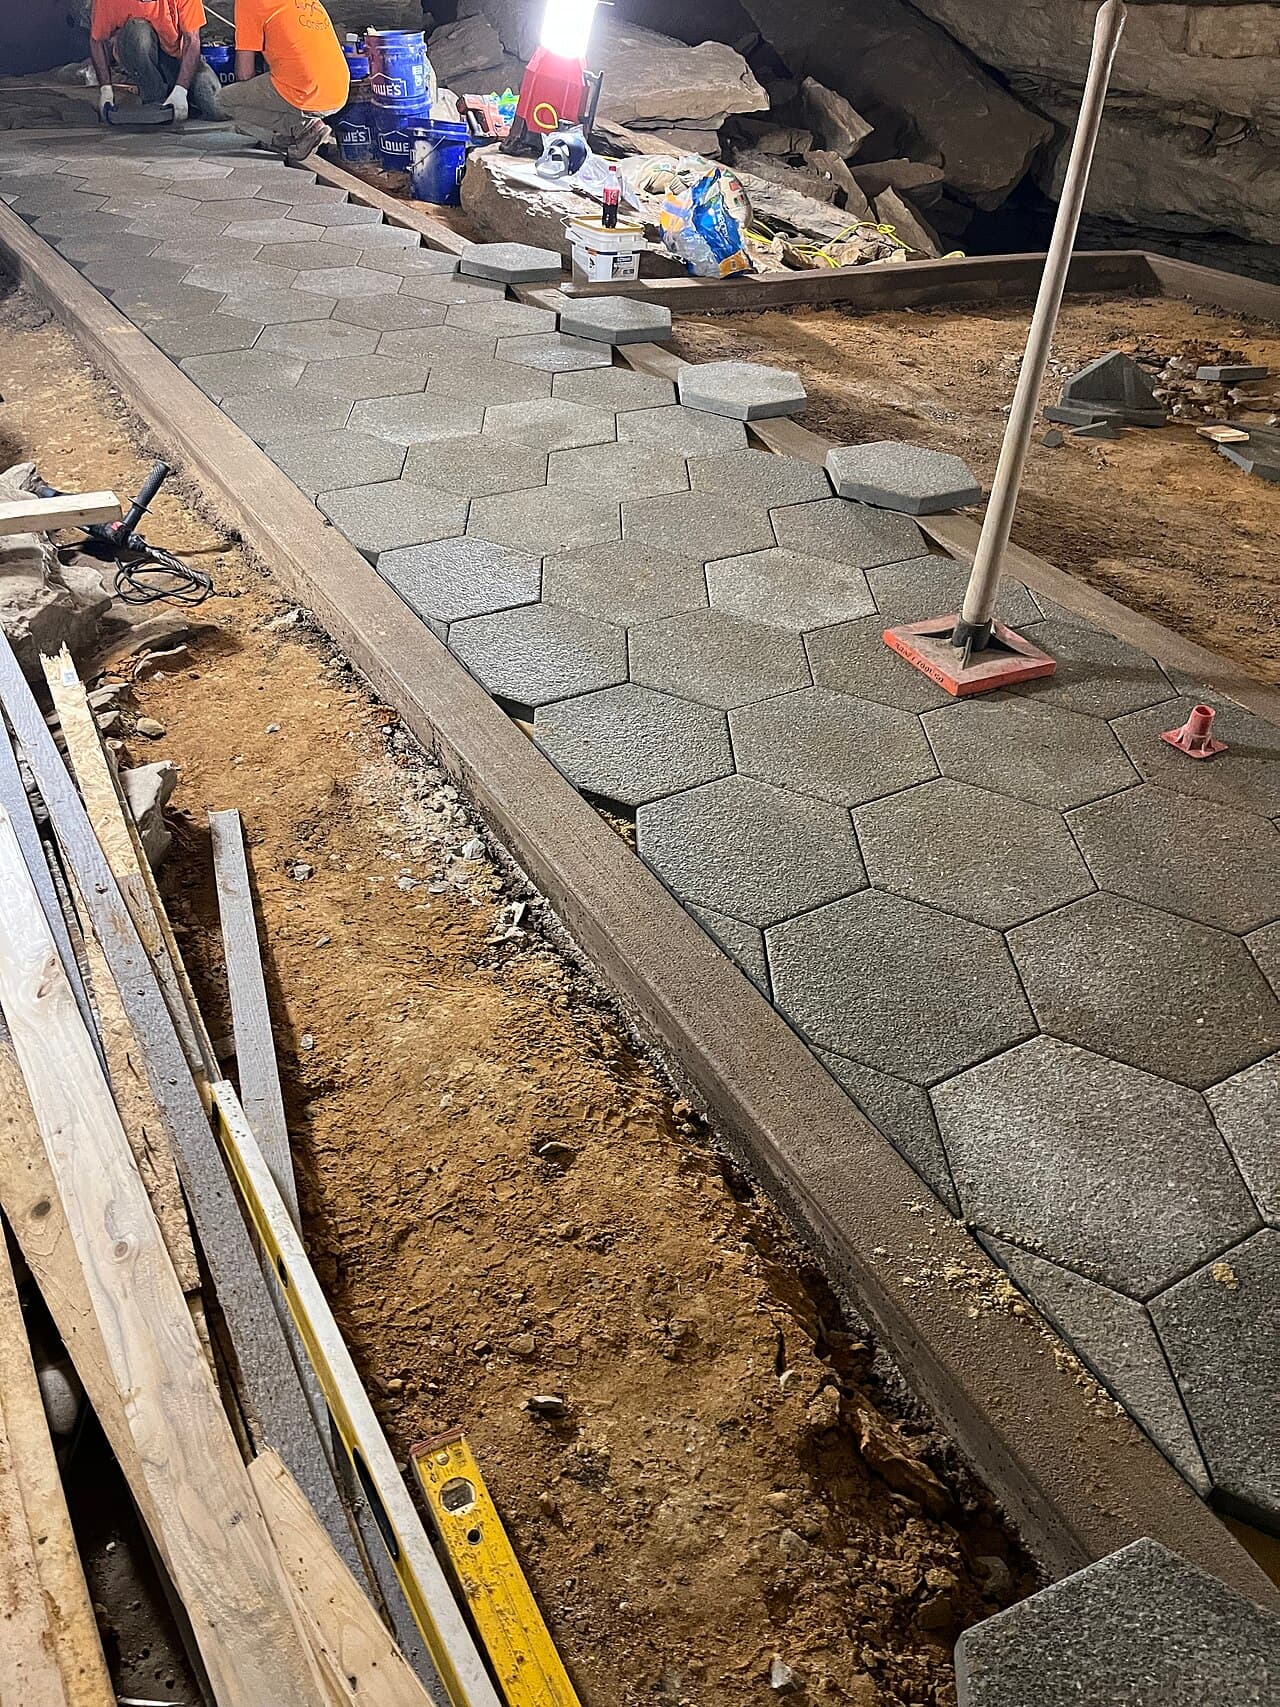
How much sinking is normal
A slight, even settling in the first year is no cause for concern. A dip that holds a puddle, gets deeper each season, or makes pavers rock underfoot is a problem worth fixing before it spreads or becomes a trip hazard.
Fixing a low spot
For a shallow dip, the pavers can be lifted, the settlement corrected and the same units relaid, with nothing wasted. Do not use bedding sand to make up for low places in the base; fill and compact base material instead. First deal with whatever caused the dip, such as water pouring onto the spot, or it can come back. Lift the pavers and keep them in order, take out the old bedding sand, and look at the base: if it is soft, wet or low, scrape it out, fill with crushed stone and compact it in layers of 3 to 4 inches.[1] Then screed fresh sand without compacting it, relay the pavers, compact them with a plate compactor and refill the joints. Use a protective cover on the compactor plate, because the steel plate can mar the surface of some stones.[2] If the repair means digging into the soil below the base, contact Virginia 811 at least 3 working days before you dig.[4]
A large area, or pavers that sink in wheel tracks, is a different job. Ruts under vehicle loads usually mean the base is too thin, and it needs rebuilding, not patching.
Stop and call a pro if
- The sinking is next to the house foundation, a basement wall or steps, or there is a hole or void opening up under the patio.
- Large areas are low, or vehicle loads have rutted it, which usually means the base has to be rebuilt.
- The low spot sits over a buried line, septic tank, drain field or sewer cleanout.
- Water runs toward the house and fixing it needs regrading or a drain.
- A retaining wall near the patio is leaning or bulging.
Related answers
For the right way to build the layers, see how to lay a paver patio. If the sunken surface is a concrete slab instead, read why a concrete slab sinks. Browse patio and paver businesses, look up concrete and hardscaping businesses in Blacksburg, or read more concrete and hardscaping answers.
Describe the sinking patio once and licensed local businesses quote the repair.
Common questions
- Is it normal for new pavers to settle a little?
- A very small, even amount in the first season can happen as the sand beds in. A dip that holds water, or keeps getting deeper, is not normal settling and points to a problem underneath, usually the base.
- Can I just add sand under a sunken paver?
- Not to make up for a sunken base. Low areas should be filled with crushed-stone base and compacted, then fresh bedding sand screeded to an even thickness and the pavers put back. Extra-thick bedding sand is itself a common reason for depressions, because loose sand compresses unevenly.
- Why are only the pavers along the edge sinking?
- That is the classic sign of a failed edge restraint: joints widen at the edge and the outer pavers tilt or drop. Unilock says unrestrained pavers slowly creep into softer surrounding material. The fix is a proper restraint spiked into the base or a concrete edge, then resetting the edge pavers.
- Can pressure washing make pavers sink?
- It can contribute. A pressure washer can blast joint sand out, and without that sand the pavers lose their grip on each other and water gets into the bedding layer more easily. Use a wide fan tip, keep it moving, and refill the joints afterwards.
- Are my pavers sinking or heaving?
- Measure with a long straightedge. A depression is lower than its surroundings; a heave is higher, often from frost in wet soil. Shadows and color differences can make a flat surface look uneven, so check before you lift anything.
Sources
- [1] Do's and Don'ts of Paver Installation: Base Preparation, Unilock. Checked October 26, 2026.
- [2] Do's and Don'ts of Paver Installation: Step 3 of 3 - Installing the Pavers, Unilock. Checked October 27, 2026.
- [3] Do's and Don'ts of Paver Installation: Step 1 of 3 - Pre-installation and Planning, Unilock. Checked October 27, 2026.
- [4] Homeowners FAQ, Virginia 811. Checked October 26, 2026.
Want a pro to handle it?
Describe the job once. Licensed local businesses send quotes, and you pay only when you book one.
Get a quote from a local pro