How do I refinish hardwood floors?
Refinishing means sanding off the old finish, vacuuming up every bit of dust, then applying stain or sealer and new coats of finish. Before you start, confirm the floor is thick enough to sand and, in a house built before 1978, that you will not stir up lead dust. If the floor is only dull, a recoat is easier and far less risky than a full sand.
Free to ask. Local shops send quotes, and you pay only when you book one.
By Kasra Taheri, Founder, LoclisPublished
Researched and drafted with AI, then checked claim by claim against the sources listed below before it was published. Prices and rules change; the dates beside each source say when it was last checked.
Step by step
Read when to stop and call a pro, further down this page, before you start.
Step 1: Decide between a recoat and a refinish
If the finish is dull but the wood is sound, a recoat scuffs the old finish and adds a new layer; refinish only for moderate to severe damage or a colour change.[2]
Step 2: Make sure the floor can take a sanding
A floor can be sanded around 4-6 times in its life, so check that yours is solid wood with enough thickness left.[1]
Step 3: Check for lead
If the house was built before 1978, assume painted surfaces may have lead-based paint, and hire a lead-safe certified contractor if the work will disturb them.[4]
Step 4: Empty and seal the room
Remove furniture, rugs and curtains, close and seal the doors, and cover vents with plastic after turning off forced-air heating and cooling.[4]
Step 5: Hold a steady temperature
Keep the house consistent, ideally between 65 and 75 degrees, during the job and while the finish cures.[1]
Step 6: Sand the main floor
Sand with the grain, with a sander you have practised on, working through finer abrasives and never stopping with the machine on the floor.
Step 7: Sand the edges and fill defects
Sand along the walls with an edger or hand block, and fill nail holes and small gaps with filler that matches the wood.
Step 8: Remove every trace of dust
Vacuum the floor, walls and ledges with a HEPA vacuum, then wipe the floor with a lightly damp cloth.[4]
Step 9: Apply stain or sealer, then finish
Put on any stain or sealer and then the coats of finish, following the can for spread, drying time and sanding between coats.
Step 10: Let it cure
Keep traffic, furniture and rugs off the floor for as long as the label says; the finish is soft well after it feels dry.
Refinishing a hardwood floor means sanding off the old finish, cleaning up every speck of dust, and putting on a new one. Bona, a maker of floor finishes, describes it as the most intensive option because it "completely removes the existing layer of finish before a new layer is added."[2] A careful homeowner can do it. It is also unforgiving, so read the sections below before you rent a sander.
First, do you need to refinish at all
Many floors that look worn only need a recoat. Bona says a recoat "uses a buffer to lightly scuff the existing finish" to remove ground-in debris, and then another layer of finish goes on.[2] It calls recoating "excellent preventative maintenance", and says refinishing is the answer for "moderate to severe damage" or a change of colour with a different stain.[2]
Bona's own timing is overnight for a recoat and 2-4 days for a refinish.[3] A floor does not need doing often: Bona says hardwood floors can be refinished every 7-10 years.[1]
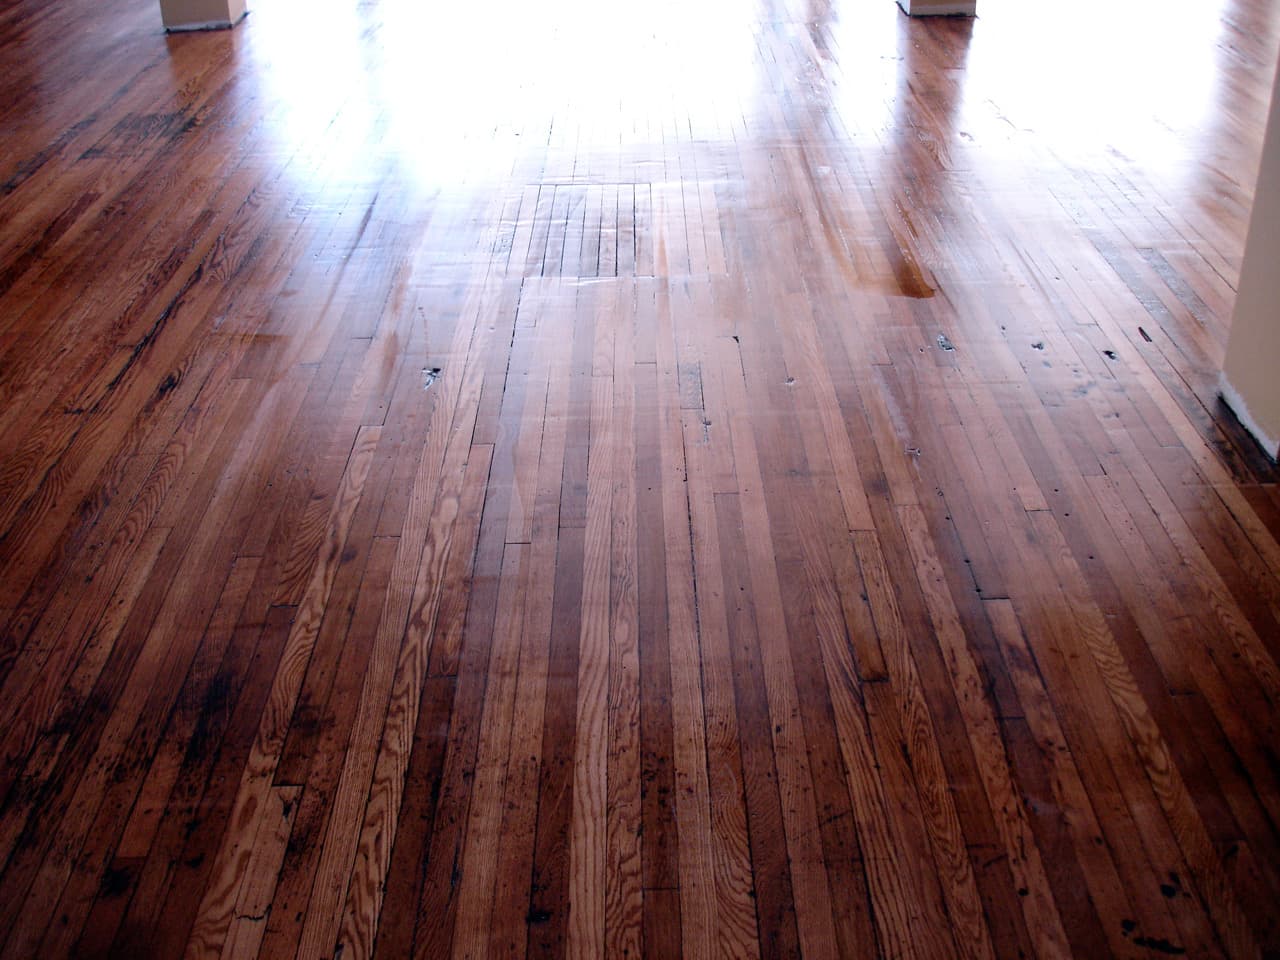
Check the floor can take it
Each sanding removes a layer of wood. Bona says a floor can be sanded around 4-6 times in its entire life, depending on its thickness and on the skill of whoever does the sanding.[1] Engineered boards have only a thin hardwood layer on top, so if you cannot tell whether your floor is solid wood, have a flooring pro look at it before you sand.
Check for lead before you create dust
The EPA says "If your home was built before 1978, it may have lead-based paint; the older your home, the more likely it has lead-based paint."[4] Sanding bare floorboards is not the same as sanding paint, but you will be working beside painted baseboards, door casings and thresholds. The EPA warns that any renovation project in a pre-1978 home with lead-based paint "can easily create dangerous lead dust", and it recommends hiring a lead-safe certified contractor for those projects.[4] If you cannot determine the age of the home, the EPA says it is safest to assume lead-based paint is present.[4]
Set up the room
Treat the room as a dust-containment zone. The EPA's do-it-yourself guidance is to remove furniture, area rugs and curtains, close and seal all doors in the work area, and turn off forced-air heating and air conditioning, then cover the vents with plastic sheeting and tape.[4] Wear a respirator and eye protection, and wash your hands and face when you stop.[4]
Bona warns that "not all dust containment systems are created equal."[1] Rent a sander with an attached dust collector if you can, and do not count on one to catch everything.
Temperature matters for the finish. Bona says to keep the house consistent, with 65-75 degrees preferred, during the job and through the cure time.[1]
Sand, then clean
Sand the main floor with the grain, using a drum or orbital floor sander and moving steadily. Bona warns that "oversanding can damage wood floors", and a sander left running in one spot will gouge a floor within seconds.[1] Start with a coarser abrasive only as far as you need to remove the finish, then move to finer ones. Do the edges with an edger or a hand block, and fill nail holes and small gaps before the last pass.
Then clean as if the finish depends on it, because it does. The EPA recommends a HEPA vacuum on surfaces, followed by wiping with wet disposable cleaning cloths until the cloths come up clean.[4] Dust left on the wood shows up as grit in the new finish.
Stain, seal, finish and cure
Test any stain on a hidden spot or a scrap first, since colour varies with the species. Apply stain, sealer and finish as the label directs, including the spread rate, drying time, number of coats and whether to buff between them. Ventilate, and dispose of rags as the label says.
Leave the floor alone for the full cure time on the label. The finish is usually dry to the touch long before it is hard, and furniture dragged back too early leaves marks that need another recoat to fix.
Stop and call a pro if
- The house was built before 1978 and the work will disturb painted surfaces. The EPA recommends homeowners hire a lead-safe certified contractor for these projects.[4]
- You rent out part of the home or are fixing it to sell. The EPA says the lead rule generally does not apply to homeowners working in their own home, but it does apply if you rent all or part of the home or buy, renovate and sell homes for profit.[4]
- The boards are cupped, buckled or stained from water. Some boards may need replacing, and the leak must be fixed first; see whether to refinish or replace hardwood floors.
- The floor bounces, sags or squeaks badly. That points to the subfloor or framing, which is not a refinishing job.
- You are not sure there is enough wood left to sand. A mistake cannot be undone.
Getting help in Virginia
Refinishing does not need a building permit: the Uniform Statewide Building Code lists "Installation or replacement of floor finishes in all occupancies." among the ordinary repairs that do not require a permit application.[5] If you hire out the work, the Board for Contractors says a Virginia contractor's licence is required when the work is valued at $1,000 or more.[6] Read how much hardwood floor refinishing costs in Virginia before you collect quotes, browse hardwood refinishing pros, or see more flooring answers.
When you are ready, describe your floors once and local flooring pros quote it.
Common questions
- Can I refinish hardwood floors myself?
- Yes, if the floor is solid wood with enough thickness left, the house has no lead-paint concern, and you are willing to practise before you start. Bona warns the job is challenging for the less experienced, with oversanding and weak dust containment the usual problems. If you doubt your skill, hire out the sanding.
- How often should hardwood floors be refinished?
- Bona says hardwood floors can be refinished every 7-10 years, and that a floor can be sanded around 4-6 times in its entire life. A recoat in between, which scuffs the old finish and adds a fresh layer, can stretch the time between full refinishes.
- What is the difference between a recoat and a refinish?
- A recoat lightly scuffs the existing finish with a buffer and applies another layer. A refinish sands the finish off down to bare wood, then applies stain or sealer and new finish. Bona says refinishing is for moderate to severe damage or a colour change, and recoating is preventative maintenance.
- How long until I can walk on a refinished floor?
- It depends on the finish, so follow the product label. Bona's timing for a professional refinish is that floors are ready in 2-4 days, and for a recoat overnight. Keep furniture and rugs off for longer than you think you need to.
- Do I need a permit to refinish hardwood floors in Virginia?
- No permit application is required for the installation or replacement of floor finishes, which the Uniform Statewide Building Code lists among ordinary repairs. A hired contractor must still be licensed in Virginia when the work is valued at $1,000 or more.
- Is sanding old floors dangerous in an older house?
- It can be. The EPA says any renovation project in a pre-1978 home with lead-based paint can easily create dangerous lead dust, and that homes built before 1978 may have lead-based paint. If painted trim or doors will be disturbed, or you cannot confirm the age of the paint, hire a lead-safe certified contractor.
Sources
- [1] Why You Should Refinish Your Hardwood Floors, Bona. Checked October 27, 2026.
- [2] Recoat Hardwood Floors Guide, Bona. Checked October 27, 2026.
- [3] Revive, Recoat and Refinish my Floors, Bona. Checked October 27, 2026.
- [4] Lead-Safe Renovations for DIYers, U.S. Environmental Protection Agency. Checked October 27, 2026.
- [5] 13VAC5-63-80, Section 108 Application for permit (Virginia Uniform Statewide Building Code), Virginia Administrative Code, Virginia General Assembly. Checked October 27, 2026.
- [6] What You Should Know Before You Hire a Contractor, Virginia Board for Contractors, Department of Professional and Occupational Regulation. Checked October 27, 2026.
Want a pro to handle it?
Describe the job once. Licensed local businesses send quotes, and you pay only when you book one.
Get a quote from a local pro