How do I replace a broken sprinkler head?
Turn off water to the zone, carefully dig around the head with hand tools, unscrew the old head, check the riser underneath, wrap the threads with Teflon tape and screw on a matching head. Flush the line before you refit the nozzle. If pipe is cracked or a valve will not shut off, call a licensed irrigation contractor.
Free to ask. Local shops send quotes, and you pay only when you book one.
By Kasra Taheri, Founder, LoclisPublished
Researched and drafted with AI, then checked claim by claim against the sources listed below before it was published. Prices and rules change; the dates beside each source say when it was last checked.
Step by step
Read when to stop and call a pro, further down this page, before you start.
Step 1: Flag the broken head
Run the zone, find the damaged head and push a flag in the ground beside it so you can find it again.[2]
Step 2: Turn off the zone
Turn off water to the zone, then carefully remove dirt around the sprinkler without damaging the pipe or fittings underneath.[1]
Step 3: Check about digging
Virginia 811 says you must contact it for all digging projects, so call before you dig and wait for the marks.[3]
Step 4: Unscrew the old head
Turn the old head counterclockwise off its riser or fitting and lift it out.[1]
Step 5: Inspect the riser
If the threaded riser or connector under the head is also damaged, remove more soil to expose the whole fitting and replace it with the right thread and length.[1]
Step 6: Tape the threads
Clean the threads, wrap the male connector with Teflon tape and screw on the new head.[1]
Step 7: Flush the line
Pull up the stem, remove the nozzle, then turn the water on briefly to flush the head before putting the nozzle back.[1]
Step 8: Refit and aim
Put the nozzle back, run the zone and adjust the spray pattern and distance, then smooth the dirt around the head.[1]
Turn off the water to the zone, dig carefully around the broken head, unscrew it, check the fitting underneath, and screw on a matching head wrapped in Teflon tape. Flush the line before the nozzle goes back on. It is a short job for most yards, and Rain Bird, a head manufacturer, says this job doesn't require professional plumbing skills.[1] In most cases, it says, you can do this without repairing the underground pipe.[1]
Find the broken head first
Missing or broken sprinkler heads can be hard to find because most irrigation systems run overnight or early in the morning.[2] EPA's WaterSense program adds that running an irrigation system with broken and damaged sprinkler heads can cause overflowing and flooding of water on the landscape.[2]
Start the zone from your controller, walk it, and look for geysers, heads that do not pop up fully, tilted heads, and soggy patches. If you find a broken head, place a flag next to the broken sprinkler so you will be able to work on it later.[2] Rain Bird points to mower and vehicle damage as a common cause, so check heads along the edges of the lawn and the drive first.[1]
What you need
A replacement head of the same type and thread size as the one you are removing, Teflon tape, a trowel or small spade, a pull-up tool or pliers, and a bucket or tarp for the soil. If the riser or connector under the head is also damaged, bring a new riser with the right thread and length. Take the old head to the store to match it. Because a fresh head fits the same underground fittings as most current models, this is also a chance to move to a water-saving nozzle.
How to replace it
The numbered steps at the top of this page are the whole job. A few details help.
Digging. Turn off water to the zone and carefully remove dirt around the sprinkler,[1] working with a trowel, not a power tool, so you do not nick the buried pipe. Virginia 811 says that you must contact Virginia 811 for all digging projects,[3] so contact them before you dig, even for a small hole at one head, and wait for the markings.
The fitting underneath. Check the threaded riser or other connector under the head.[1] If it is cracked or the threads are stripped, expose the whole fitting and replace it. A new head on a damaged riser will leak within days.
Threads and flush. Clean the threads and apply Teflon tape to the male connector.[1] Screw the head on by hand and snug it, because plastic threads crack if you overtighten them. Then pull up the stem, remove the nozzle, and turn on water to flush the head.[1] Dirt that falls into the line during the swap would otherwise clog the new nozzle. Shut the zone off again, refit the nozzle, and run the zone to adjust the pattern and distance.
Backfill. Smooth the soil around the head so the top sits level with the turf, low enough that the mower passes over it.
Check the neighbours
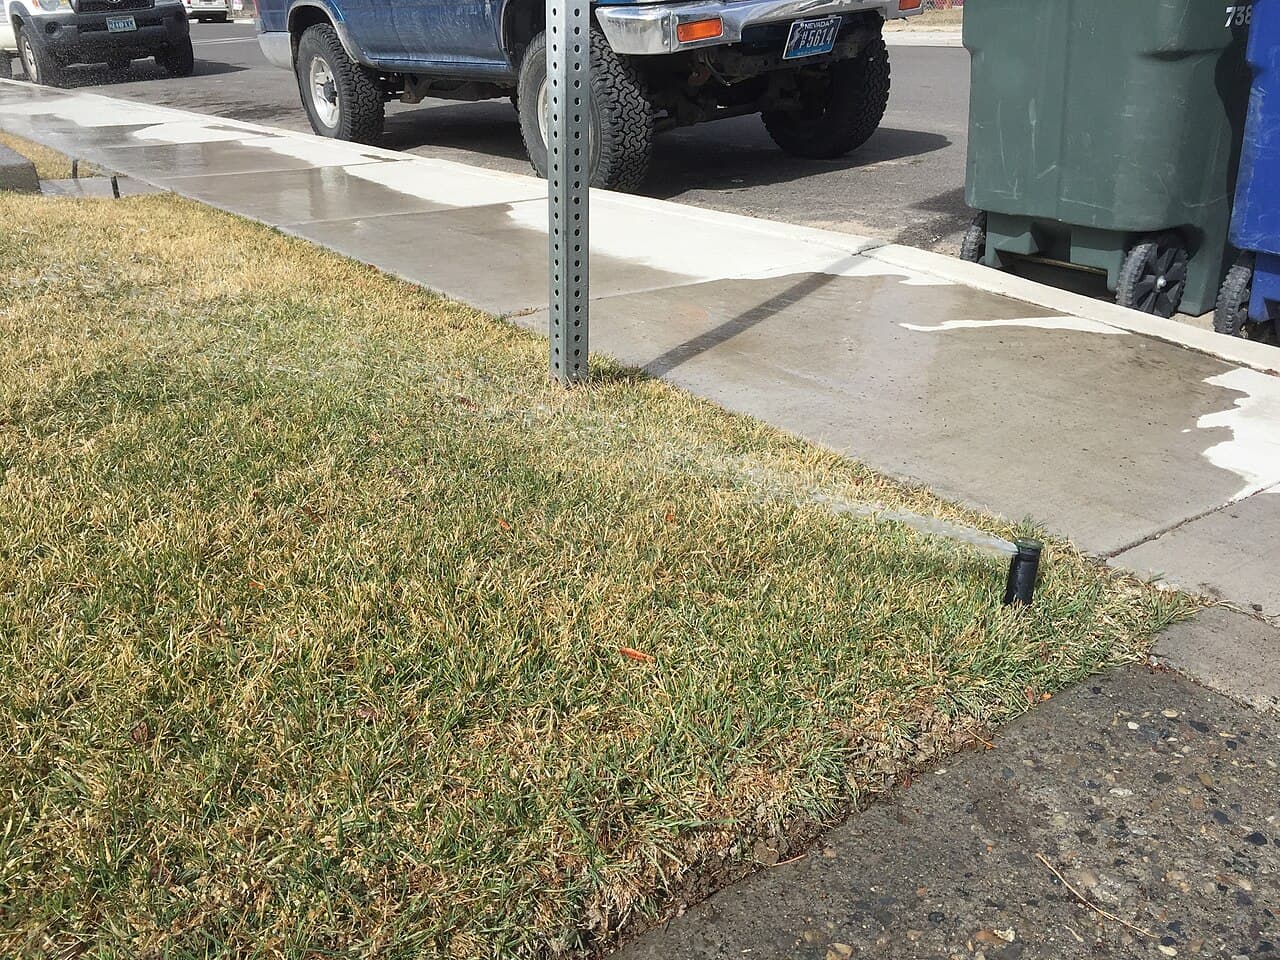
After the repair, watch the zone run for a full cycle. Leaks can occur at the joints between sprinklers and the piping,[2] and a joint disturbed during digging is a likely spot. Look for water pooling between cycles, which can mean an underground leak, and for valves that do not seat: if the valves are not able to close completely, your system could slowly seep water even when it is turned off.[2]
Stop and call a pro if
- Water keeps flowing with the zone off, or a valve will not close. That is a valve problem, not a head problem.[2]
- The pipe under the head is cracked or the fitting breaks off in the pipe. Fixing buried pipe is licensed irrigation work.
- You find a backflow device in the way. Backflow prevention assemblies on irrigation systems are required by law.[4] They must be tested upon installation, after repair, when relocated, and annually as a minimum.[4] Fairfax County says you must obtain either a Commercial or Residential Plumbing Permit in all instances of installation, whether as new construction or replacement.[5]
- You cannot tell what is buried near the head. Wait for Virginia 811 to mark the lines before you dig.
- Several heads fail at once. EPA's advice is that you may be able to fix broken heads yourself, but if you are unsure, go with a pro.[2]
Getting help in Virginia
If one head turns into a system-wide problem, read what sprinkler repair costs in Virginia and whether to repair or replace the system. For installation work see what installing an in-ground sprinkler system involves. Browse more irrigation answers or irrigation businesses.
When you would rather hand it off, describe the sprinkler problem once and licensed local contractors can quote it.
Common questions
- Do I need a plumber to replace a sprinkler head?
- Usually not. Rain Bird, a head manufacturer, says this job doesn't require professional plumbing skills and that in most cases you can do it without repairing the underground pipe. If the pipe under the head is cracked, bring in a licensed irrigation contractor.
- Do I have to turn off the whole water supply?
- Turning off water to the zone is what the manufacturer's instructions call for. Stop the zone at the controller, and if the head still gushes, close the valve for that zone or the system's shutoff.
- Should I buy the same head?
- A matching body and thread size is the easiest fit. Rain Bird notes that water-saving models fit the stems and underground fittings of current sprinklers, so a replacement is also a chance to upgrade the nozzle.
- How do I find broken heads I cannot see?
- Run each zone by hand and watch it. EPA notes that missing or broken heads can be hard to find because most systems run overnight or early in the morning, and it suggests flagging each one so you can come back to it.
- Do I need to call 811 to replace a sprinkler head?
- Virginia 811's answer is that you must contact it for all digging projects. Call before you dig, wait for the markings, and dig with hand tools only.
Sources
- [1] 3 Simple Repairs and Upgrades for Your Pop-Up Sprinklers This Spring, Rain Bird Corporation (manufacturer). Checked October 27, 2026.
- [2] Sprinkler Spruce-Up, U.S. Environmental Protection Agency, WaterSense. Checked October 27, 2026.
- [3] Homeowners FAQ, Virginia 811. Checked October 27, 2026.
- [4] A Guide to Selecting, Installing and Maintaining Backflow Preventers in Residential Irrigation Systems, Chesterfield County Utilities Department. Checked October 27, 2026.
- [5] Cross Connection Control and Backflow Prevention Program, Fairfax County Land Development Services. Checked October 27, 2026.
Want a pro to handle it?
Describe the job once. Licensed local businesses send quotes, and you pay only when you book one.
Get a quote from a local pro