How do I repoint old brick mortar?
Fix whatever is wetting the wall first, then rake out the loose mortar by hand to about two to two and a half times the joint's width, rinse the joints, and pack in a mortar no harder than the old one in thin layers, tooling each when it is thumbprint hard. Work only on walls you can reach from the ground, and stop for bulging brick or chimneys.
Free to ask. Local shops send quotes, and you pay only when you book one.
By Kasra Taheri, Founder, LoclisPublished
Researched and drafted with AI, then checked claim by claim against the sources listed below before it was published. Prices and rules change; the dates beside each source say when it was last checked.
Step by step
Read when to stop and call a pro, further down this page, before you start.
Step 1: Find the cause first
Look for a leaking gutter, a downspout dumping at the wall or soil sloping toward it, and fix that before you touch the mortar.[1]
Step 2: Pick a small test area
Start on a low, out-of-the-way stretch of wall you can reach standing on the ground, so your first joints are not on the front of the house.
Step 3: Choose a soft mortar
Match the old mortar's colour and sand, and pick a mix no harder than the old mortar, using the softer ASTM types (N, then O, then K) for soft old brick.[1]
Step 4: Rake out by hand
Use a plugging chisel and hammer to remove loose mortar to 2 to 2½ times the joint width, with square backs and no slivers left on the brick.[1]
Step 5: Clean and dampen
Brush or rinse the dust out of the joints and let them drain, so they are damp with no standing water when you fill them.[1]
Step 7: Pack in thin layers
Press mortar into the back of the joint about ¼ inch at a time with a pointing trowel, letting each layer reach thumbprint hardness before the next.[1]
Step 8: Tool the final layer
When the last layer is thumbprint hard, tool it to the same profile as the old joints, keeping it slightly back from worn brick edges.[1]
Step 9: Brush off the excess
Brush mortar crumbs off the brick faces with a stiff natural or nylon brush once it has dried a little, never a wire brush.[1]
To repoint old brick, you rake the crumbling mortar out of the joints, clean them, and pack in new mortar that is softer than the brick. Most of the skill is in three choices: fixing the cause before you start, picking the right mortar, and removing old mortar without chipping the brick.
Fix the cause first
Failing mortar is often a symptom. The National Park Service's repointing guidance names the usual root causes: leaking roofs or gutters, settlement of the building, rising damp or extreme weather exposure.[1] It also warns that repointing alone will not solve problems that come from somewhere else,[1] so check gutters, downspouts and the slope of the soil before you buy mortar. See why gutters overflow if water is spilling down the wall.
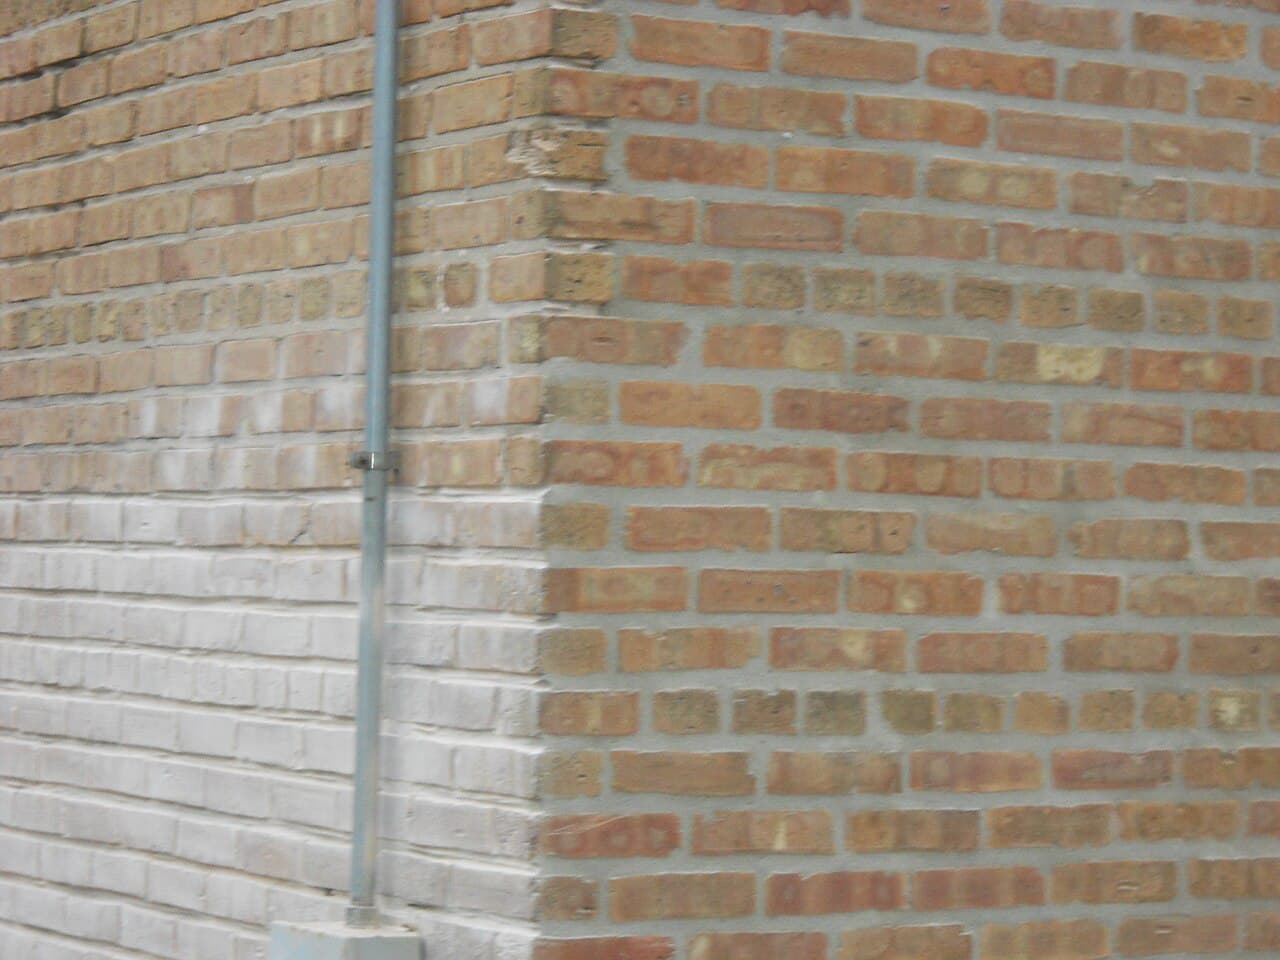
The Park Service lists the usual signs that a wall needs repointing: disintegrating mortar, cracks in mortar joints, loose bricks or stones, damp walls.[1] Cracked or spalled brick is a different matter, since new mortar will not cure it, and a crack that steps across the wall or runs through bricks may point to movement in the building; read why a brick wall cracks before you fill them.
Choose a mortar softer than the brick
This is where most DIY repointing goes wrong. The rule in the Park Service's guidance is that the new mortar must be softer and more vapor permeable than the brick, and no harder or less permeable than the old mortar.[1] Mortar is meant to be the sacrificial part of the wall. A mortar stronger than the brick will not give, so the stress goes into the brick instead, cracking and spalling it in ways that are hard to repair.[1]
Age matters. Buildings put up between 1873 and 1930 can have anything from pure lime and sand mortar to a mix of lime, portland cement and sand,[1] and before the late 19th century, lime was the main binder.[1] Mortar types are graded by strength: Type M (2,500 psi), Type S (1,800 psi), Type N (750 psi), Type O (350 psi) and Type K (75 psi).[1] Softer old brick calls for the softer end of that range, and Type N is the usual choice only when the brick is hard and modern.
Read the bag. QUIKRETE Mortar Mix, for example, is a blend of masonry cement and graded sand that meets ASTM C270 as Type N mortar.[4][3] That is reasonable for a house built with modern hard brick, but masonry cement makes high-strength mortar and generally is not recommended for historic masonry.[1] For soft, old brick, look for a lime-rich mix and match the colour and texture of the sand to the old joints.
Remove the old mortar without hurting the brick
The Park Service calls a hammer and chisel the least damaging way to remove old mortar.[1] It warns that power saws on thin brick joints almost always break brick edges and overcut the vertical joints.[1] A narrow plugging chisel and a light hammer are slow, but they leave the brick intact.
Rake each joint out to a depth of at least 2 to 2½ times the joint's width, which for most brick joints is about ½ to 1 inch,[1] and keep going past that wherever the mortar is still loose. Leave the back of the cut square and clear thin slivers of mortar off the brick edges so the new mortar can grip.
Grinding mortar makes silica dust. OSHA's construction silica rule pairs handheld grinders used for mortar removal with a grinder fitted with a commercial shroud and a dust collection system,[6] which is one more reason homeowners do better with hand tools.
Fill, tool and cure
Pick the day. Aim for wall temperatures between 40 and 95 degrees F[1] and work in the shade. Rinse the joints so they are damp, with no standing water, when you fill them.[1] Use each batch within about 30 minutes of final mixing and do not add more water to stiffening mortar.[1]
Pack the mortar in layers about ¼ inch thick,[1] each pressed into the back corners and left to reach thumbprint hardness before the next. Timing the tooling matters: If tooled too soft, the joint dries lighter and can show hairline cracks; tooled too hard, it can show dark streaks and will not close tightly against the brick.[1] Match the profile of the old joints, and on worn, rounded brick keep the mortar slightly recessed so the joint does not look wider than it is.
Clean up with a stiff natural or nylon brush. The Park Service says: "Metal bristle brushes should never be used on historic masonry."[1] Skip acid cleaners on new work, too; muriatic acid is generally ineffective on efflorescence and can bring out more salts.[1] White bloom on new joints often weathers off on its own.
Done carefully, the work lasts. A good repointing job is meant to last at least 30 years, and preferably 50 to 100.[1]
Protect yourself
Wet mortar is caustic. The safety data sheet for QUIKRETE's masonry mortars warns that it "Causes severe skin burns and serious eye damage"[5] and that burns from portland cement may not hurt right away, so pain will not warn you.[5] Wear nitrile gloves, long sleeves and eye protection, and wash off any mortar on your skin promptly. The same sheet warns that the dry product "May cause cancer through chronic inhalation"[5] because of its silica, so pour and mix outdoors, upwind. For mixing, the sheet recommends a NIOSH-approved dust mask or filtering face piece in poorly ventilated areas or when permissible exposure limits may be exceeded.[5]
Permits and historic districts
Virginia's Uniform Statewide Building Code applies statewide. It requires a permit for work that involves removing or adding any wall or portion of a wall, or any structural component,[7] and it exempts ordinary repair work that the building official deems minor and ordinary and that does not adversely affect public health or general safety.[7] Whether a repointing job counts as minor and ordinary is the building official's call, so ask your city or county building office before a large job or one that includes rebuilding part of a wall.
A local historic district can add its own review. In Martinsville's historic districts, for example, the city's guidelines say mortar joints of brick buildings should keep their original profile, width of joint, colour and style,[8] and changes that are not in-kind repairs need a Certificate of Appropriateness from the city's Architectural Review Board.[8] If your house is in a district elsewhere, ask that locality's review board what it covers.
Stop and call a pro if
- The joints are on a chimney, or above what you can reach standing on the ground.
- Brick is bulging, leaning or loose over an area, rather than just the mortar.
- Cracks run through the bricks, step diagonally across the wall, or keep reopening after repair.
- Brick faces are spalling widely, or there are rust and corrosion stains on metal elements[2] such as the lintel over a window.
- The house is in a local historic district, or the job has grown into rebuilding part of a wall.
Getting help on Loclis
If the job is bigger than a weekend, see what repointing costs in Virginia and whether to hire a mason or a general contractor. You can browse concrete and masonry services, look up masonry and hardscaping businesses around Blacksburg, read the other exterior answers, or describe the brick repair once and let licensed local businesses quote it.
Common questions
- Is repointing the same as tuckpointing?
- People use the words for the same job: raking out failed mortar and packing in new. Strictly, tuckpointing is a decorative raised or lime putty joint laid over a flush joint, which the National Park Service notes is why calling ordinary repointing "tuck pointing" is somewhat inaccurate.
- Can I just smear new mortar over the old joints?
- It rarely lasts. New mortar needs a joint raked back to sound material, about 2 to 2½ times as deep as the joint is wide, to bond. A thin skim over crumbling mortar tends to pop out, and surface grouting widens the look of the joint and leaves a haze on the brick.
- Which bagged mortar should I buy?
- For modern brick, a Type N mortar is the usual choice. For soft, old brick, especially before about 1930, a bagged masonry cement mix is usually too hard; look for a lime-rich Type O or K mix or a pre-blended lime mortar, matched in colour and sand to the old joints.
- Should I use an angle grinder to rake out the joints?
- On old, soft brick, no. Grinders and saws easily chip brick edges and overcut the vertical joints, and they throw silica dust. A plugging chisel and hammer is slower but kinder to the brick. Professionals who do use grinders fit them with a shroud and dust collector.
- When is the best time of year to repoint in Virginia?
- Spring and fall usually suit it, when the wall stays between about 40 and 95 degrees F and you can keep the work out of hot sun. Avoid days when frost is likely before the mortar has set, and very hot, windy afternoons that dry it too fast.
- Do I need a permit to repoint my house?
- Virginia's statewide building code requires a permit for work that removes or adds any part of a wall or touches a structural component, and lets the local building official exempt repair work that is minor and ordinary. Ask your building office which side of that line your job falls on. In a historic district, check with the local review board as well; Martinsville's, for example, asks that mortar joints keep their original profile, width, colour and style.
Sources
- [1] Preservation Brief 2: Repointing Mortar Joints in Historic Masonry Buildings, National Park Service, U.S. Department of the Interior. Checked October 26, 2026.
- [2] Preservation Brief 39: Holding the Line, Controlling Unwanted Moisture in Historic Buildings, National Park Service, U.S. Department of the Interior. Checked October 26, 2026.
- [3] QUIKRETE Mortar Mix No. 1102 data sheet, The QUIKRETE Companies. Checked October 26, 2026.
- [4] QUIKRETE Mortar Mix product page, The QUIKRETE Companies. Checked October 26, 2026.
- [5] Safety Data Sheet C4, Masonry Mortars, The QUIKRETE Companies. Checked October 26, 2026.
- [6] 29 CFR 1926.1153, Respirable crystalline silica (construction), Occupational Safety and Health Administration, U.S. Department of Labor. Checked October 26, 2026.
- [7] 13VAC5-63-80, Section 108 Application for permit (Virginia Uniform Statewide Building Code), Virginia Administrative Code, Virginia General Assembly. Checked October 26, 2026.
- [8] Historic District Guidelines (updated August 2021), City of Martinsville, Virginia. Checked October 26, 2026.
Want a pro to handle it?
Describe the job once. Licensed local businesses send quotes, and you pay only when you book one.
Get a quote for Roofing