Why does my ceiling paint look blotchy?
Blotchy ceilings usually come from uneven absorption (patches, drywall joints or stains that soak up paint differently), paint that dried before it was blended (lap marks), or a thin single coat. Prime patches and stains, paint small sections with a wet edge, use flat paint, and apply a full second coat to the whole ceiling.
Free to ask. Local shops send quotes, and you pay only when you book one.
By Kasra Taheri, Founder, LoclisPublished
Researched and drafted with AI, then checked claim by claim against the sources listed below before it was published. Prices and rules change; the dates beside each source say when it was last checked.
Step by step
Read when to stop and call a pro, further down this page, before you start.
Step 1: Look at it in raking light
Shine a bright lamp along the ceiling from the side, or look at it when the sun is low, to see which blotches follow drywall joints, patches or stains and which are lap marks.
Step 2: Check for moisture first
If a blotch is brown or yellow, or the ceiling feels damp, find and repair the source of water before painting.[5]
Step 3: Let everything dry
Wait until the ceiling is fully dry, because paint applied over damp surfaces can blister.[2]
Step 6: Cut in, then roll small sections
Brush the edges, then roll manageable sections, always working from unpainted ceiling back into the wet paint.[3]
Step 7: Use light pressure
Let the roller and the paint do the work; pressing hard leaves drips and uneven film.[3]
Step 8: Apply a second full coat
Let the first coat dry fully, then coat the whole ceiling again, not just the blotches.[3]
Why it happens
Blotchy ceiling paint almost always has one of three causes: the surface under the paint is not uniform, the paint was applied in a way that left visible overlaps, or there is not enough paint on it yet. Which one you have decides the fix, so look before you reach for the roller.
The quickest test is raking light. Hold a bright lamp or work light flat against the ceiling, or look in the late afternoon when the sun skims across it. Light that grazes a ceiling exaggerates every difference in thickness and sheen, which is why a ceiling can look fine at noon and blotchy at six.
Uneven absorption
If the blotches follow the drywall seams, the screw heads, a repaired crack or an old stain, the problem is what is under the paint. Joint compound, bare drywall paper and old paint all soak up paint at different rates, so the finish dries with a different sheen over each. Drywall finishers call this joint flashing.
USG's finishing guide says the fix is a primer that evens out the surface: "The unified primed surface will offer the best chance to minimize joint flashing or photographing."[4] It also warns that "Not all 2-in-1 paint & primers are created equal and might not equalize the porosity."[4] A paint-and-primer in one can that hid the colour change fine may still leave seams visible on a ceiling. Benjamin Moore puts the general rule simply: "Use a primer to get the most out of your paint, especially if your walls are porous or have surface stains that need covering up."[2]
Stains and moisture
Brown, yellow or ringed blotches are not a paint problem. They are water. Sherwin-Williams' repair steps begin with the cause: "Find and repair the source of water."[5] Next comes "Remove any peeling paint."[5] After that, in their words, "Seal the stained area with a primer designed to" hold out water stains, before the ceiling coat.[5] Skip that and the stain tends to bleed back through.
Do not paint damp surfaces either. Benjamin Moore warns that "Applying primer or paint to walls that are still damp can cause a host of issues, including blistering."[2]
Lap marks and dry edges
If the blotches look like overlapping bands or a frame around the edges, the paint dried before the next pass reached it. Flat paint hides this best; Benjamin Moore says flat paint "is more forgiving of flaws and allows for excellent hide, creating a uniform surface."[1] Higher sheens are less forgiving: "paint with a pearl sheen is more susceptible to showing lap marks and other painting flaws."[1] A satin or eggshell on a ceiling will show almost every overlap.
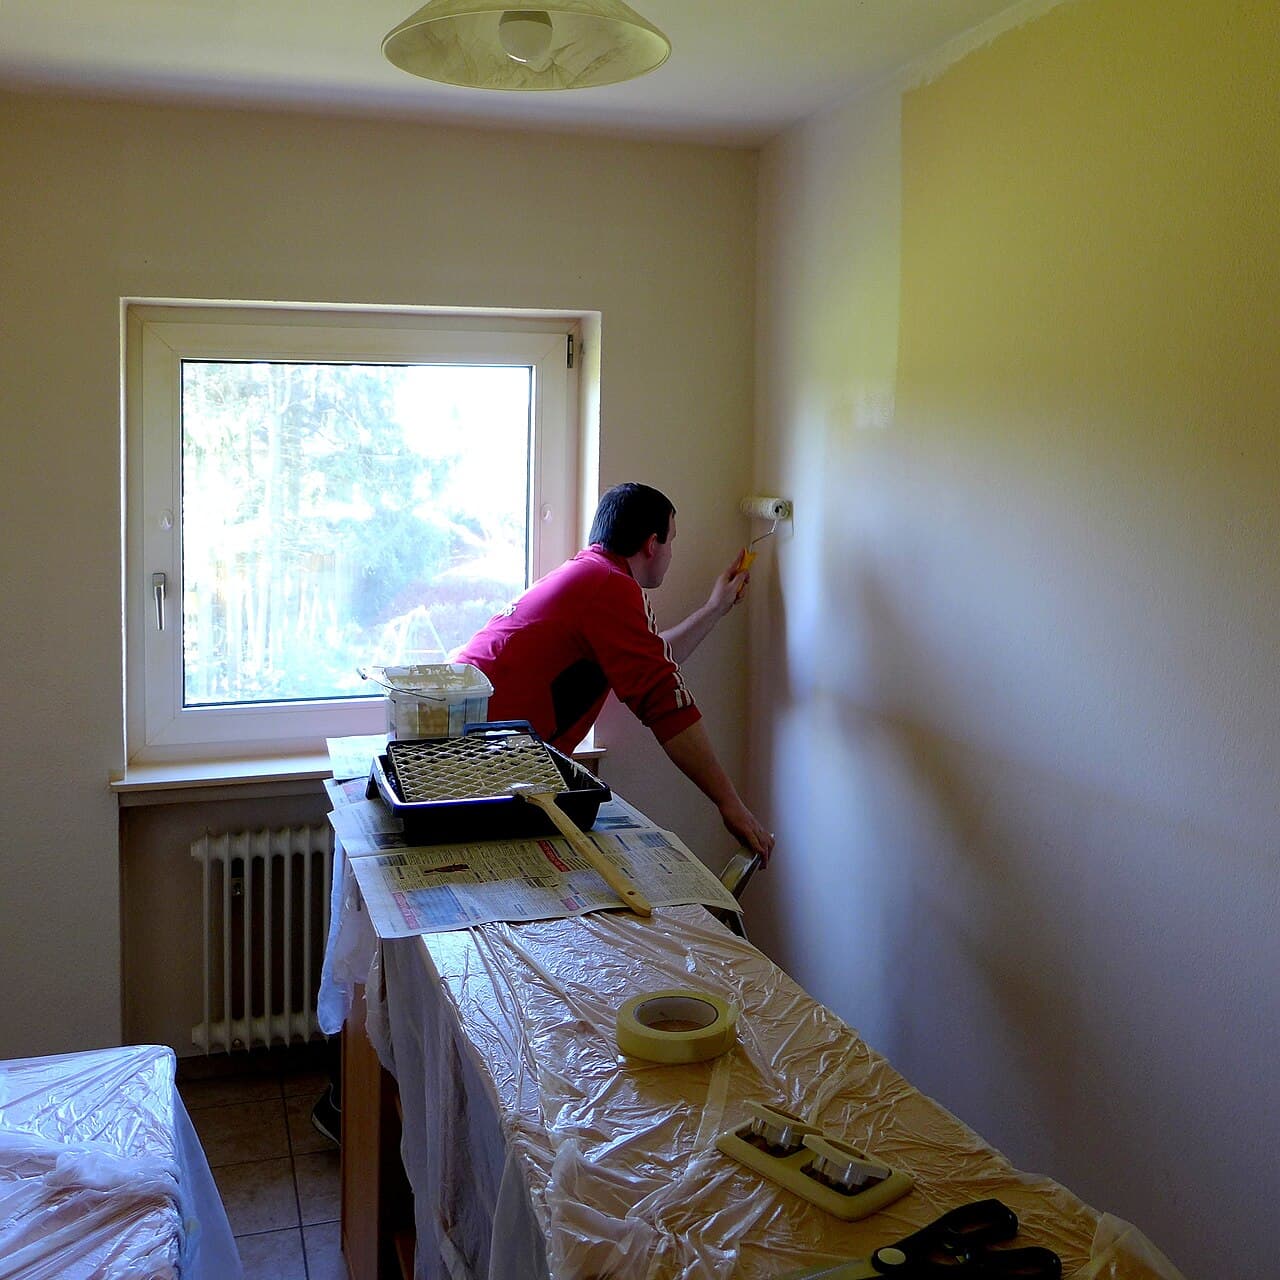
The cure is technique. Keep a wet edge, which Benjamin Moore describes as painting toward the unpainted area and then back into the just-painted surface, "which will ultimately produce a smooth, uniform appearance and help prevent lap marks."[3] Work in small sections and do not stop halfway across the ceiling. Reload the roller, then start on bare ceiling: "Every time you reload the roller, begin a new row on an unpainted area and work back into the previously painted row."[3] Pressing hard does not help; Benjamin Moore advises, "Apply only light pressure, letting the roller and the paint do the work. If you press too hard, you may create drips and runs."[3] The full rolling method is in the best way to roll paint on a ceiling.
Not enough paint
One thin coat over an old, different colour or a patched surface almost never looks even. Benjamin Moore's position is "We recommend applying at least two coats of your top coat product for optimal hide and color development."[3] Let the first coat dry, then coat the whole ceiling, edge to edge, in one session. Repainting only the blotchy patches usually leaves a new, more obvious patch.
Fix it
- Check for water, and fix any leak first.
- Scrape off anything loose. Benjamin Moore: "Painting over cracked paint is a bad idea; it is important to remove any flakes from the surface via sanding or scraping before repainting."[2]
- Prime stains, joints and patches, or the whole ceiling if the blotching is widespread.
- Roll the finish coat in small sections with a wet edge.
- Let it dry and apply a second full coat.
Use a roller on an extension pole from the floor where you can, and keep a ladder on a flat, level surface if you need one.
Stop and call a pro if
- The stain keeps coming back or the ceiling is damp or sagging. That is a leak that needs a plumber or roofer before any painter.
- The ceiling is textured. EPA lists "Textured paint and patching compounds used on walls and ceilings" among materials that may contain asbestos.[7] Do not sand or scrape it; have it tested first. See what popcorn ceiling removal involves.
- The home was built before 1978 and the old paint is peeling. EPA says any renovation, repair or painting project in a pre-1978 home that has lead-based paint "can easily create dangerous lead dust", and recommends homeowners hire lead-safe certified contractors for such projects.[6] Do not scrape or sand it dry.
- The ceiling is very high or over a stairwell. See whether to hire a painter for high ceilings.
Getting help in Virginia
For costs, read how much it costs to paint a ceiling in Virginia. Browse more painting answers or painting contractors on Loclis.
When you want a pro to fix it, describe the ceiling and local painters will quote it.
Common questions
- Why do the patches I touched up show through the new paint?
- Patched spots absorb paint differently from the surrounding ceiling, so the finish over them has a different sheen or depth. Priming the patches first evens that out, and a full coat over the whole ceiling, rather than spot touch-ups, hides the rest.
- Will a second coat fix blotchy paint?
- Often, when the cause is thin coverage or uneven absorption. Benjamin Moore recommends at least two coats of top coat for good hide and colour. If the blotches follow stains or joints, prime those spots first, or the second coat will show the same pattern.
- Why is the ceiling blotchy only at certain times of day?
- Light that skims across the ceiling from a window exaggerates any difference in sheen or thickness. That is why flat paint is the usual choice overhead, and why checking your work with a lamp held to the side shows problems while they are still easy to fix.
- Can I just touch up the blotchy areas?
- Touching up a small area on a ceiling usually leaves a visible patch, because the new paint dries to a slightly different film than the old. Repainting the entire ceiling, corner to corner in one session, is the usual cure.
- What if the blotches are brown or yellow?
- Those are stains, usually from a roof or plumbing leak. Fix the leak first, let the area dry, then seal the stain with a stain-blocking primer before the topcoat; paint alone tends to let the stain show through.
Sources
- [1] Choosing an Interior Paint Finish: Sheen and Gloss 101, Benjamin Moore. Checked October 28, 2026.
- [2] How to Prepare Walls for Painting, Benjamin Moore. Checked October 28, 2026.
- [3] How To Paint Interior Walls In 7 Easy Steps, Benjamin Moore. Checked October 28, 2026.
- [4] Finishing & Decorating Gypsum Panels, White Paper (J2010), United States Gypsum Company. Checked October 28, 2026.
- [5] How to Fix Water, Smoke and Other Paint Stains, Sherwin-Williams. Checked October 28, 2026.
- [6] Renovation, Repair and Painting Program: Do-It-Yourselfers, U.S. Environmental Protection Agency. Checked October 28, 2026.
- [7] Learn About Asbestos, U.S. Environmental Protection Agency. Checked October 28, 2026.
Want a pro to handle it?
Describe the job once. Licensed local businesses send quotes, and you pay only when you book one.
Get a quote from a local pro