How do I mark my driveway for a snow plow?
Push tall, flexible driveway markers into the ground along both edges of the driveway before the soil freezes, spaced closely enough that the operator can see the line, with extra markers at curves, corners and the street apron. Mark anything a blade could hit, such as lights, rocks, the mailbox and drop-offs, and show the plow operator where snow should be piled.
Free to ask. Local shops send quotes, and you pay only when you book one.
By Kasra Taheri, Founder, LoclisPublished
Researched and drafted with AI, then checked claim by claim against the sources listed below before it was published. Prices and rules change; the dates beside each source say when it was last checked.
Step by step
Read when to stop and call a pro, further down this page, before you start.
Step 1: Do it before the freeze
Mark the driveway in late fall, while the ground is soft enough to push markers in by hand.
Step 2: Choose tall markers
Use flexible fiberglass or plastic driveway markers with reflective tops, tall enough to stand well above a deep snow and the plow's piles.
Step 3: Set them off the edge
Place each marker just outside the pavement or gravel edge, in the lawn, so the blade passes beside it rather than into it.
Step 4: Space them along both sides
Run a line of markers down both edges, closer together on curves so the shape of the driveway reads clearly from a truck.
Step 5: Mark corners and the apron
Put markers at the street corners of the apron, at the garage, and around any turnaround or parking pad.
Step 6: Mark every obstacle
Flag landscape lights, rocks, low walls, irrigation heads, culvert ends, ditches and drop-offs with their own markers.
Step 7: Keep clear of buried lines
Do not push markers where you know a lighting cable, irrigation line or pet fence wire runs close to the surface.
Step 9: Mark where snow goes
Use a different color of marker for the spots where you want snow piled, away from beds, the sight line and the low side of the pavement.
Step 10: Walk it with the operator
Show the plow operator the markers and piles before the first storm, and put them in a sketch attached to the contract.
Step 11: Check after each storm
Straighten or replace knocked-down markers after each storm, and pull them in spring before mowing starts.
To mark a driveway for a snow plow, push tall, flexible driveway markers into the ground along both edges before the soil freezes, set just outside the pavement or gravel, close enough together that a plow operator can see the line in the dark and in a storm. Add markers at curves, corners and the street apron, mark everything a blade could hit, and show the operator where snow should be piled. Then check the mailbox, because that is the other thing plows find.
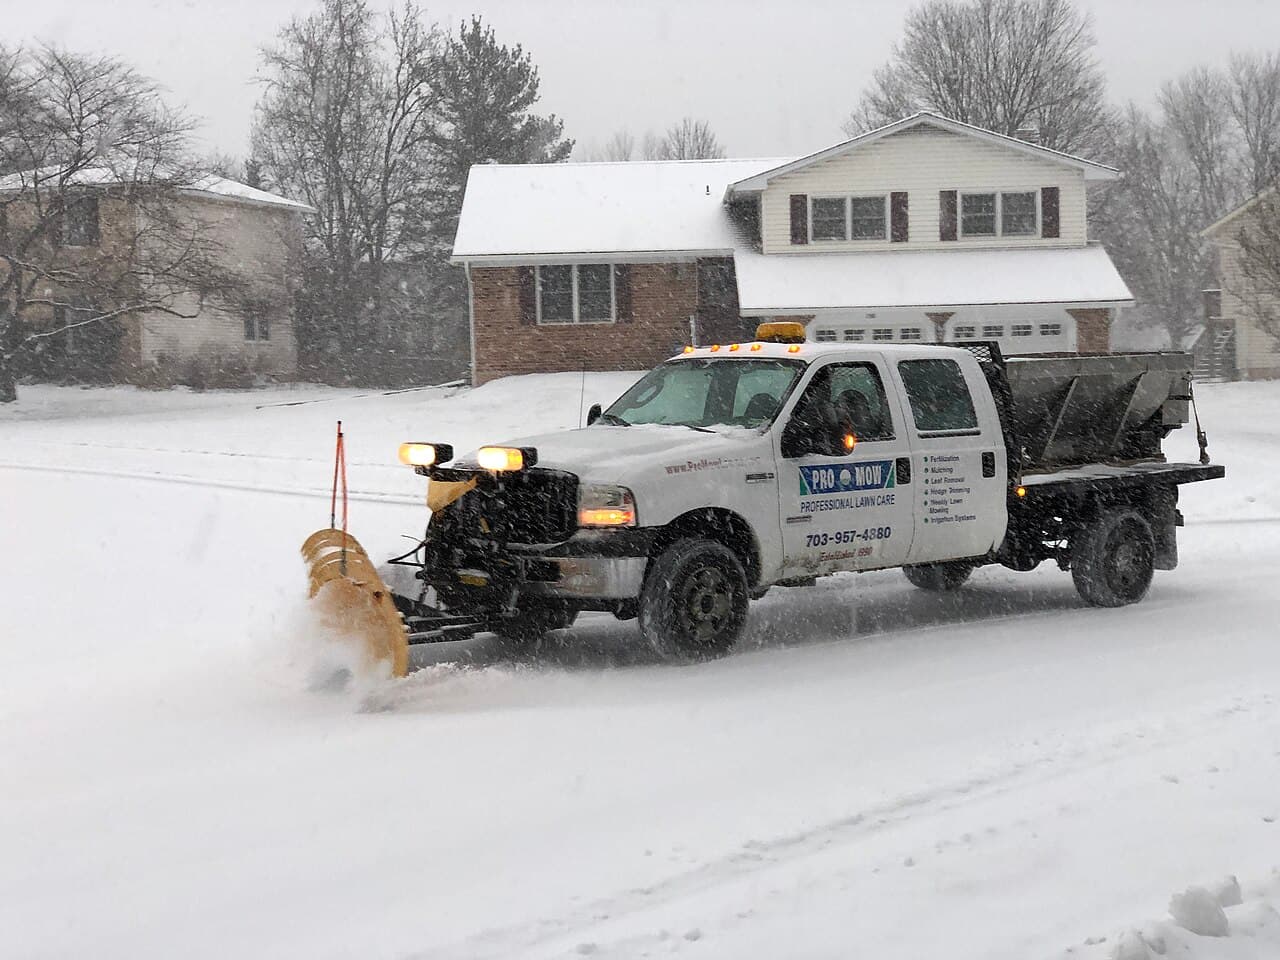
Why markers matter
Under a foot of snow, a driveway, a lawn, a flower bed and a shallow ditch all look the same. An operator without markers is guessing, and a guess a little off the line puts the blade into turf, the tires into a soft shoulder, or the truck into a culvert end. On gravel it is worse, because winter plowing operations move stone off the surface even when the line is clear.[7] For what that damage looks like and how to fix it, see why a plow tears up lawn or gravel.
Markers also help you. Whether you shovel, run a snow blower or hire a plow, a marked edge tells you where to stop.
Choosing markers
Driveway markers are thin, flexible rods of fiberglass or plastic with a reflective band or cap near the top. Look for:
- Height. Taller than the deepest snow you expect plus the bank the plow leaves along the edge. A marker that disappears in the second storm of a big week has done half its job.
- Flexibility. A rod that bends and springs back survives a glancing hit from a blade. A rigid wooden stake snaps, and a metal one can damage the plow or be thrown.
- Reflectors. Most plowing happens in the dark or in falling snow. Reflective tops show up in headlights.
- A second color. A few markers in a different color make it easy to show where snow should go.
Where to put them
Both edges. Run a line down each side of the driveway. Space them evenly on straight runs and closer together on curves, so the shape of the driveway reads clearly from a truck cab.
Just off the edge. Set each marker a short step outside the pavement or gravel, in the lawn. A marker right on the edge gets hit every storm. Tell the operator the markers show the edge, with a little room to spare, not a line to plow up to.
Corners and the apron. Mark both corners where the driveway meets the street, the corners at the garage, and the outline of any turnaround or parking pad. The apron is where most plows enter at an angle, and where lawn edges get scraped.
Obstacles. Give anything a blade could hit its own marker: landscape lights, rocks, low walls and bed edging, irrigation heads, a culvert end or a ditch, a drop-off at the side of the driveway, a septic or well cap near the edge. If there is a fire hydrant at the end of your driveway, mark it too. Alexandria asks residents to help by clearing the fire hydrants adjacent to their homes,[4] and that is far easier when the hydrant has not been buried by a pile.
What to avoid. Markers only need to be pushed in by hand. Keep them clear of spots where you know low-voltage lighting cable, an irrigation line or a pet fence wire runs close to the surface.
Mark where the snow goes
Most plow damage comes from piles in the wrong place. Pick pile spots before the first storm and mark them in a second color: open lawn on the low side of the driveway, away from beds, shrubs and the corner you look past when backing out. Keep piles off the high side, where meltwater would run back across the pavement and refreeze; see why a plowed driveway refreezes.
Salt matters here too. Treated snow pushed onto plants damages them, and Virginia Cooperative Extension suggests: "Consider fencing or signage along roads to prevent plows from piling treated snow and ice on adjacent plantings".[5] The same idea works at home: a marker or a short length of snow fence at the edge of a bed tells the operator not to pile there.
Plan for the street plow
Street plows will fill the end of your driveway whatever you mark. On public roads, crews push snow off the road, to the right.[3] VDOT's advice for that ridge: "To avoid doing double work, shovel snow from your driveway once the plow has passed. Shovel it to the right of your driveway as you face the road. By creating this open area of about 10 feet, you’ll eliminate the chance of a plow pushing snow back across your driveway apron."[3] Show your plow service where you want that apron snow to go, and agree whether they come back for the ridge.
Check the mailbox
A curbside mailbox is the most common thing a plow hits. The Postal Service gives the placement: "Position your mailbox 41″ to 45″ from the road surface to the bottom of the mailbox or point of mail entry", and "Place your mailbox 6″ to 8″ back from the curb".[1] If you do not have a raised curb, contact your local postmaster for guidance.[1] It also says to avoid unyielding and potentially dangerous supports, like heavy metal pipes, concrete posts, and farm equipment such as milk cans filled with concrete.[1]
On state roads, Virginia's land use regulations say mailboxes may be placed within VDOT right-of-way without a permit, as long as placement does not interfere with safety, maintenance, or use of the roadway.[2] A breakaway post is acceptable, defined as a single four-inch by four-inch square or four-inch diameter wooden post or a standard strength, metal pipe post with no greater than a two-inch diameter.[2] Put a tall marker beside the box so both your plow service and the street plow can see it.
If a VDOT plow does knock it down, VDOT asks you to enter a ticket on myVDOT, its Customer Service Center portal, to start a claim.[3] Setting a new post means digging, and Virginia 811 is clear: "You must contact Virginia 811 for all digging projects, such as installing mailboxes, fences or landscaping".[6] Submit the request at least 3 working days before you dig.[6]
Through the season
- Walk the driveway with your plow operator before the first storm, and attach a sketch of the markers and pile spots to the contract; see what a snow plowing contract should include.
- After each storm, straighten bent markers and replace any that went missing.
- In spring, pull them all before the first mow and store them flat.
For the rest of the pre-storm checklist, see how to get a driveway ready before a snowstorm.
Stop and call a pro if
- The driveway has a steep drop-off, a ditch or a culvert you cannot mark safely or that a plow keeps finding anyway.
- The mailbox post needs to be reset in concrete or moved, or a buried line has been hit.
- Plow damage has left ruts or washouts that need regrading and new stone.
- Snow and ice are building up on the roof; that is a job for roof snow and ice dam services.
Browse driveway plowing services and snow and seasonal answers, find seasonal services around Blacksburg, or describe the job once and local businesses quote it.
Common questions
- How tall should driveway markers be?
- Taller than the deepest snow you expect plus the piles the plow leaves along the edges, so the tops stay visible late in a big storm. Pick a height that suits your area's snow rather than the shortest in the store.
- Which side of the edge do the markers go on?
- Just outside it, in the lawn or the gravel shoulder. A marker set on the edge itself gets hit by the blade every storm. Set it a short step off the surface, and tell the operator the markers show the edge, not a line to plow up to.
- Can I put markers in the strip by the street?
- Markers at your driveway apron help your own plow service. Street plows clear the road, not your apron, and push snow to the right onto the shoulder. Keep markers on the street strip flexible, so a street plow's blade bends them rather than snapping them or throwing them.
- My mailbox gets knocked down every winter. What can I do?
- Check that it sits where the Postal Service wants it: 41 to 45 inches from the road surface to the bottom of the box and 6 to 8 inches back from the curb. Put a tall marker beside it. For damage by a VDOT plow, VDOT asks you to enter a ticket on myVDOT to start a claim. Resetting the post is digging, so contact Virginia 811 first.
- Do I need markers on a gravel driveway?
- Even more than on pavement. Under snow, a gravel edge and the lawn look identical, and winter plowing moves gravel off the surface. Markers on both sides let the operator keep the blade on the stone and leave a thin layer of snow rather than scraping into the grass.
- When should I take the markers out?
- In spring, once the snow season is over and before you start mowing, since a mower will catch a forgotten marker. Store them flat for next winter.
Sources
- [1] Mailbox Guidelines, United States Postal Service. Checked October 27, 2026.
- [2] 24VAC30-151-560. Mailboxes and newspaper boxes (Land Use Permit Regulations), Virginia General Assembly, Legislative Information System (Virginia Administrative Code). Checked October 27, 2026.
- [3] Winter weather: snow removal and treatment, and frequently asked questions, Virginia Department of Transportation. Checked October 27, 2026.
- [4] Snow and Ice Control, City of Alexandria, Virginia. Checked October 27, 2026.
- [5] Trees and Shrubs that Tolerate Saline Soils and Salt Spray Drift (430-031), Virginia Cooperative Extension, Virginia Tech. Checked October 27, 2026.
- [6] Homeowners FAQ, Virginia 811. Checked October 27, 2026.
- [7] Gravel Roads Construction and Maintenance Guide (August 2015), Federal Highway Administration and South Dakota Local Technical Assistance Program. Checked October 27, 2026.
Want a pro to handle it?
Describe the job once. Licensed local businesses send quotes, and you pay only when you book one.
Get a quote from a local pro